

By Intrepid Camera | Oct, 2022
01.
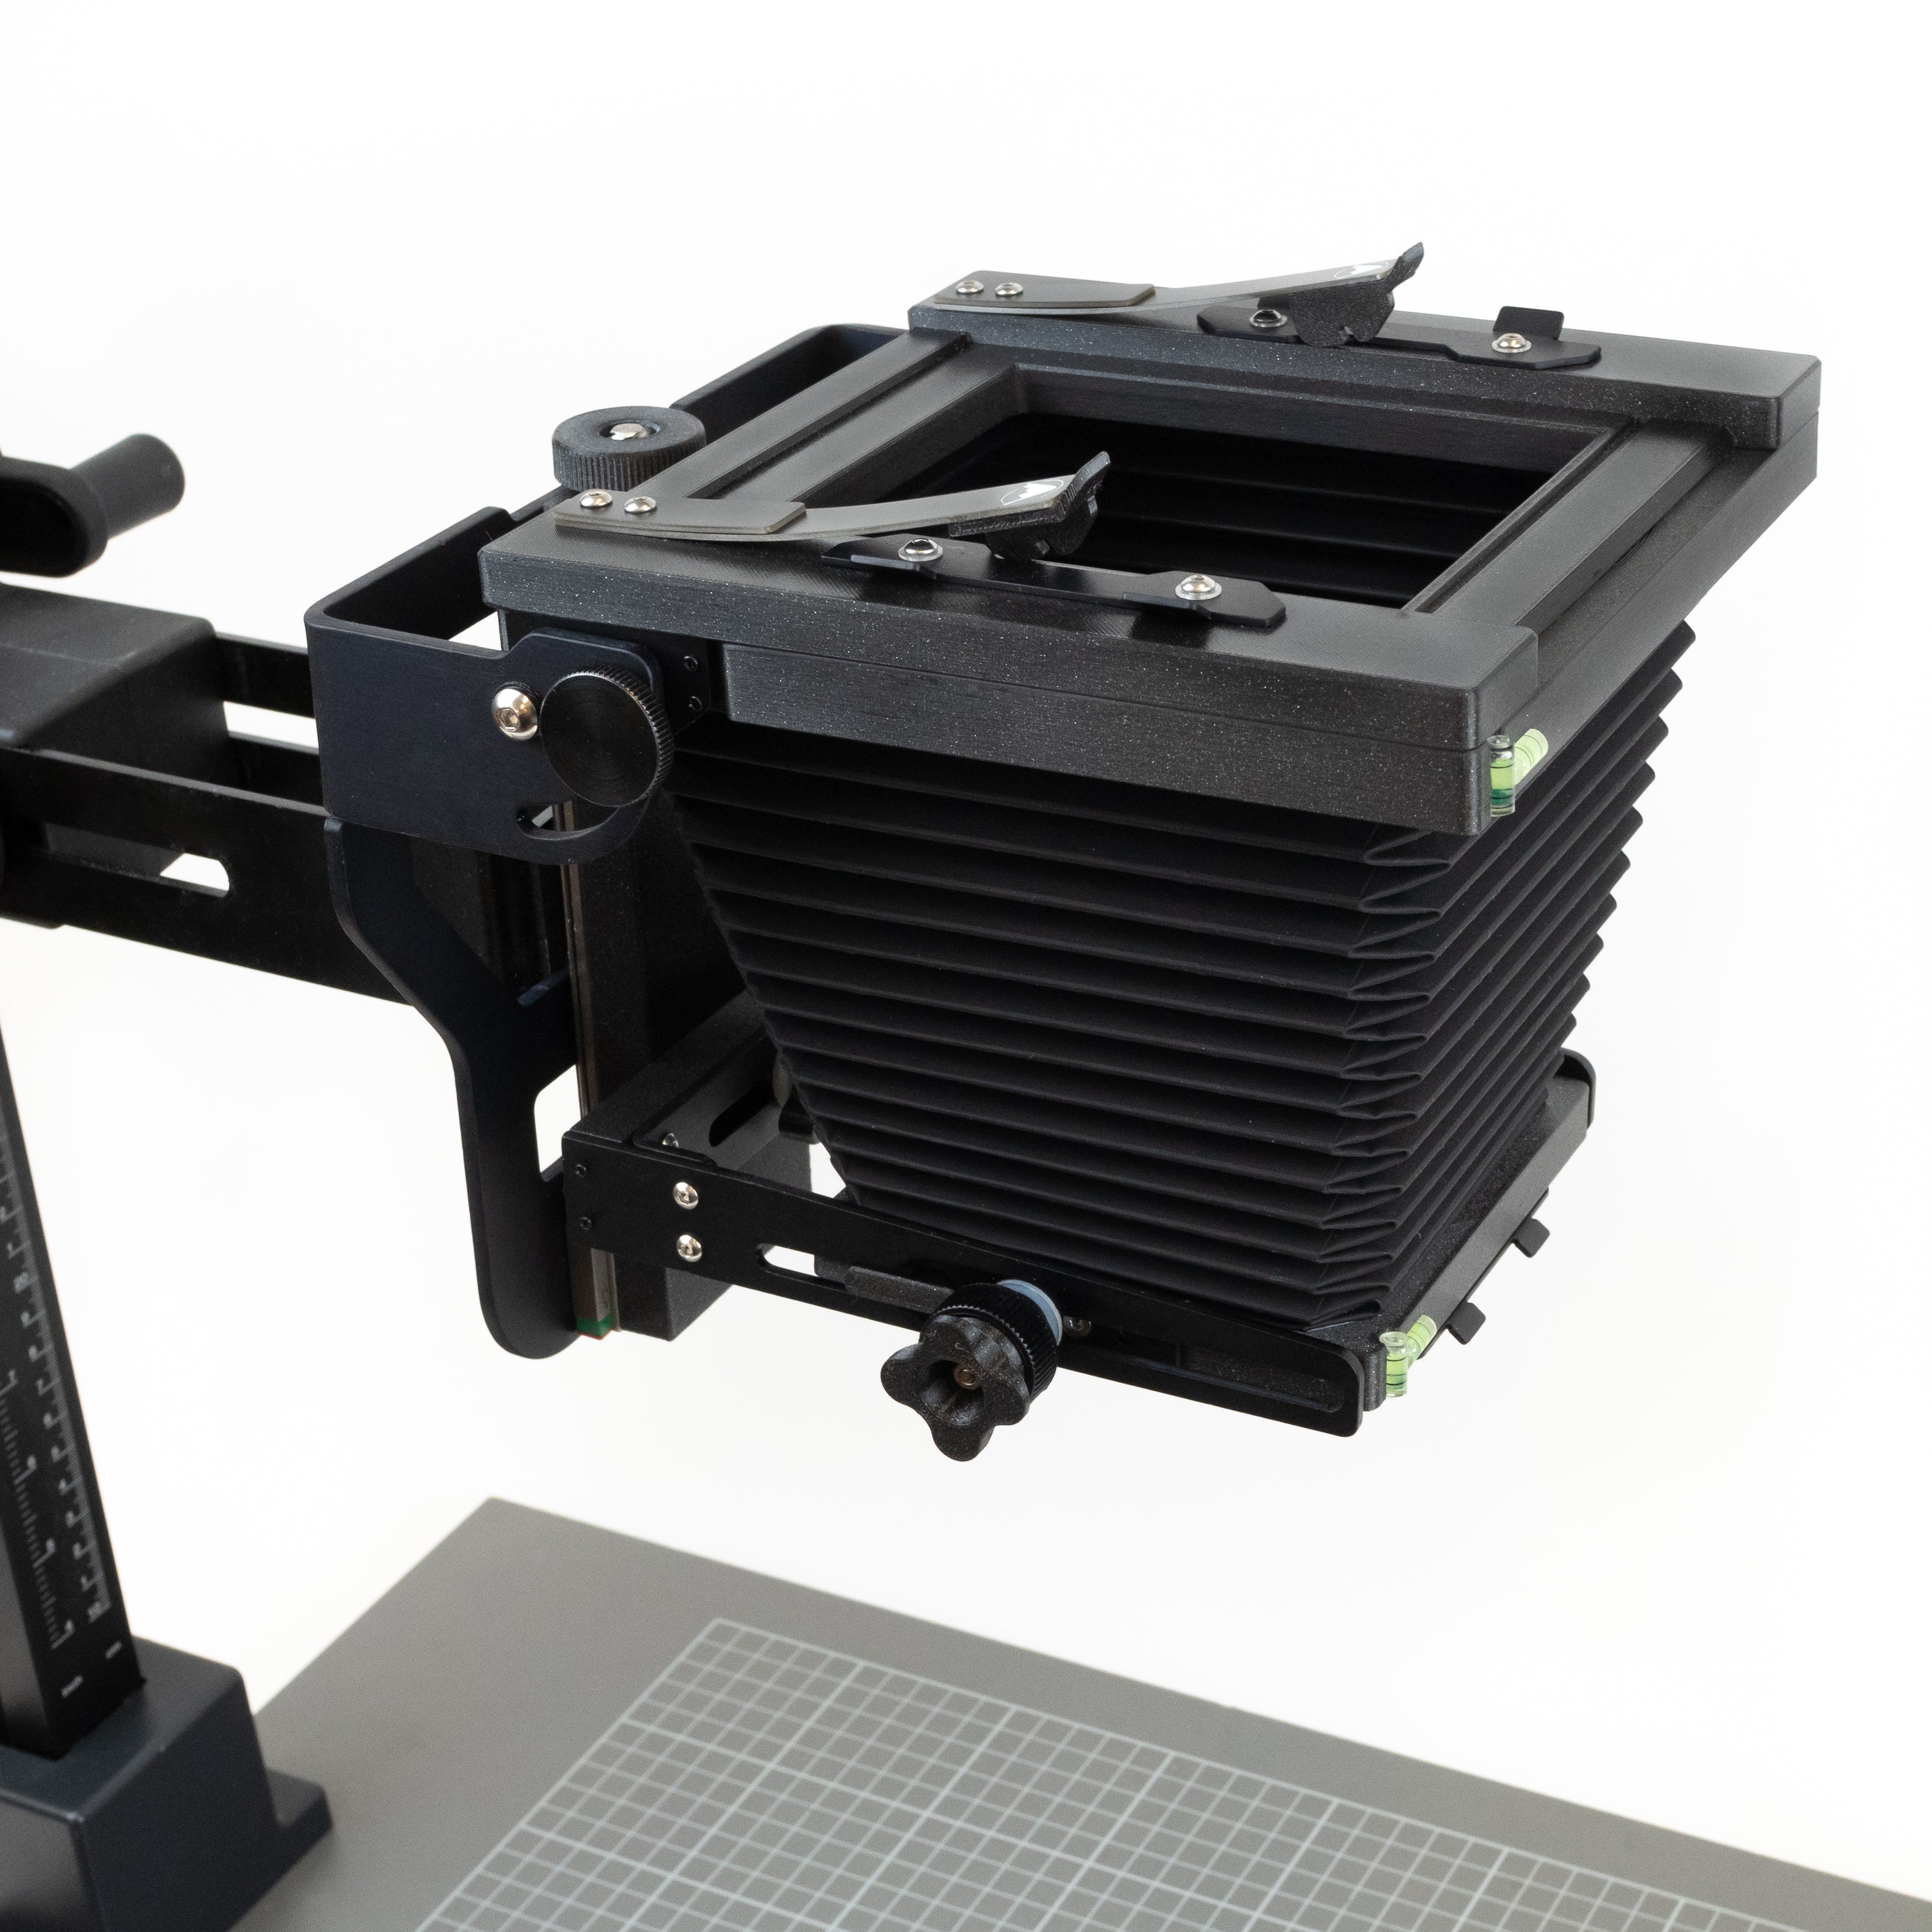
Mount Camera
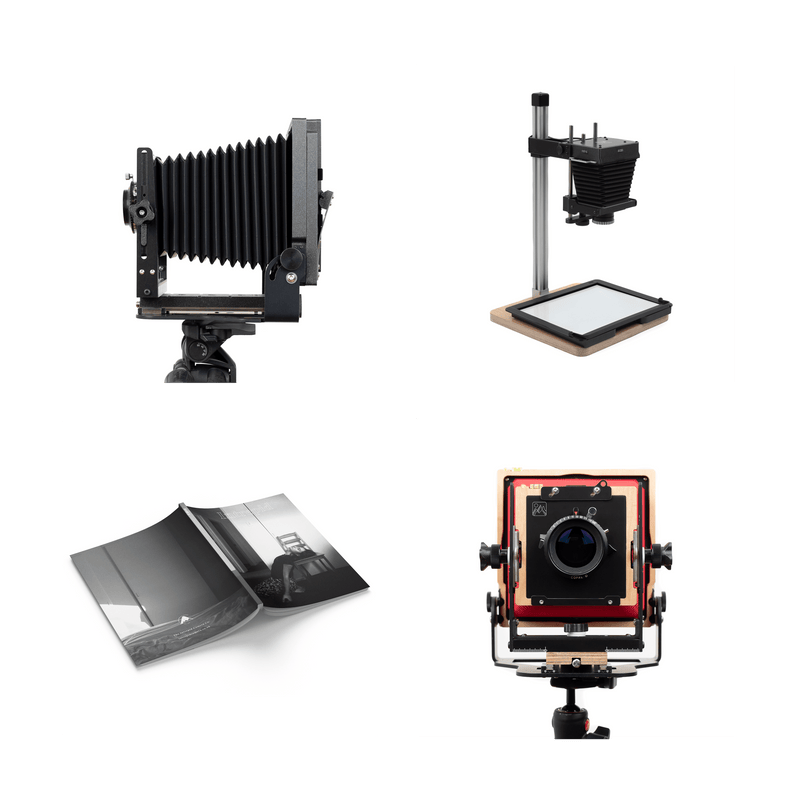
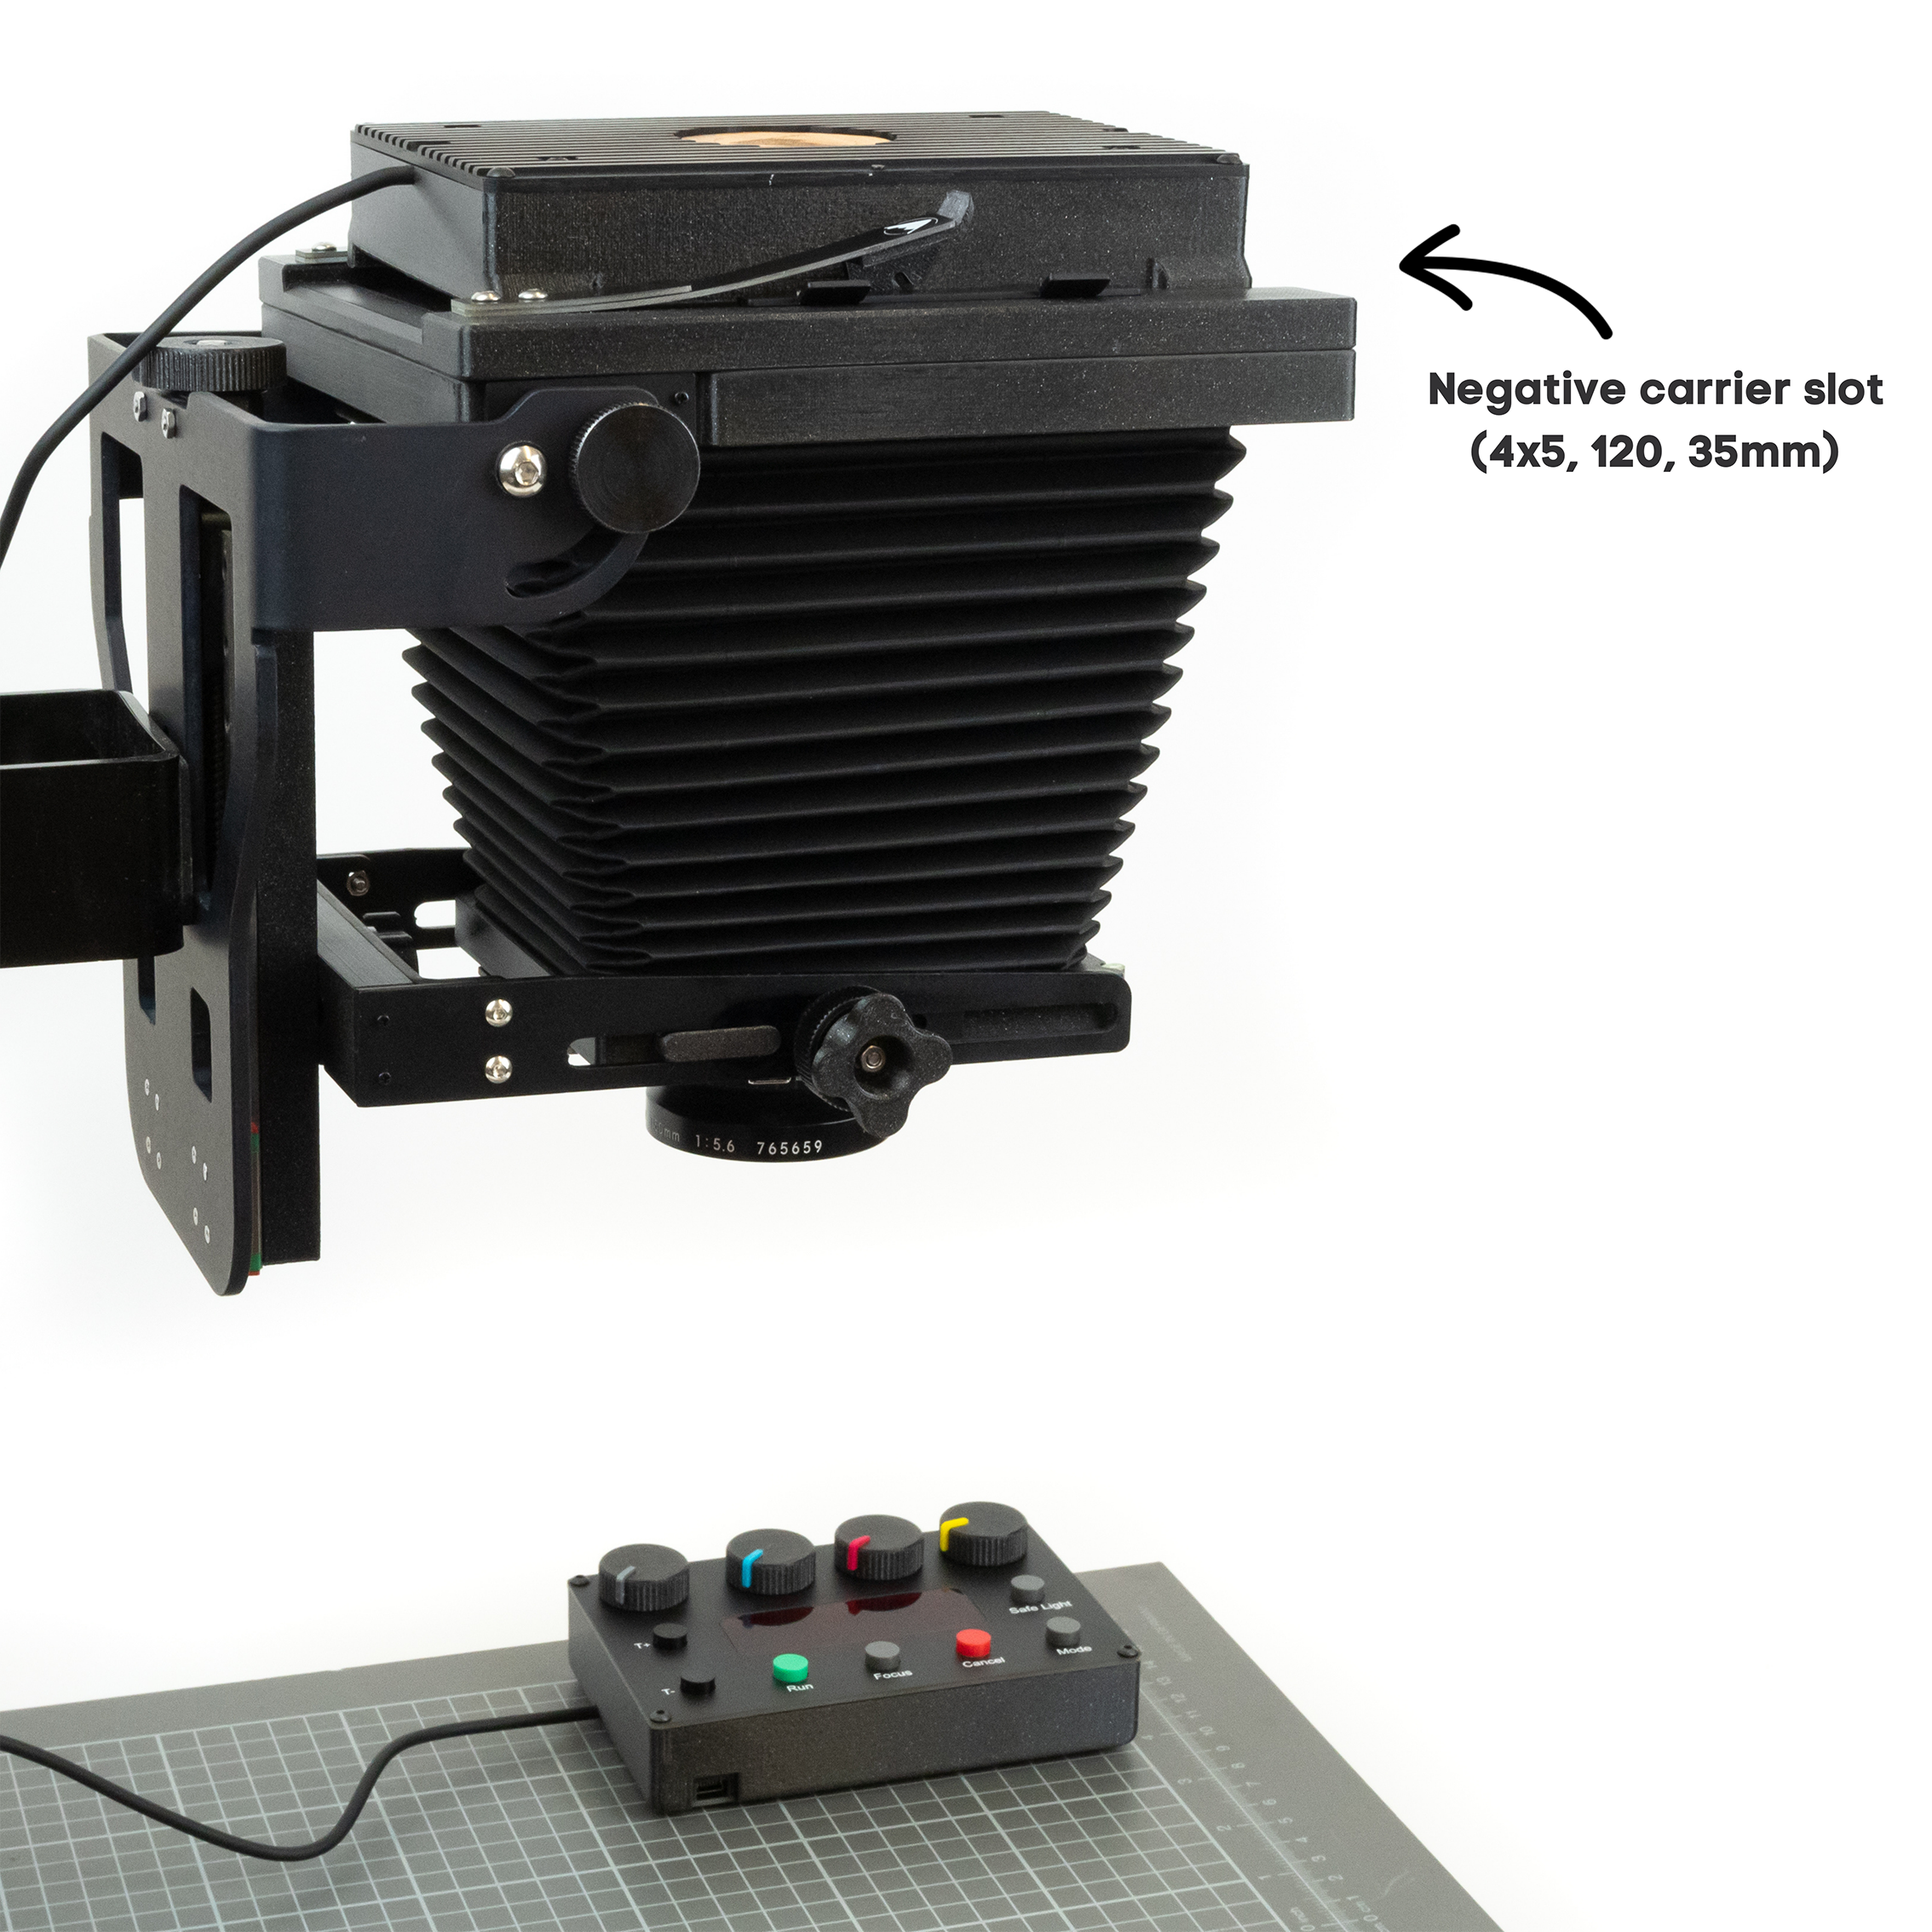
Mount your 4x5 Camera to a tripod or copy stand. A copy stand is easier to use but if you are on budget, a well set up tripod can still produce impressive results. Mount the camera facing down.
02.
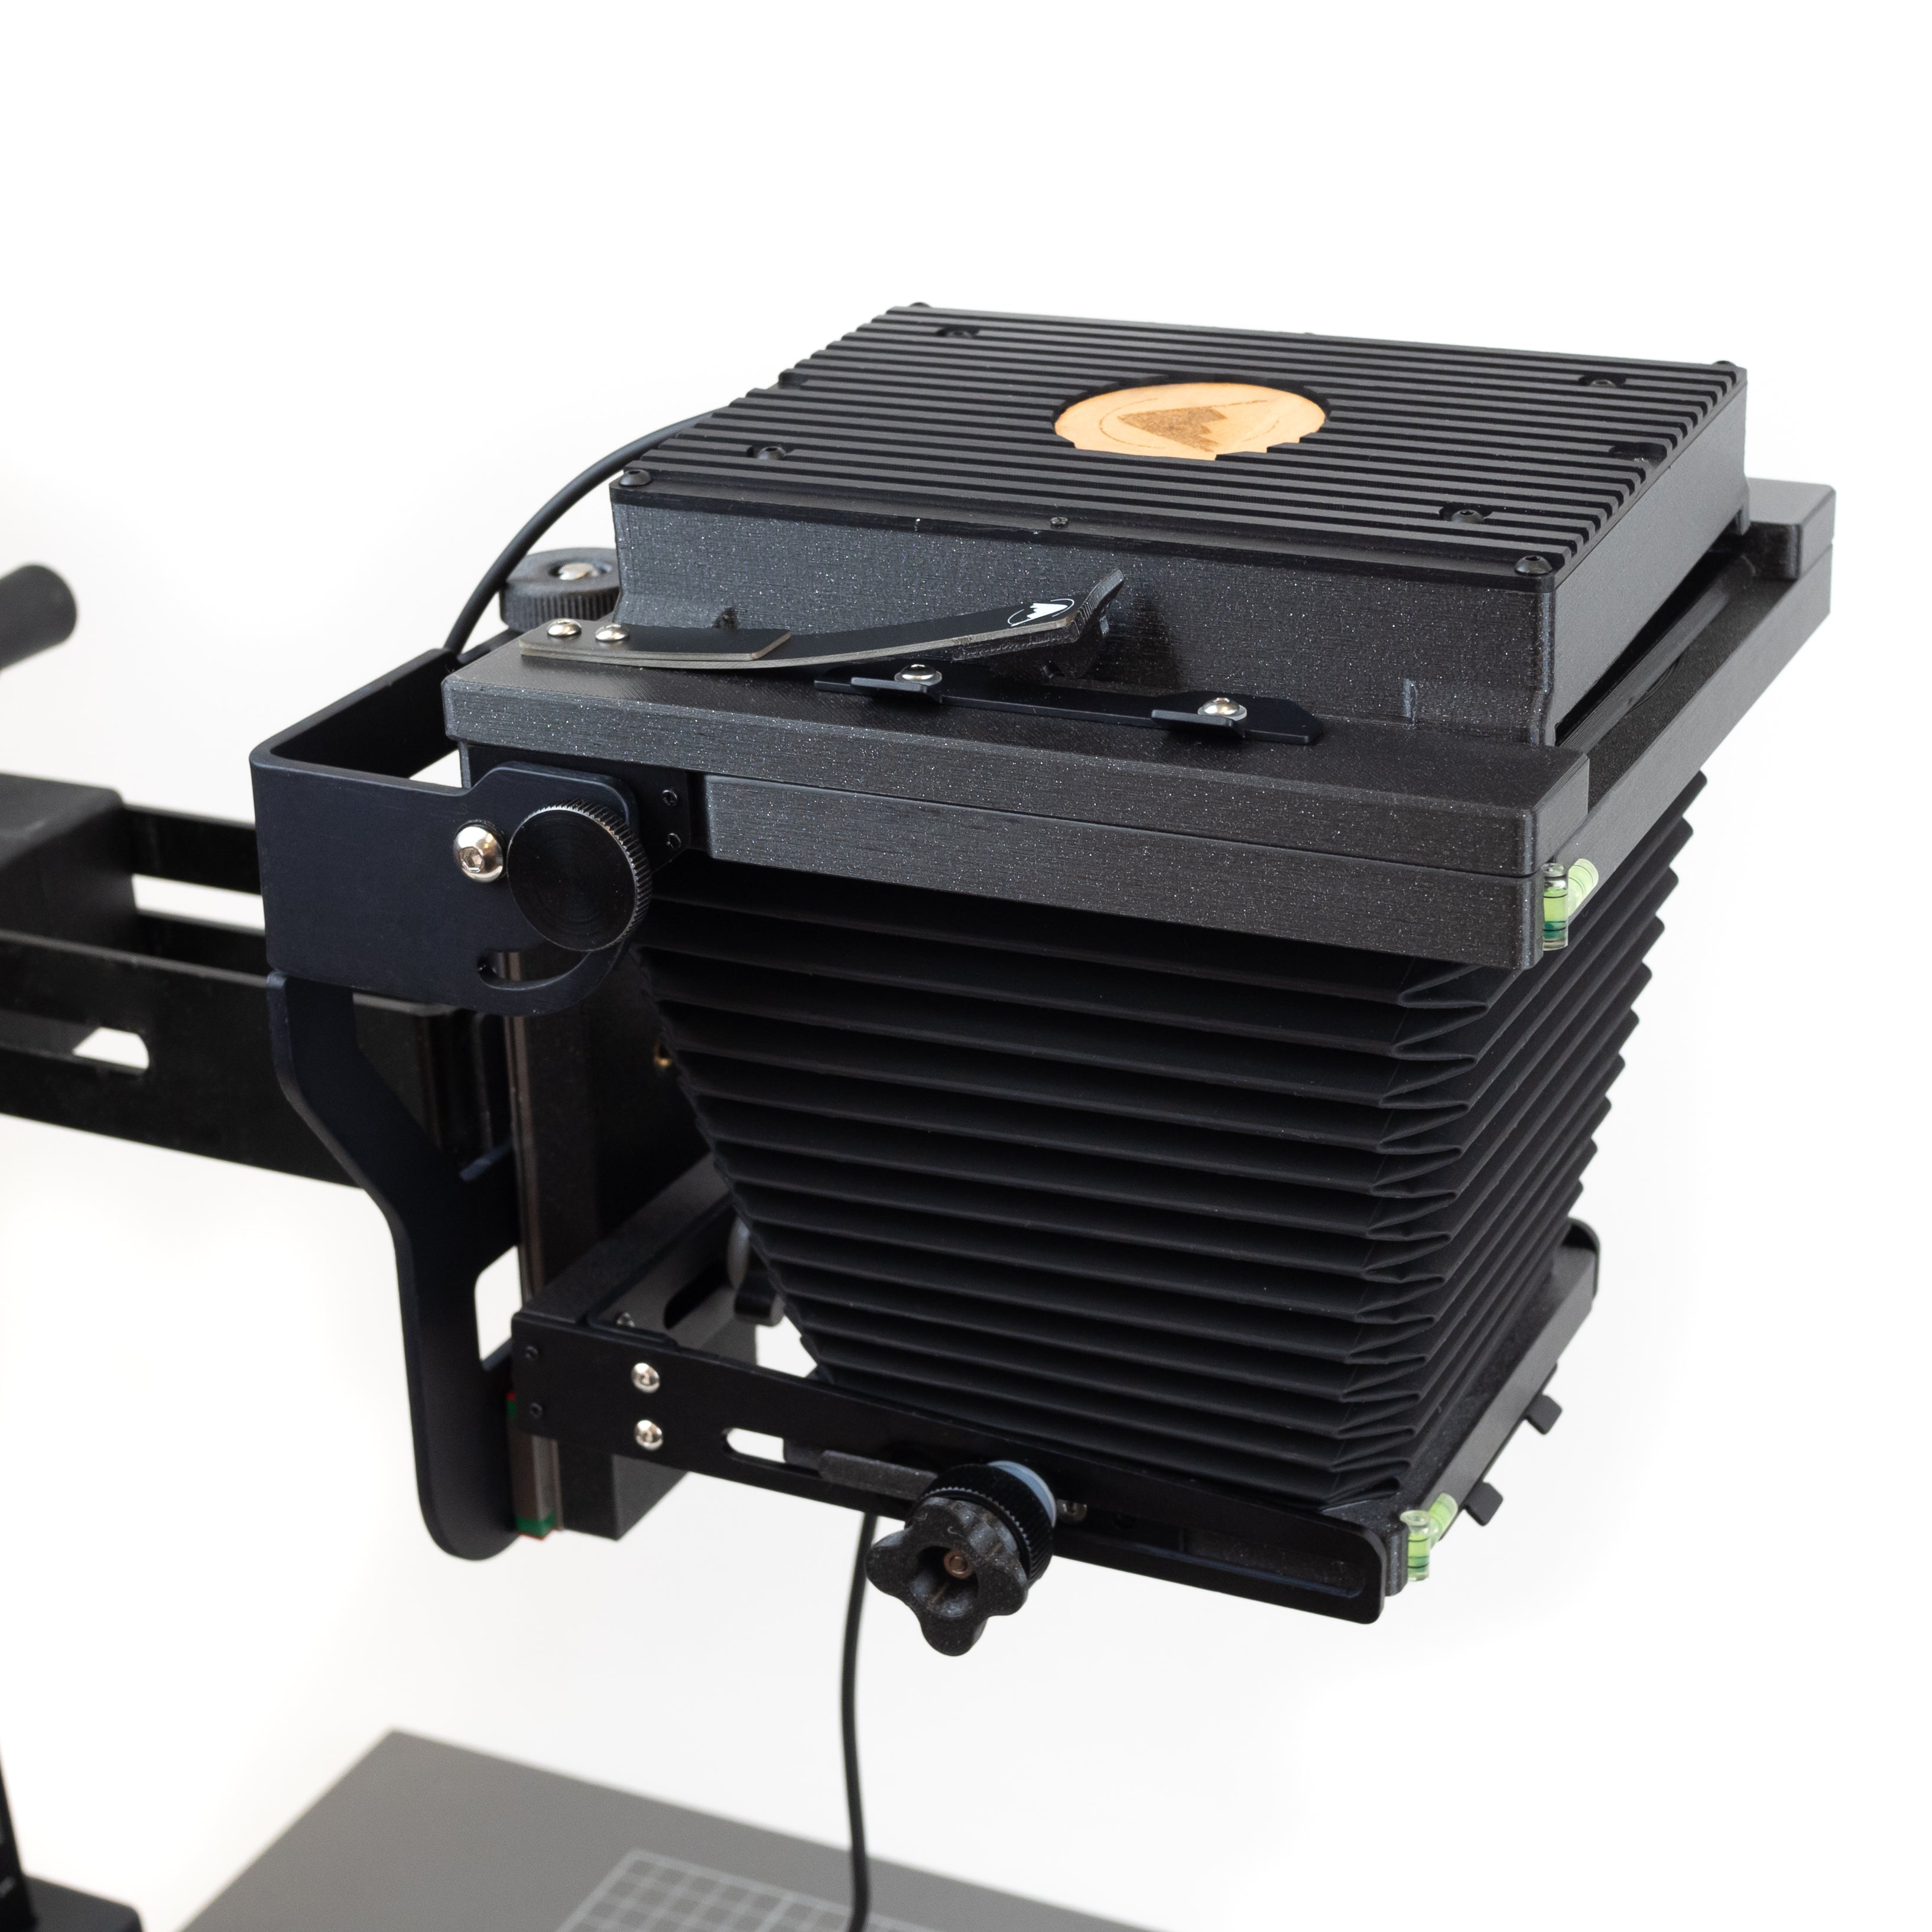
Attach Light Source
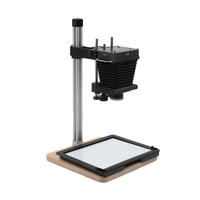
Attach the light source to the back of the camera and secure with the ‘Graflok’ clips. The cable should be facing the base of the camera.
03.
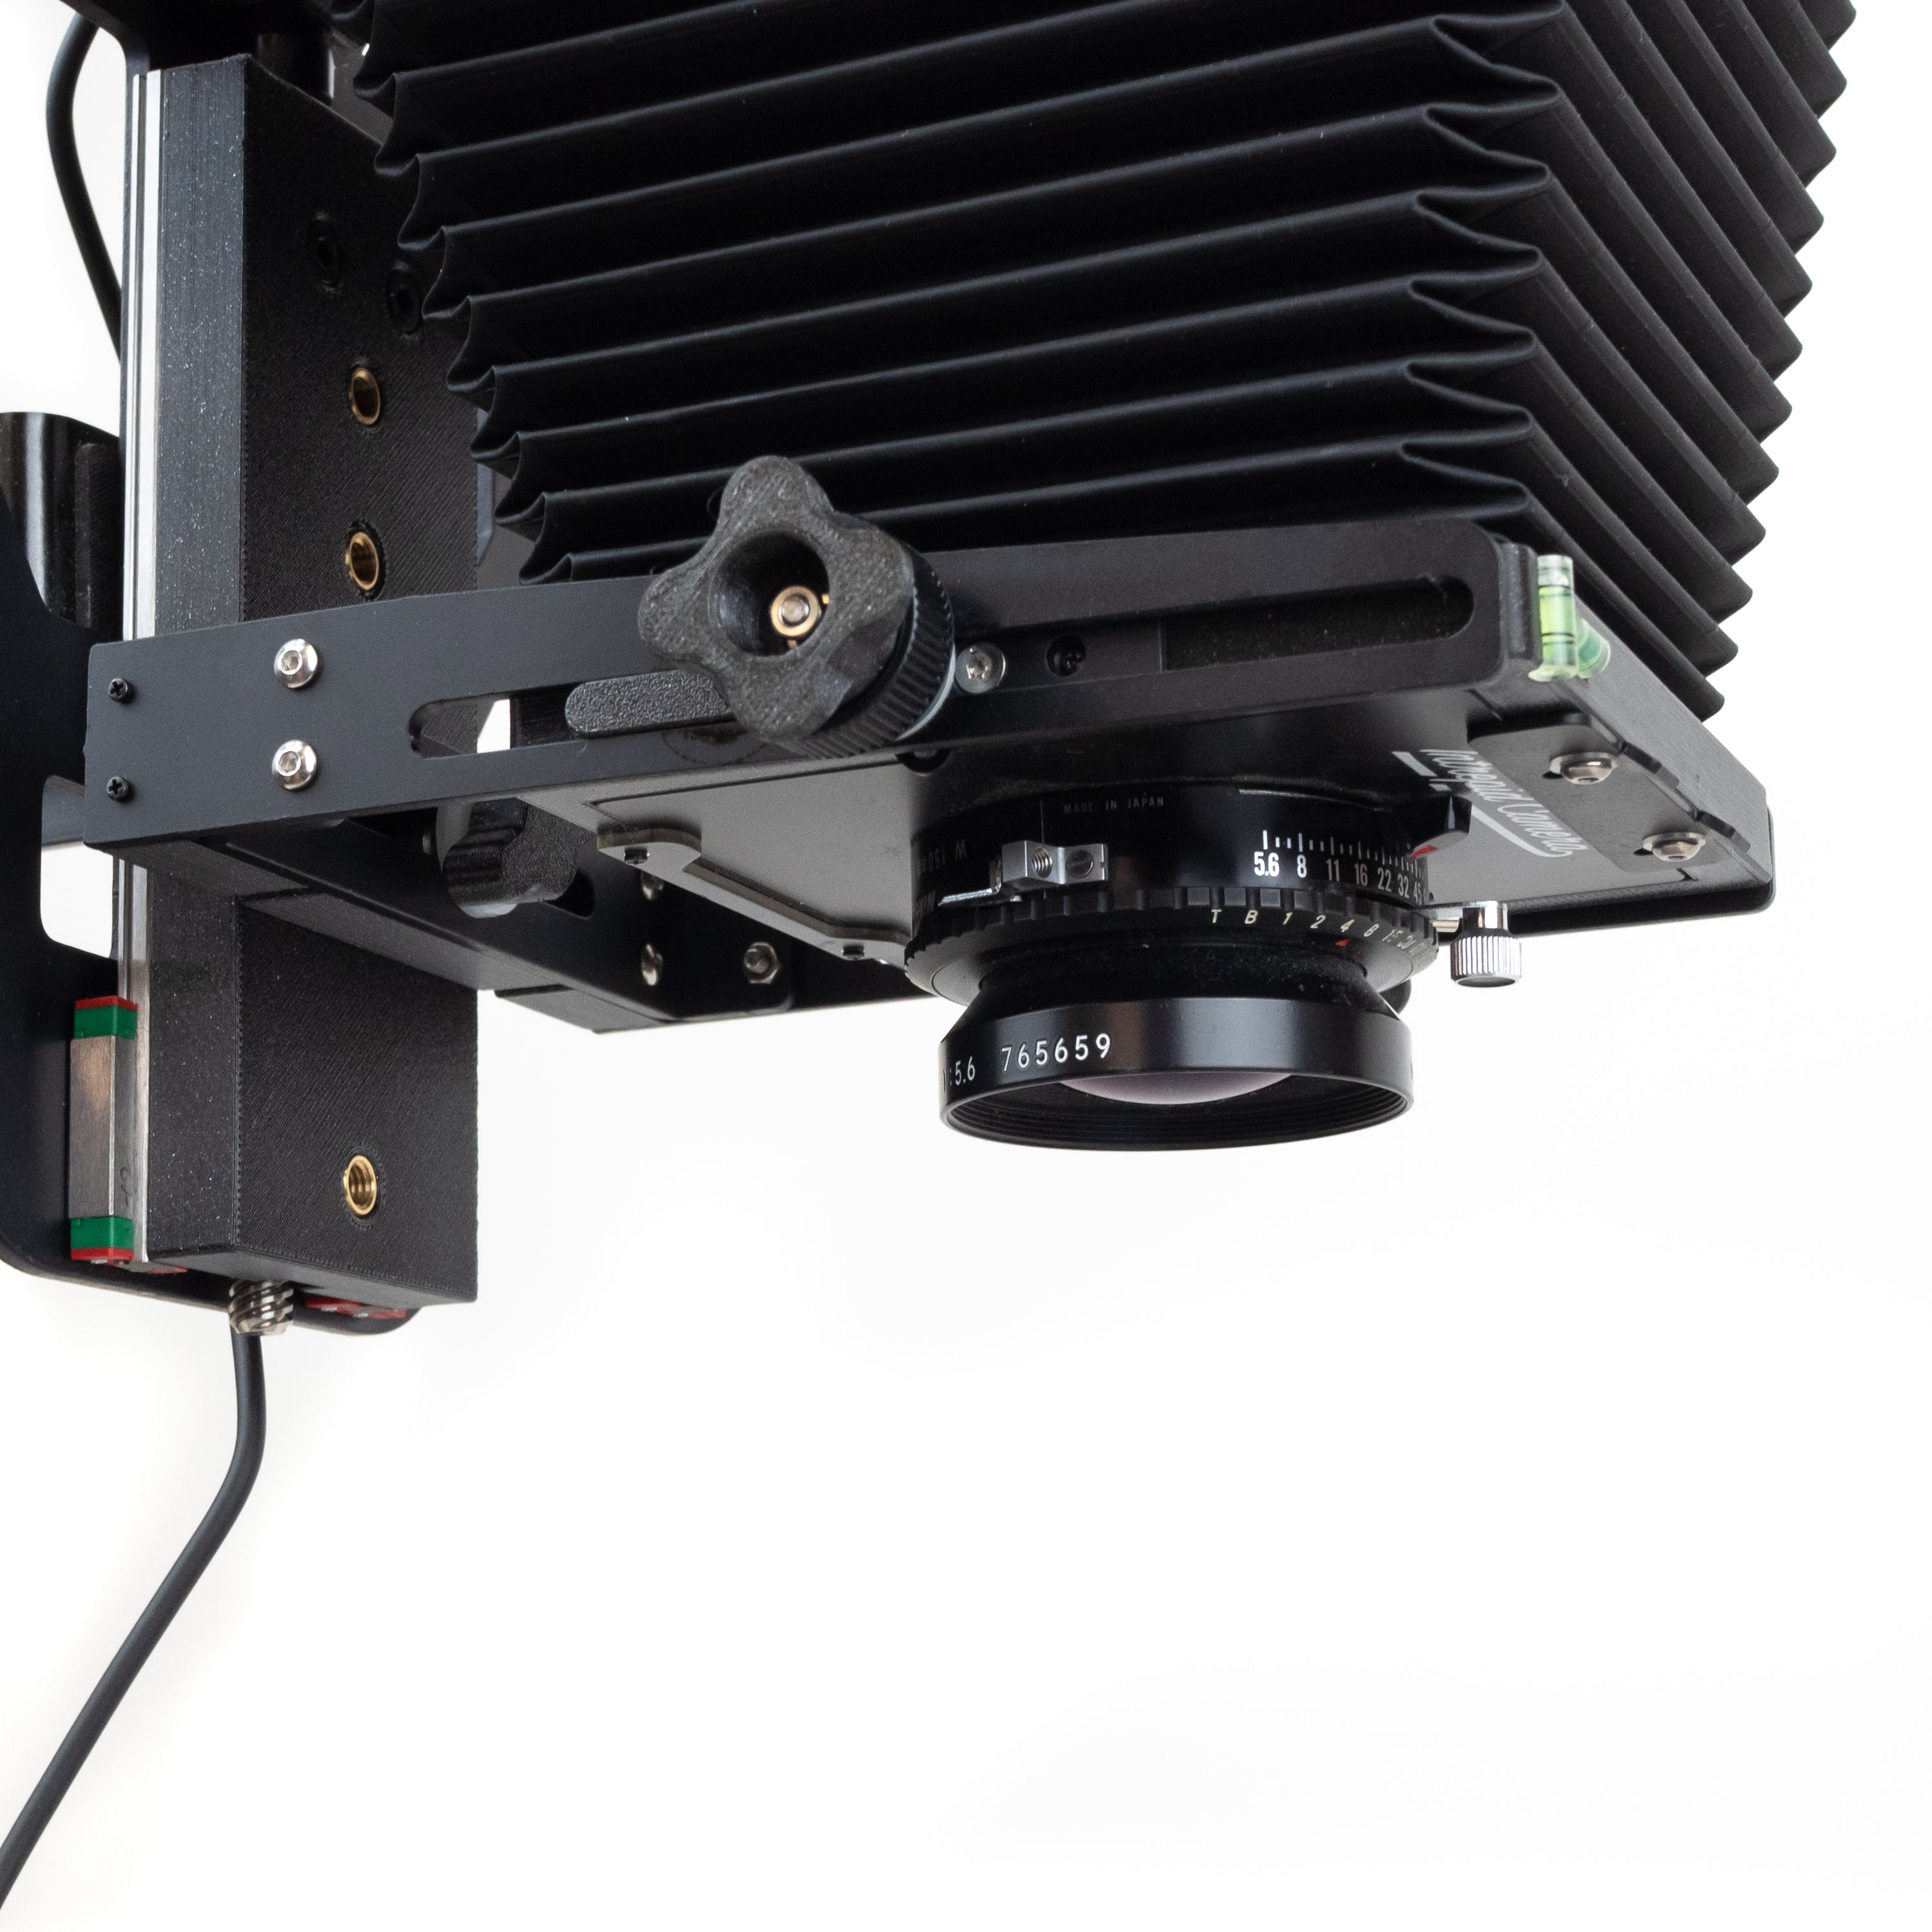
Attach Lens
Depending on the size of film you are enlarging you can use a variety of lenses. For 4x5 film we recommend a 150mm lens, this can either be an enlarger lens screwed into the supplied M39 lens board, or a normal large format lens. For smaller formats a 75mm to 105mm enlarger lens will work. 50mm enlarger lenses will not work with this setup.
04.
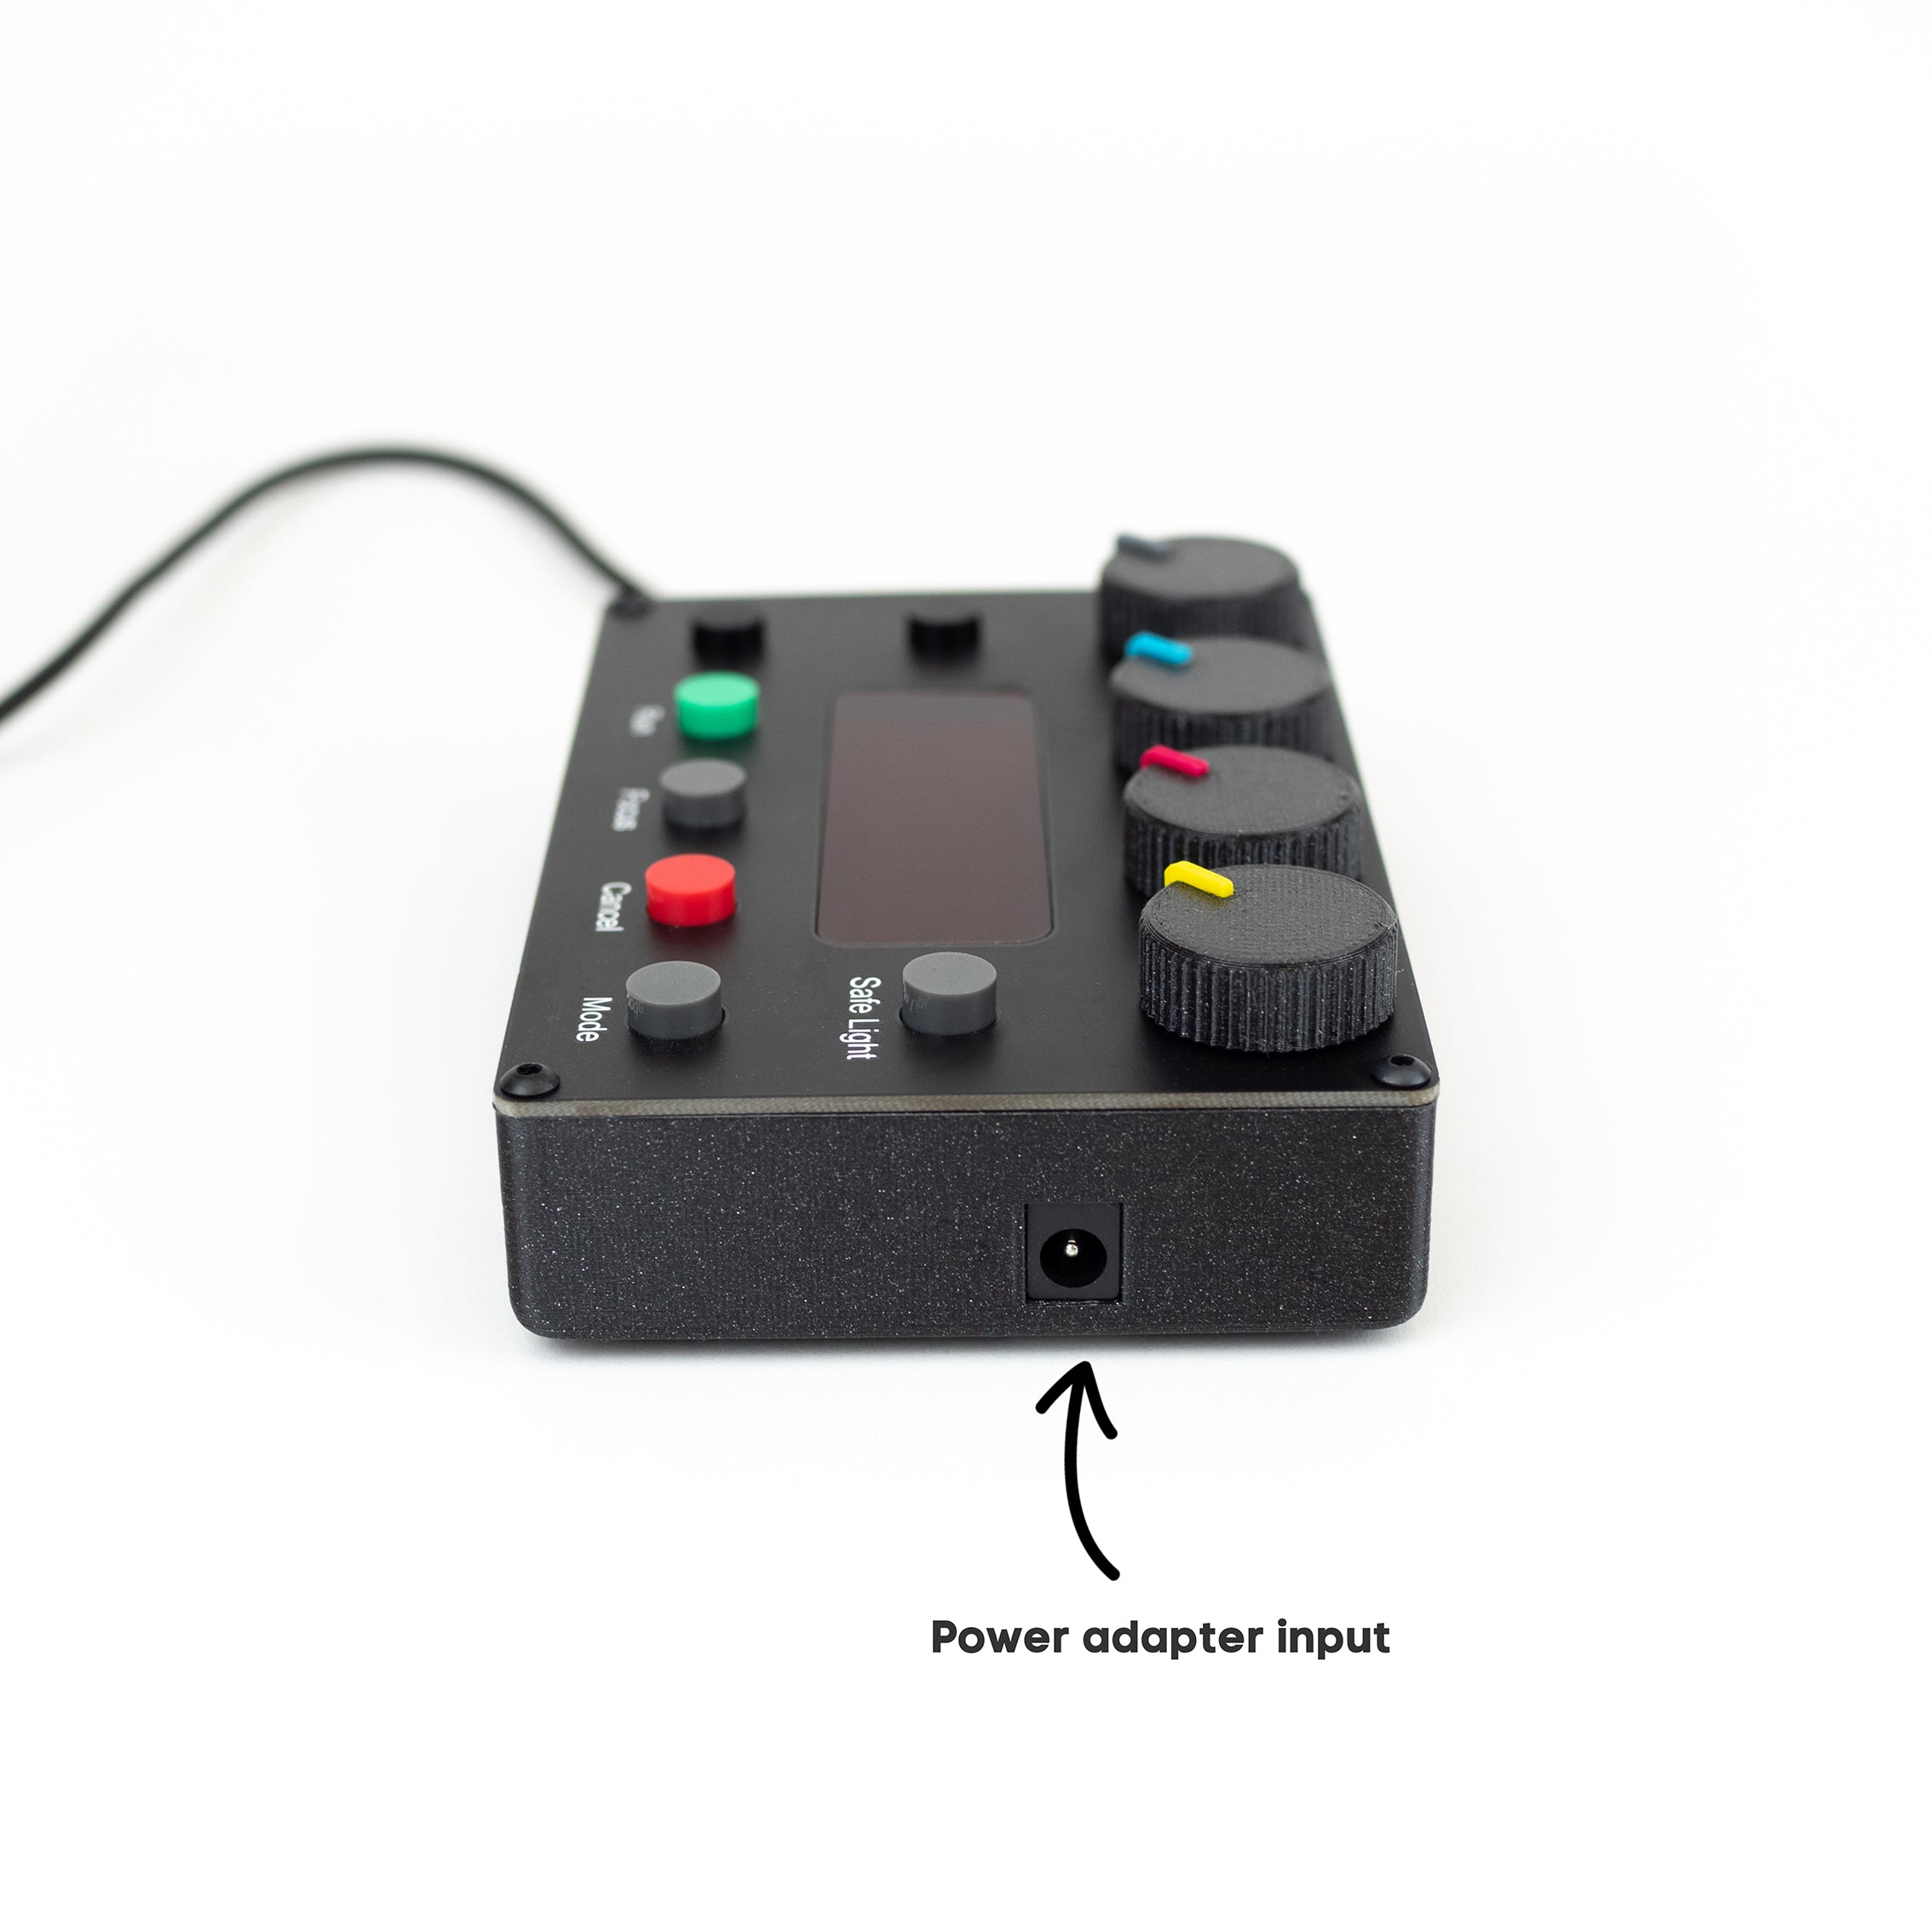
Attach Timer
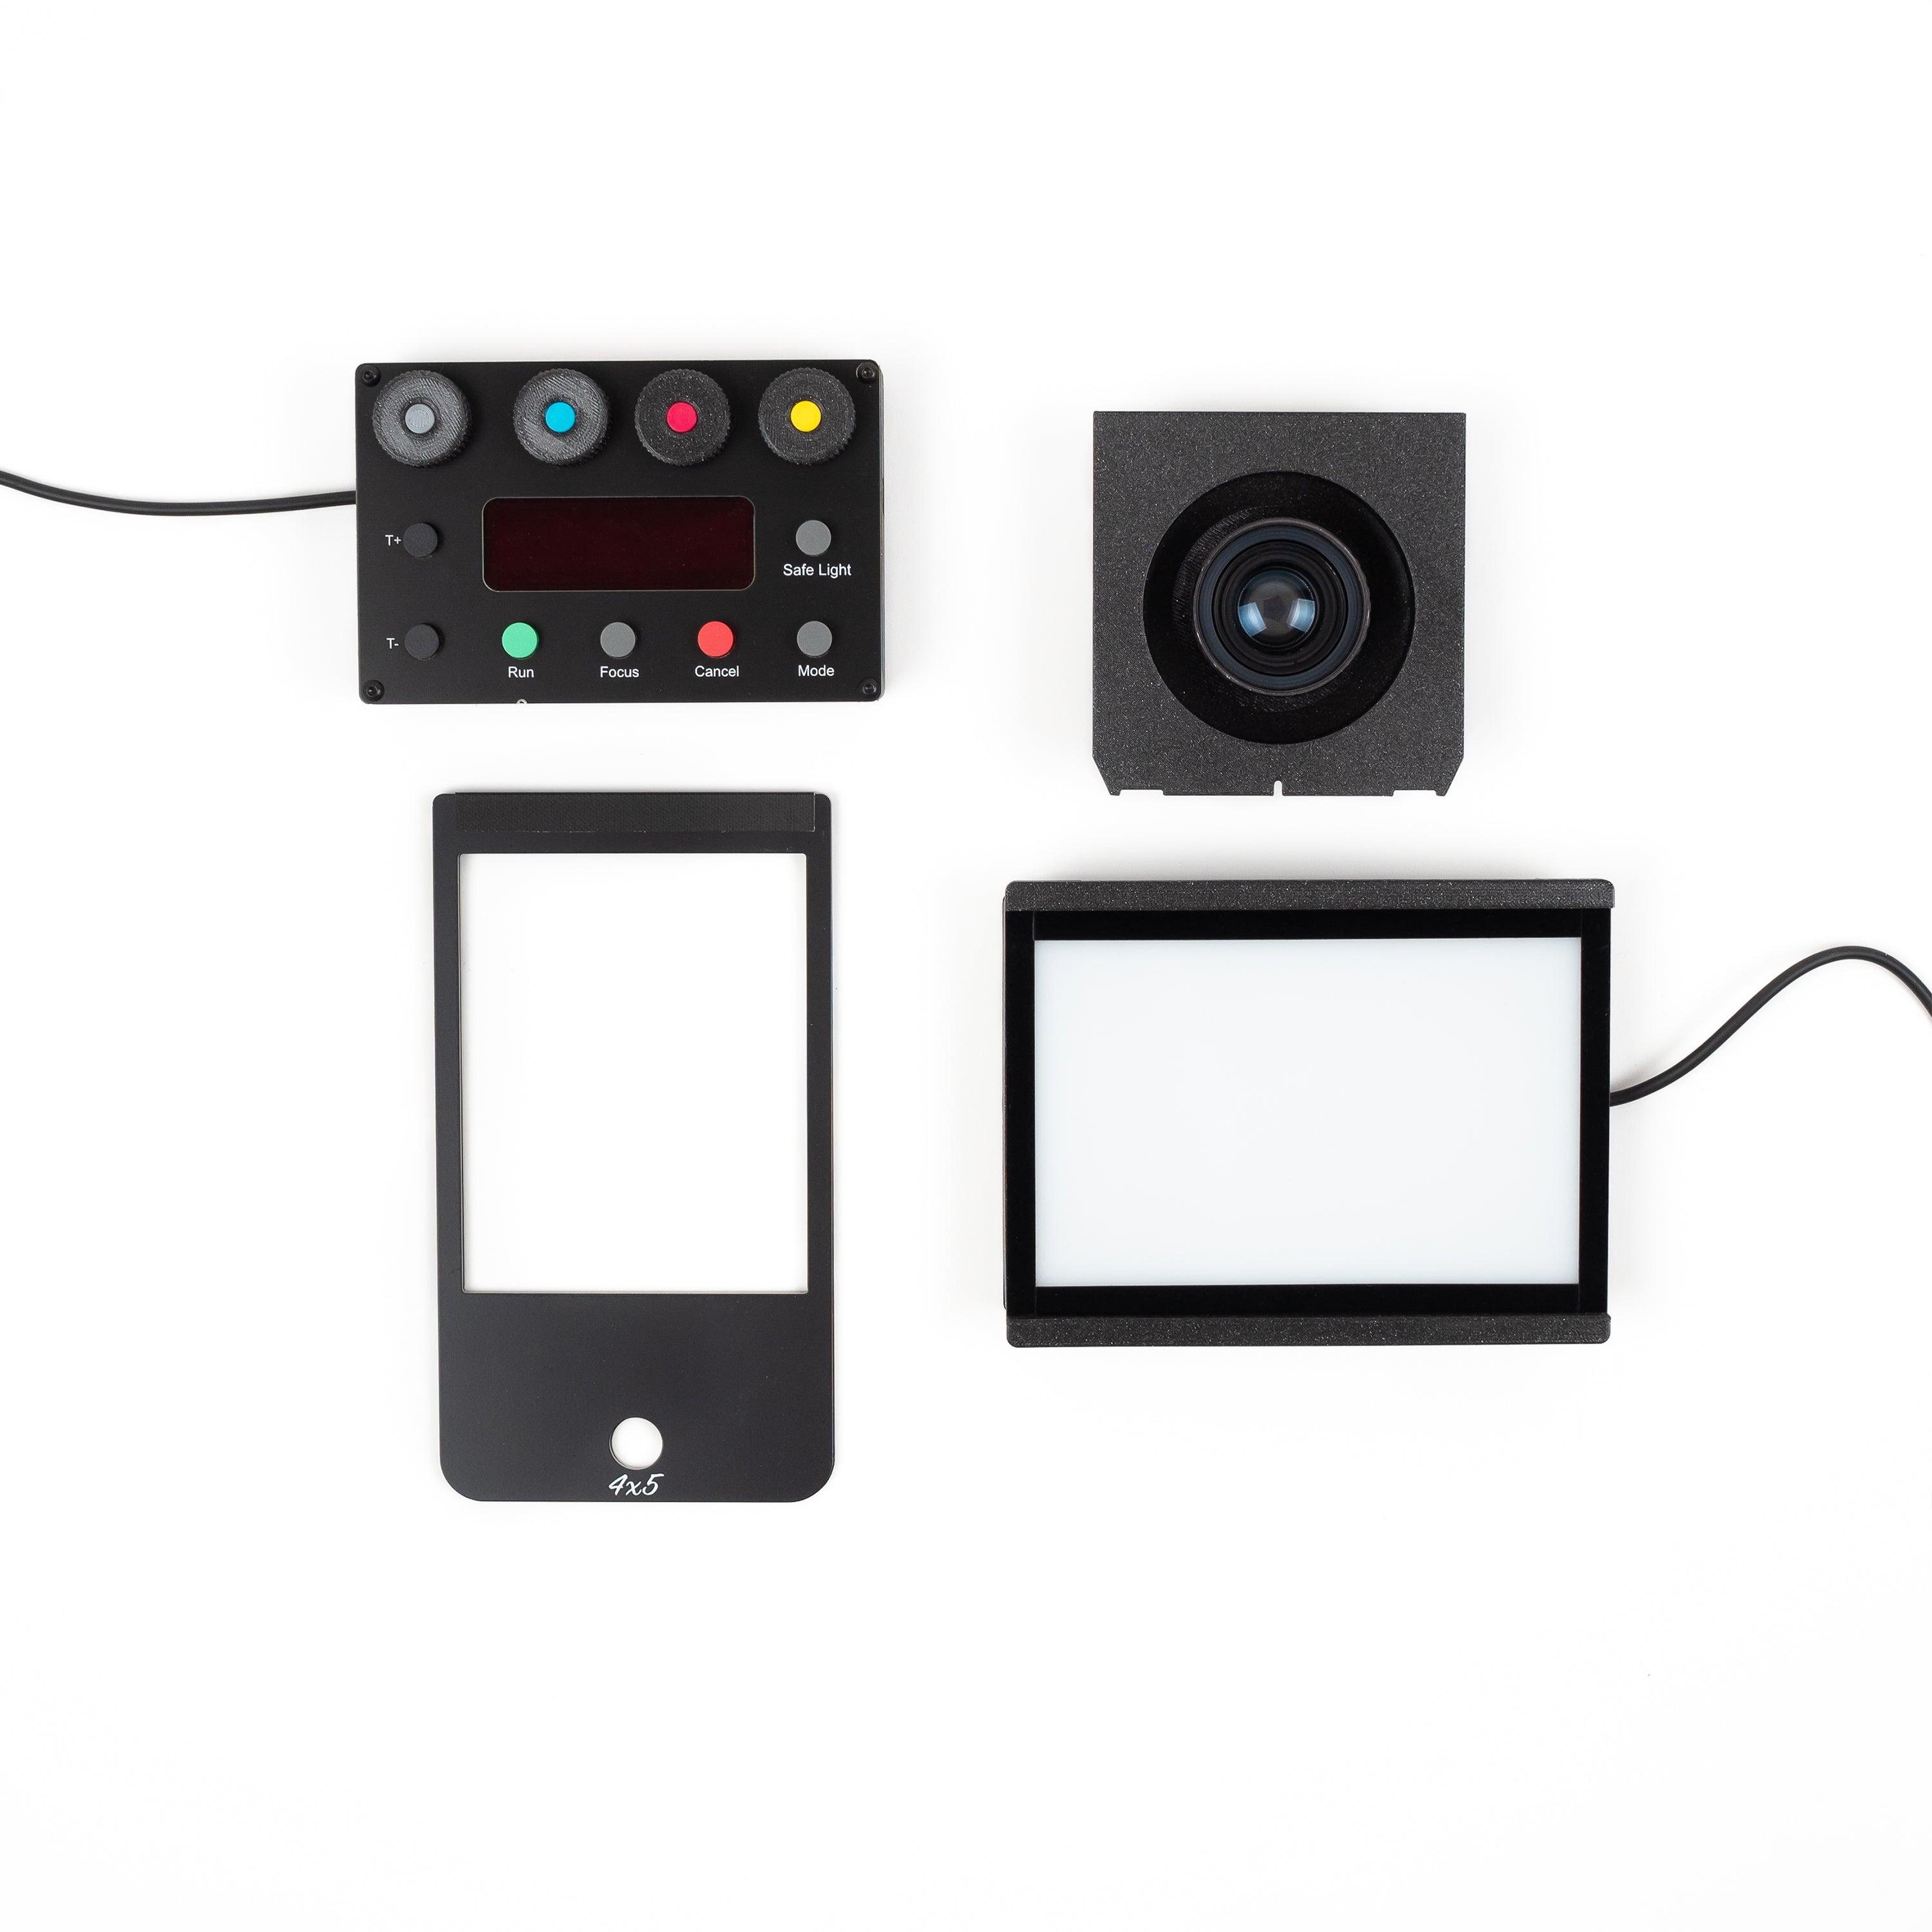
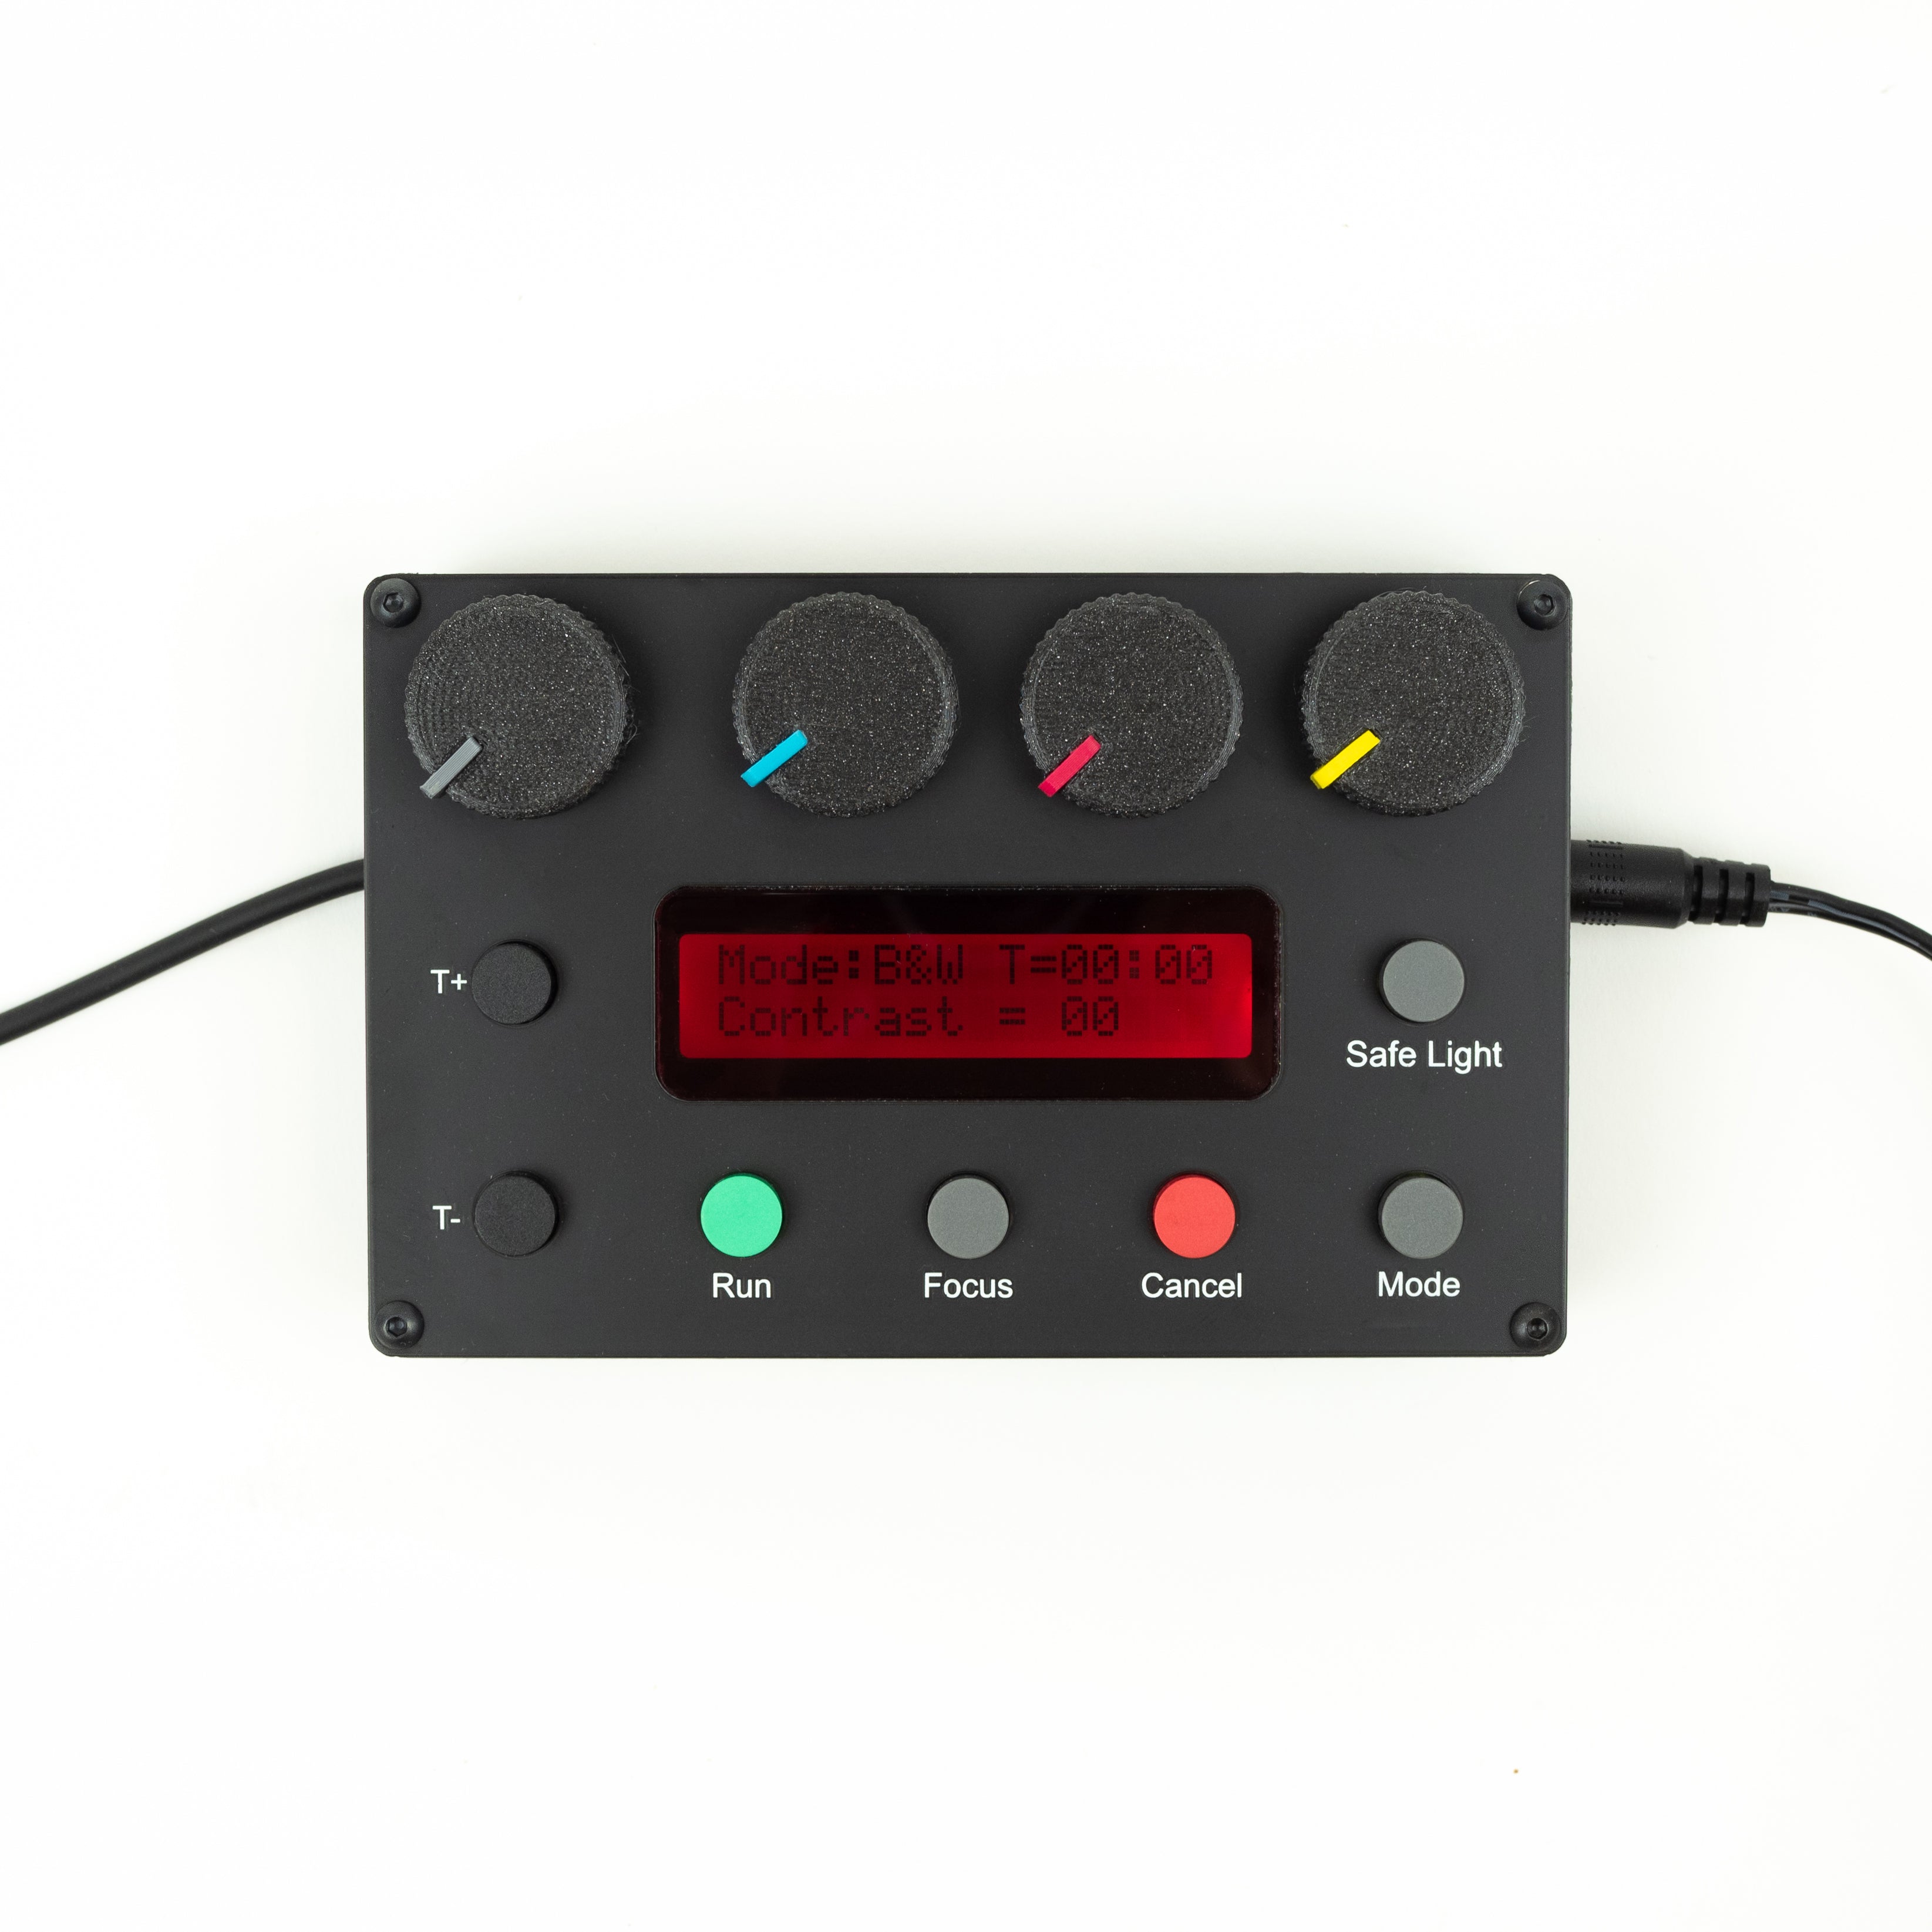
Plug the timer into the light source (if not connected) then plug in the power supply. Be very careful when attaching the timer, please follow the instructions in the Timer Quick Start Guide.
05.
Insert Negative Carrier
Load your film into the negative carrier and insert it into the enlarger via the gap at the front. This is a good opportunity to double check that your set up is parallel with your enlarger easel.
06.
Set Timer Mode
Select the correct mode on the timer (see included Timer Guide for more details).
By Intrepid Camera | Oct, 2022