Rikard Österlund's Guide to Wet Plate Collodion
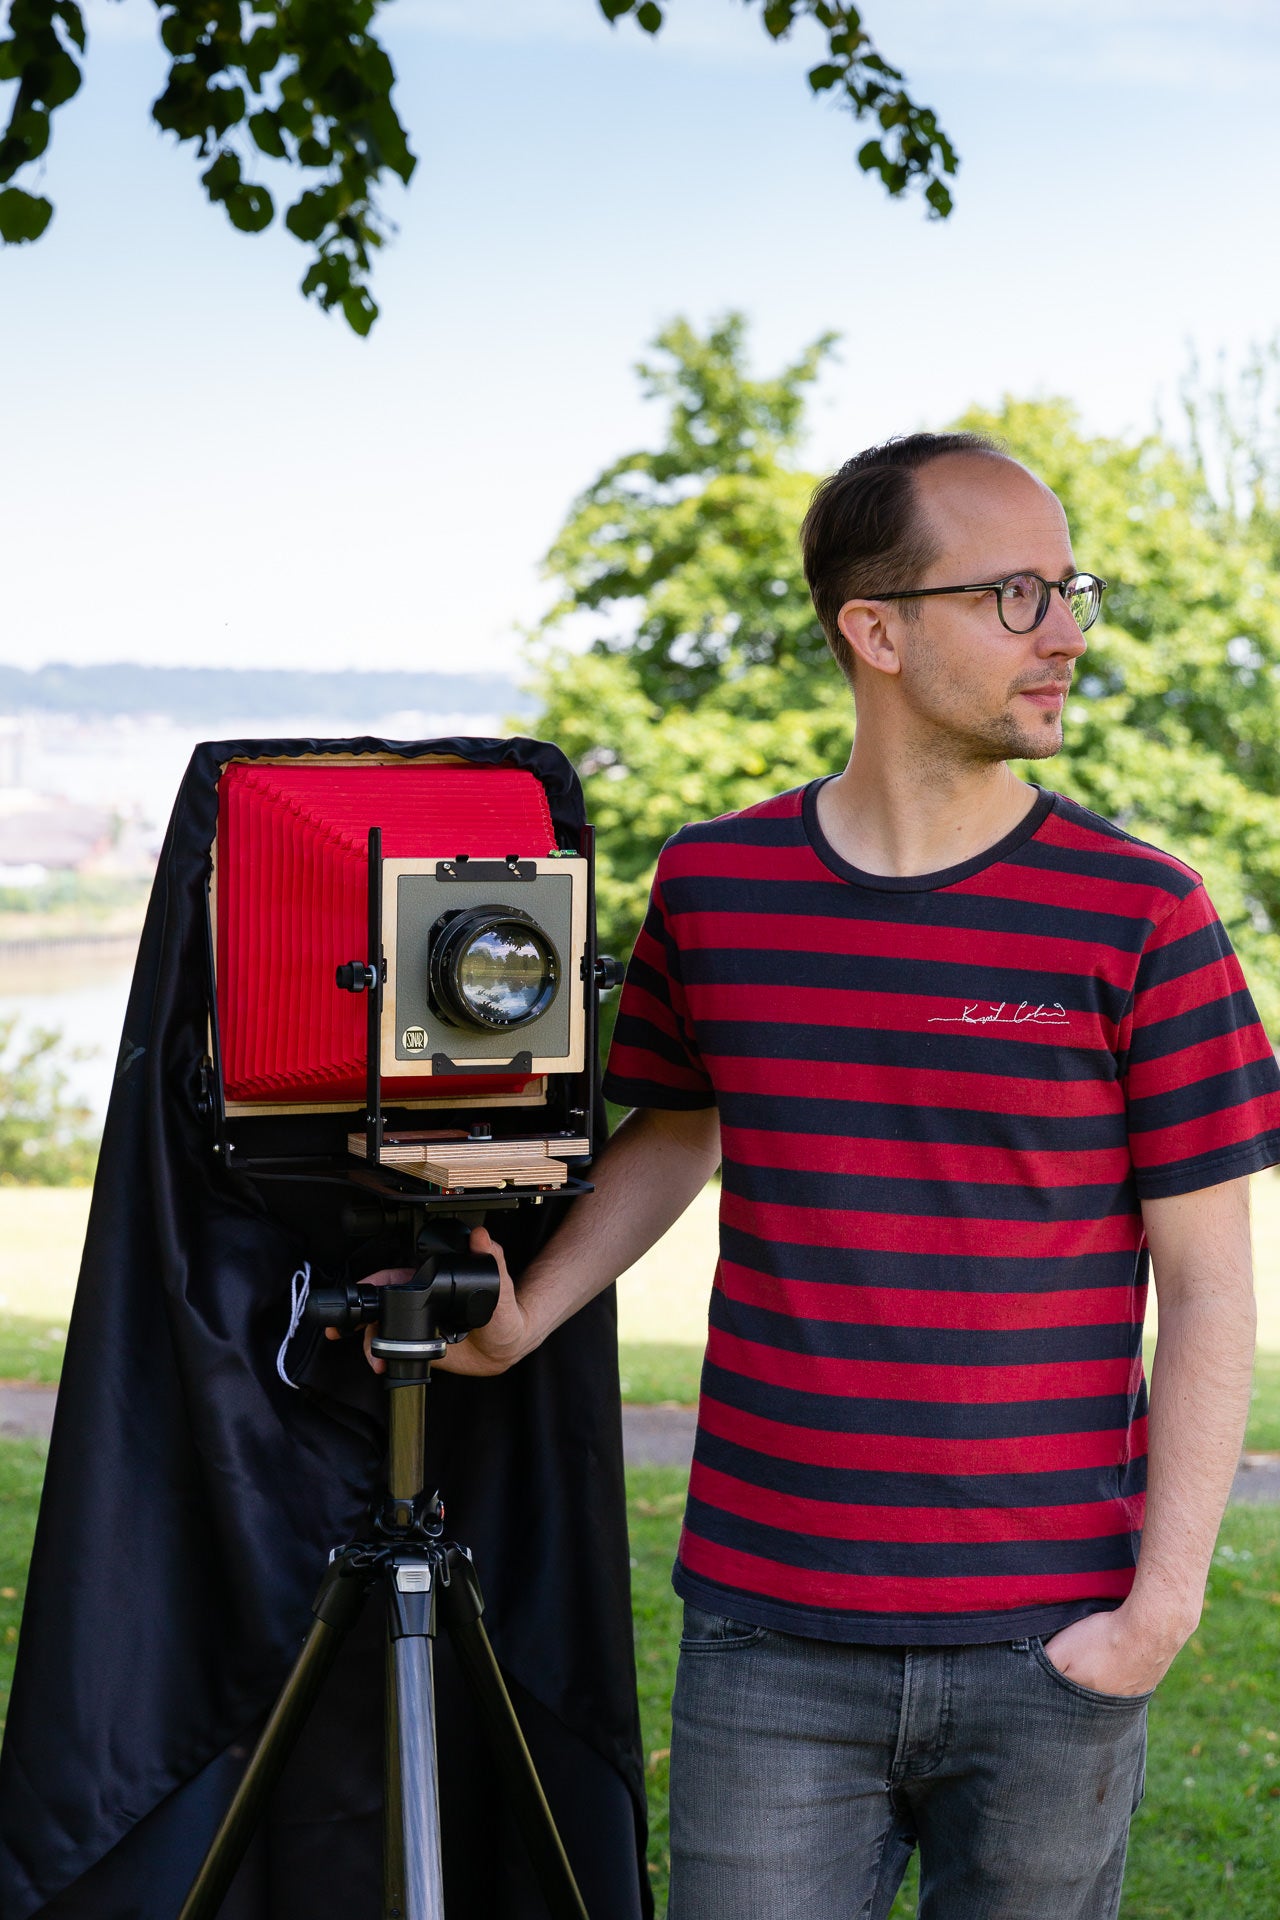
Rikard is a UK-based photography specialising in Collodion and alternative proccesses.
I first was drawn to wet plates because I was really missing the darkroom. As a working photographer all my commissioned work these days is digital, but I was getting tired of looking at screens and wanted to get my hands dirty in the darkroom again (I didn’t know how dirty they would get - silver nitrate stains everything!) Fascinated by the photographs of Julia Margaret Cameron and Sally Mann I learnt the process in 2014 at a workshop with John Brewer. I spent many (many!) months afterwards setting up my own space in Rochester, Kent, all whilst testing different cameras, lenses, lights, chemistry. These days I do portrait sittings and run my own workshops.
A brief introduction
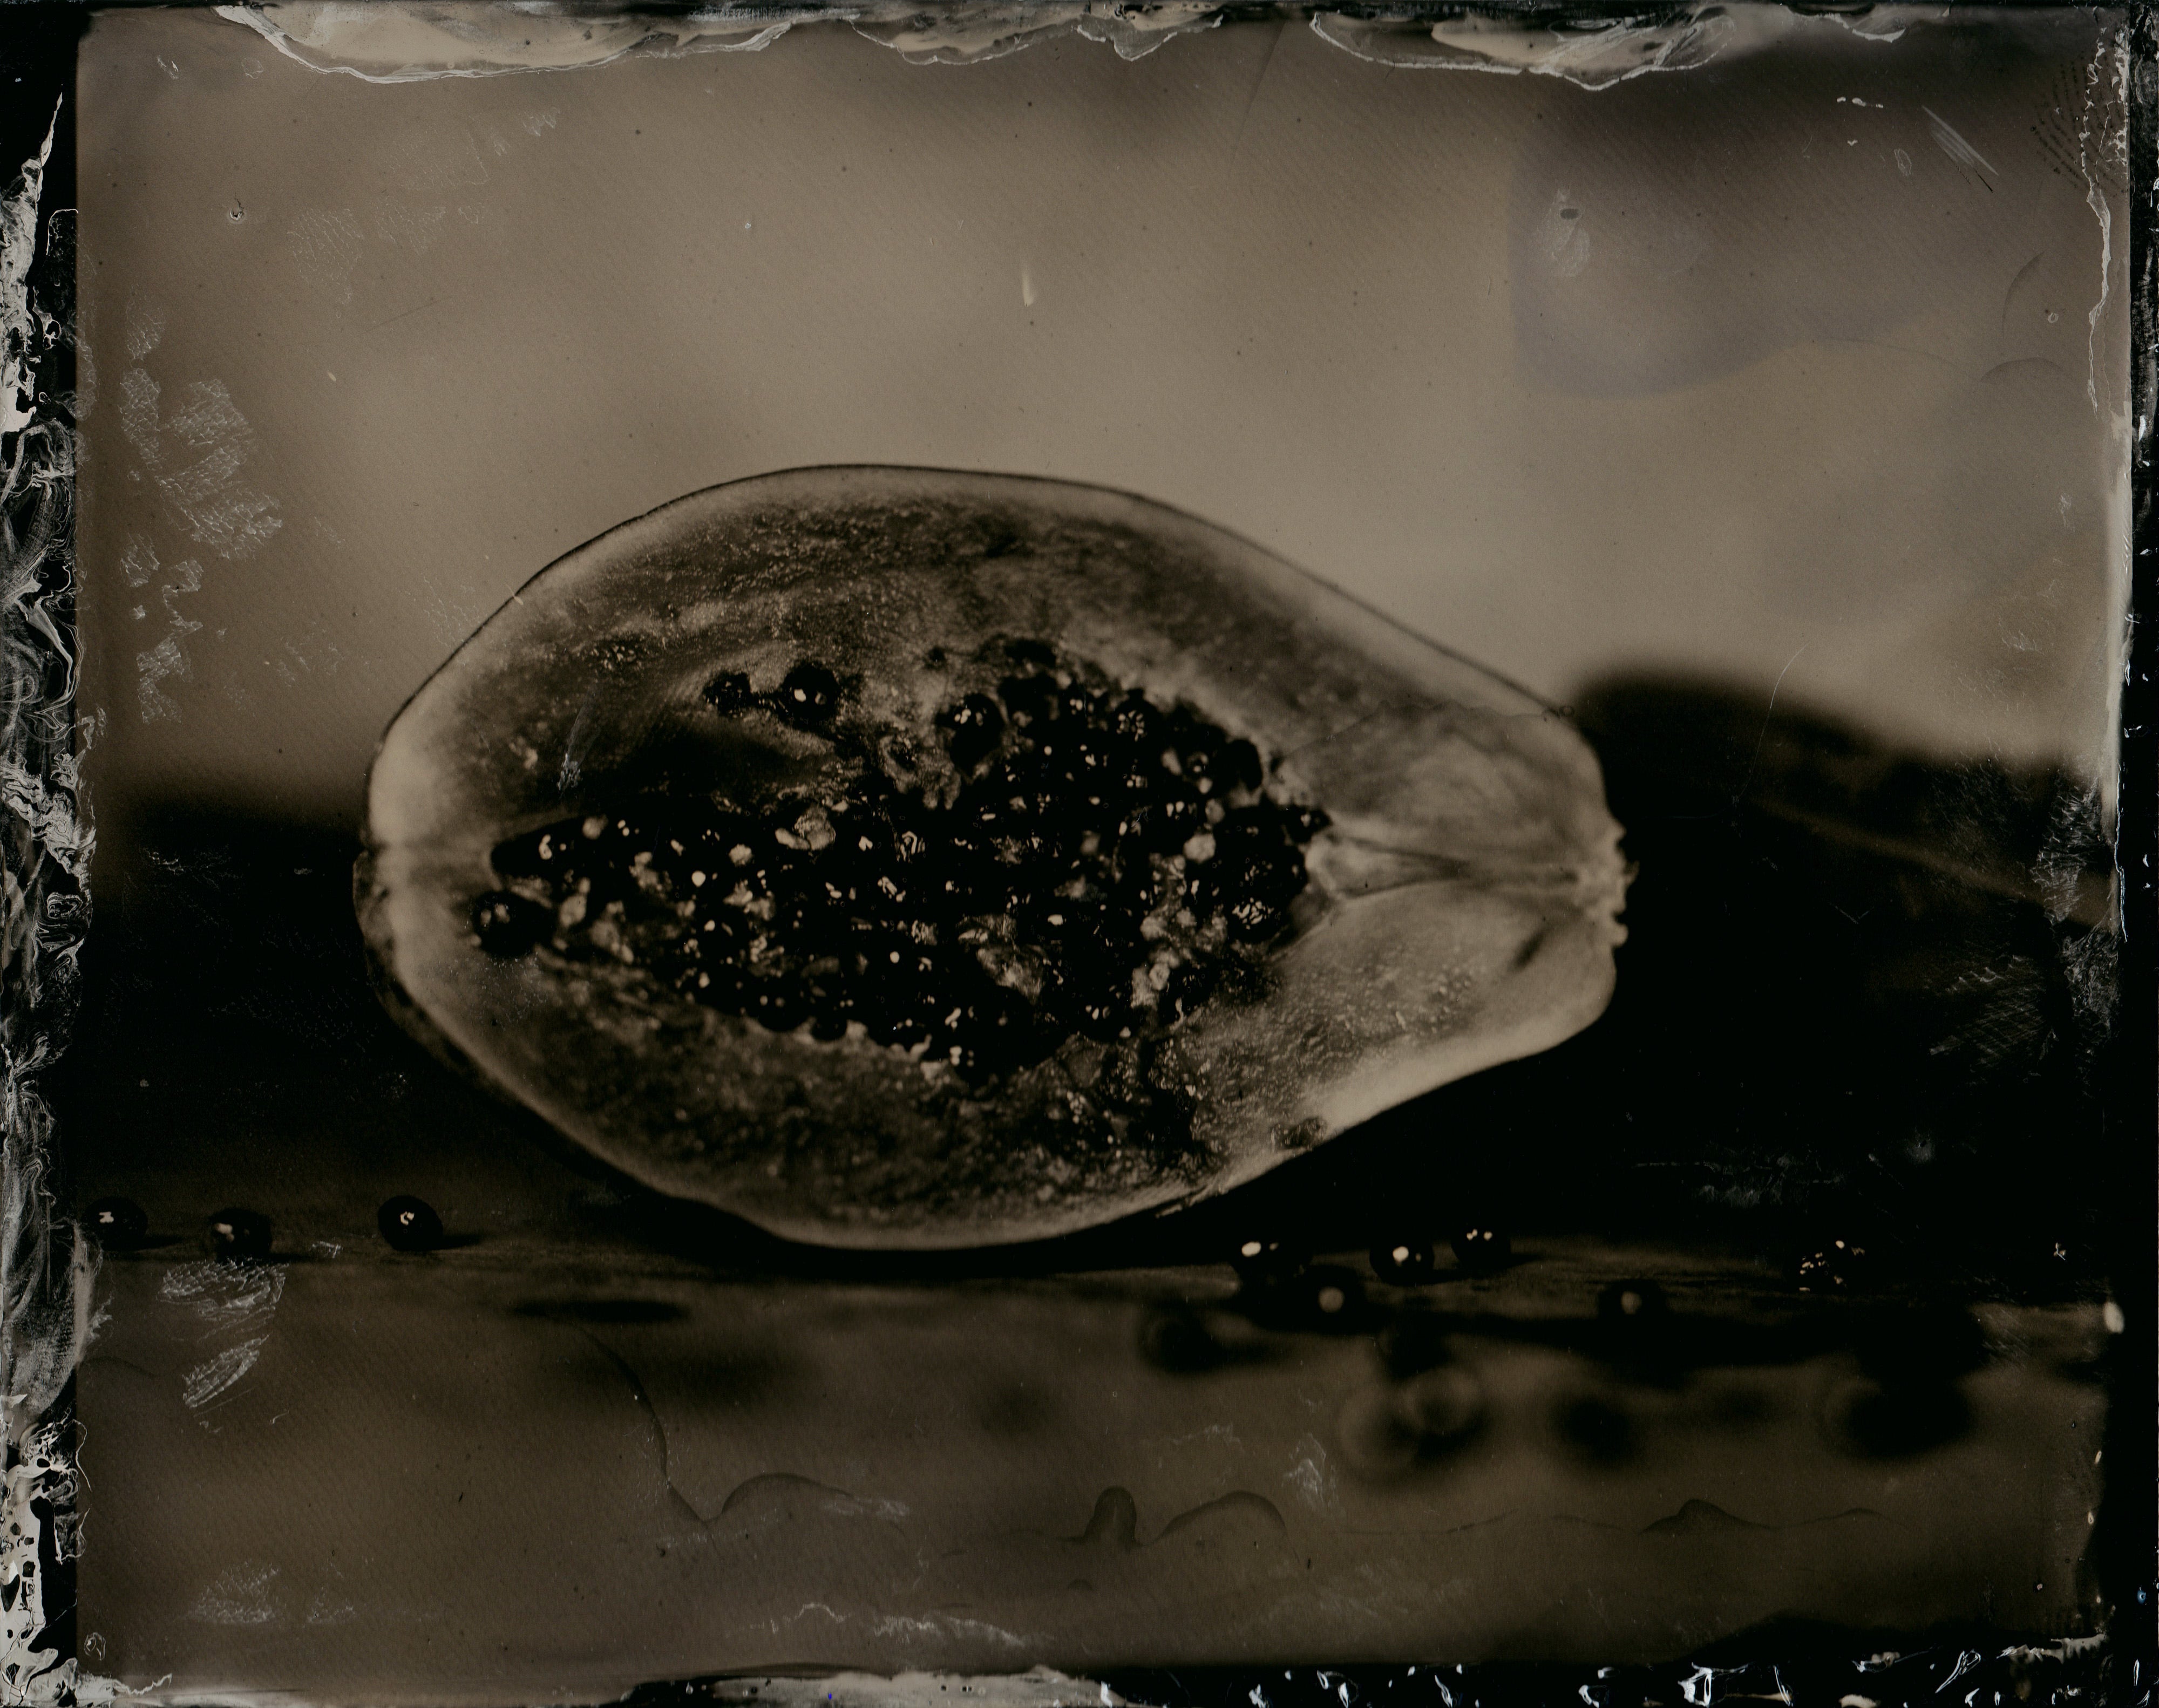
Wet plate collodion is one of the earliest photographic processes invented in the early 1850’s by Frederic Scott Archer. It involves coating a piece of glass or metal with a collodion emulsion, sensitising it in silver nitrate and then making the picture immediately so that it can be developed before the emulsion dries (i.e. whilst it is still wet, hence the name wet plate).
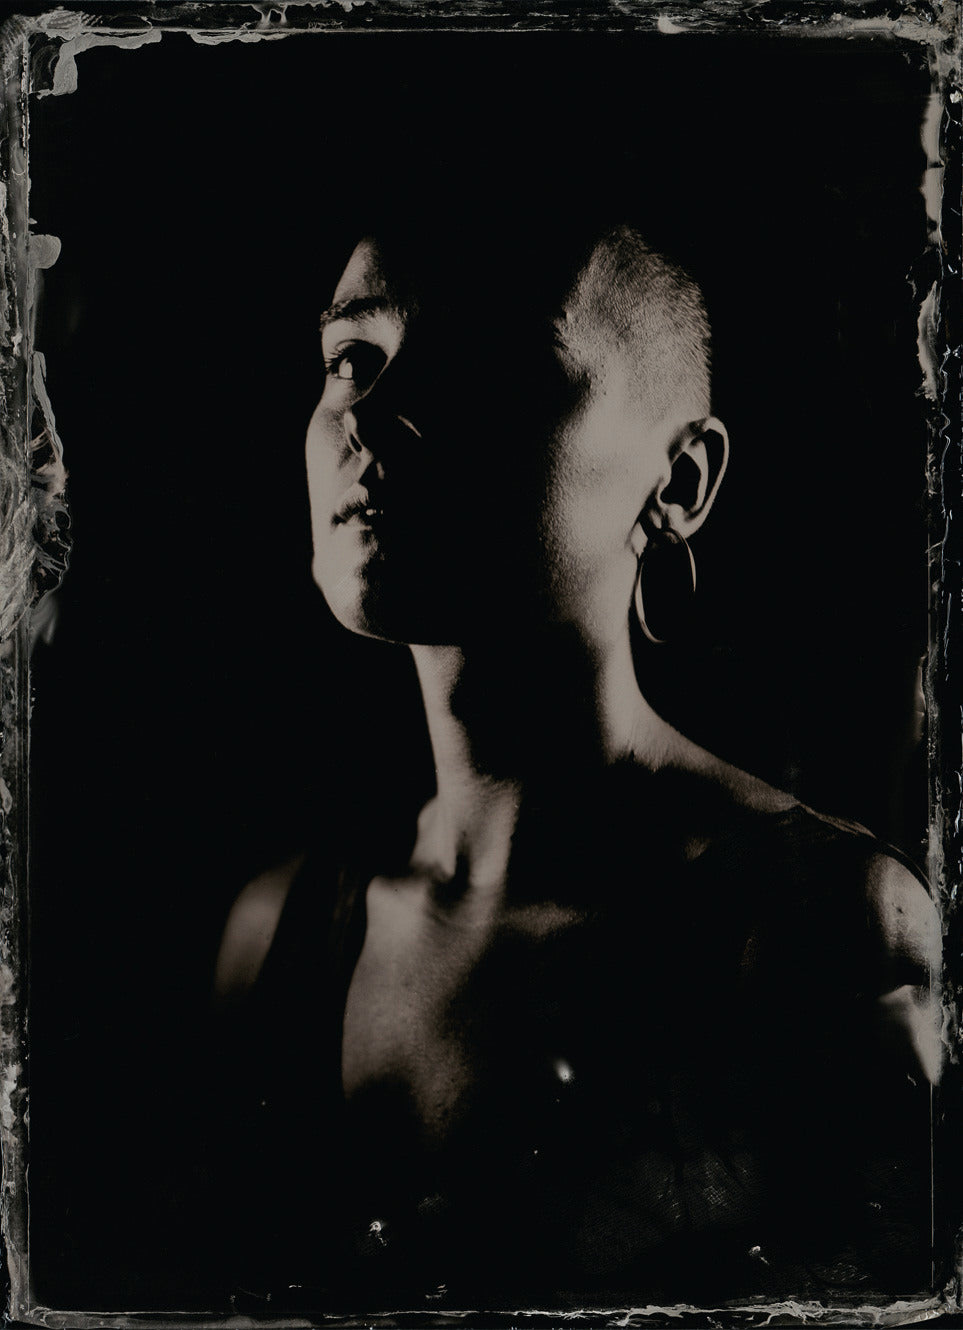
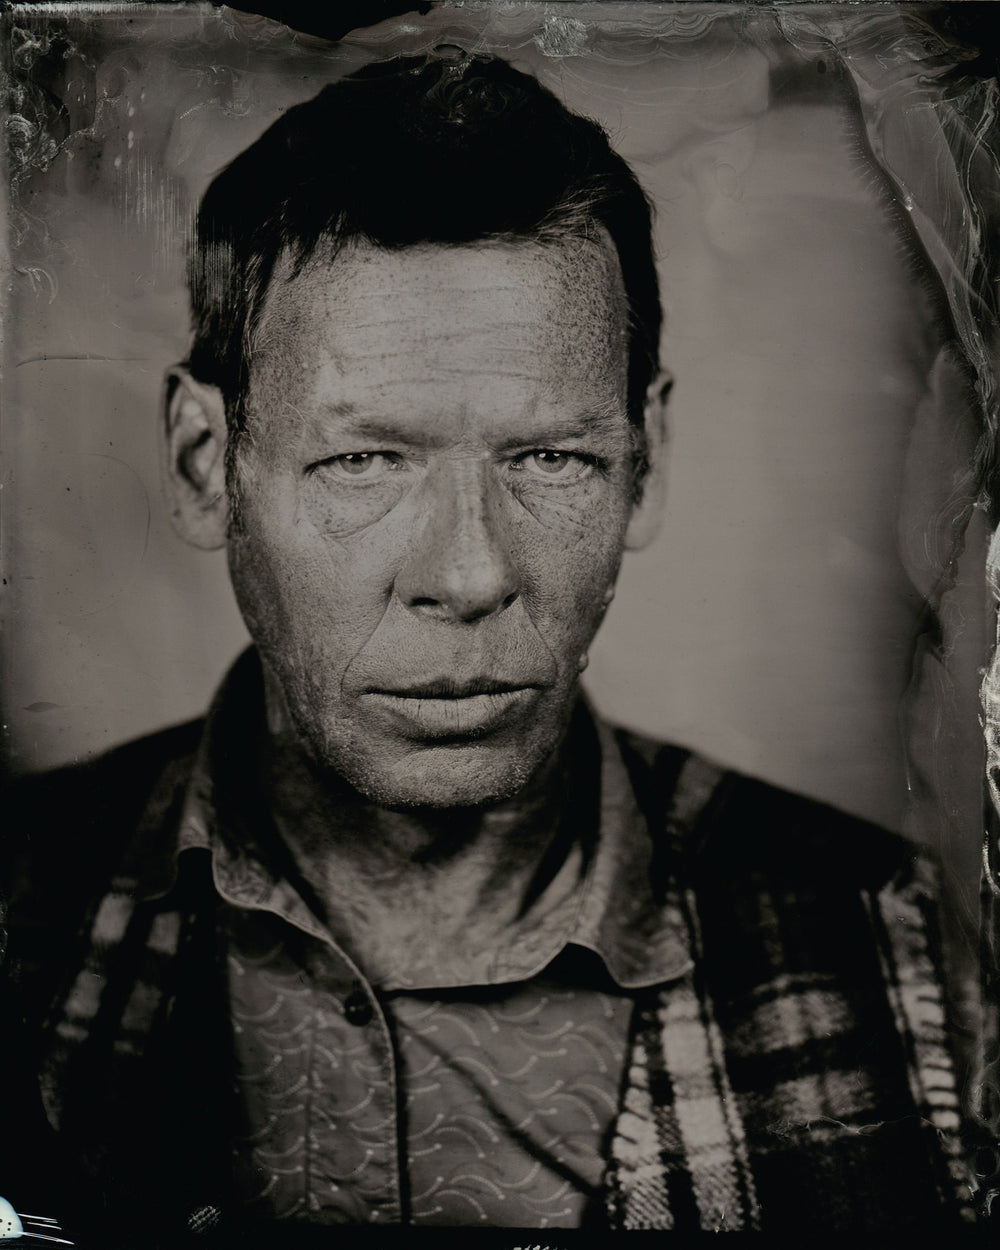
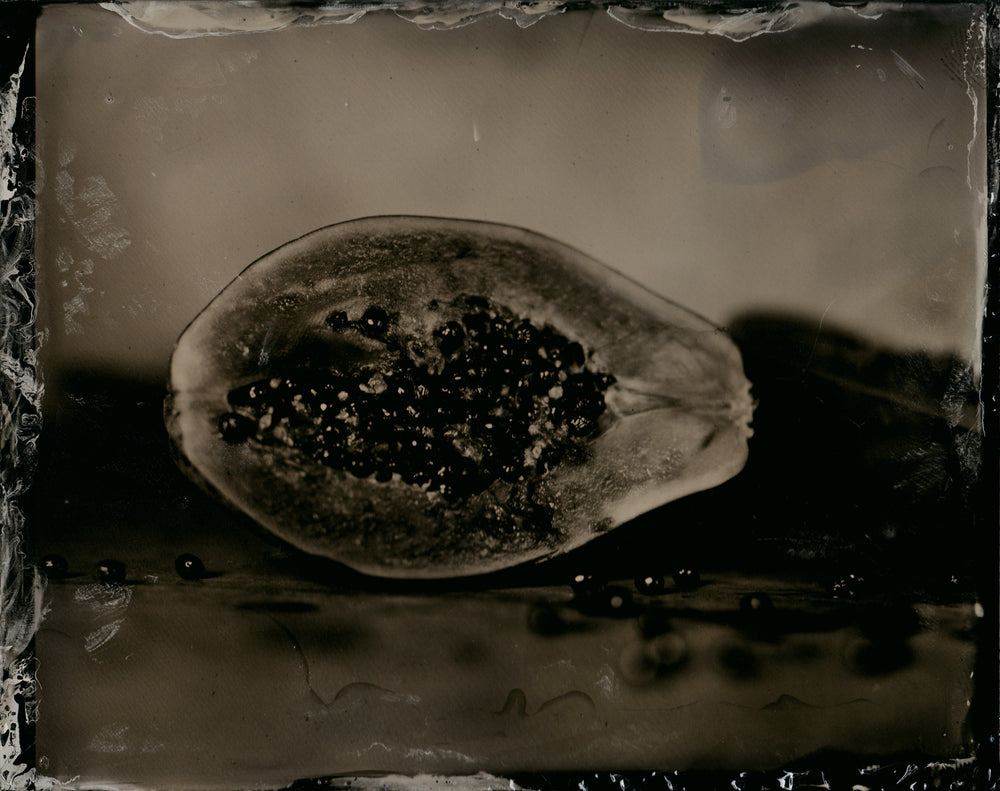
They have a beautiful quality inherent in the craft behind each image, showing signs of the steadiness of your hands and the state of your chemicals. The emulsion is more sensitive to light in the blue (UV) end of the spectrum and render colours and skin differently from a digital sensor or film. Photographs from the Crimean War (see Roger Fenton) and the American Civil War (Alexander Gardner) were made using this process as albumen prints from wet plate negatives.
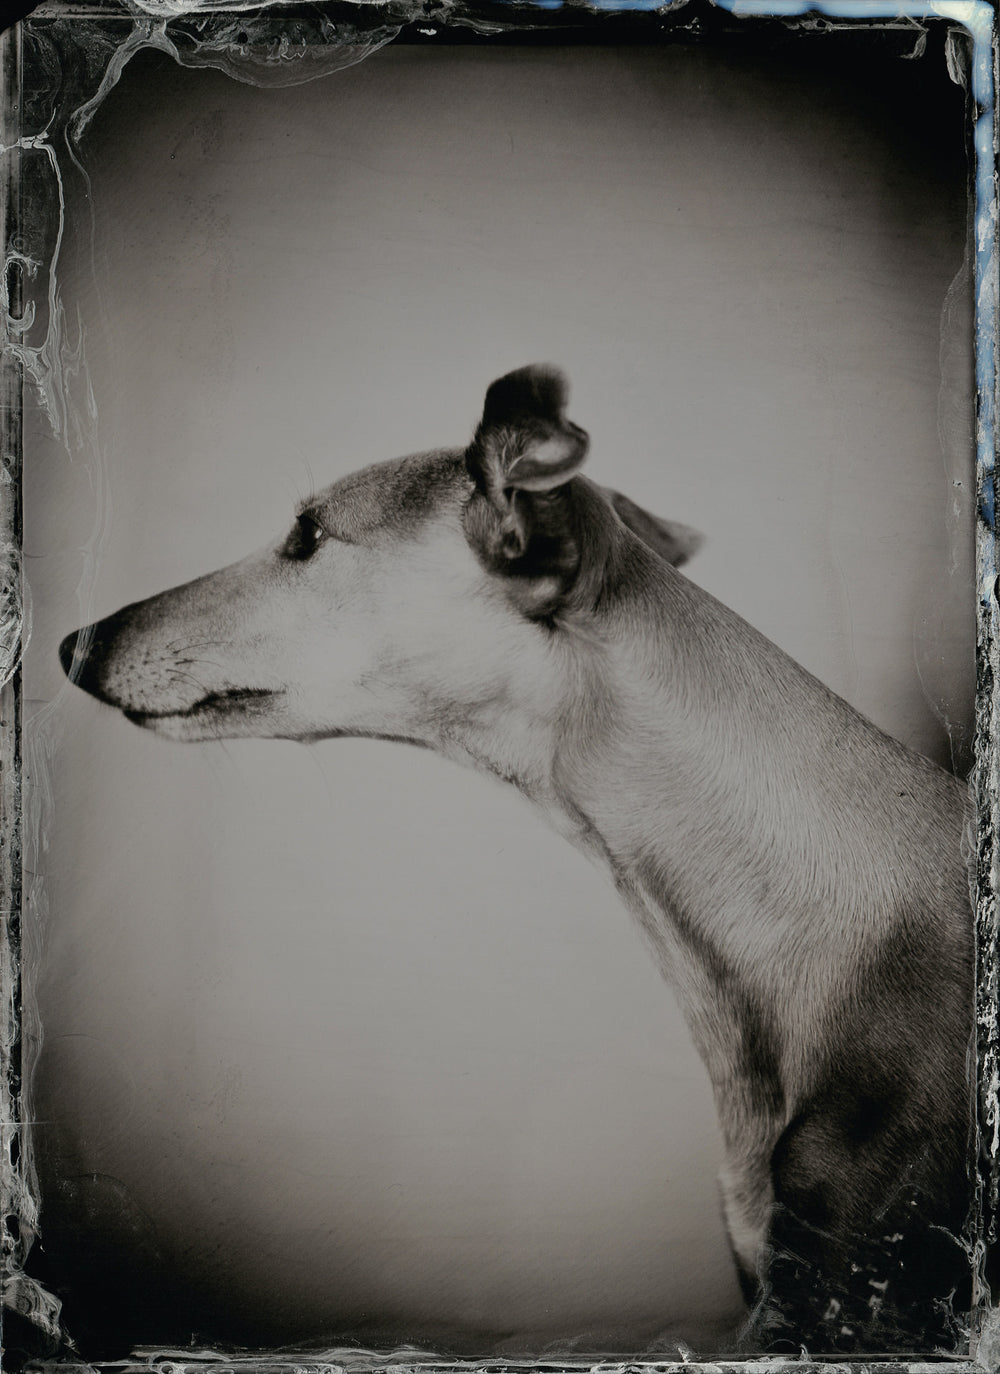
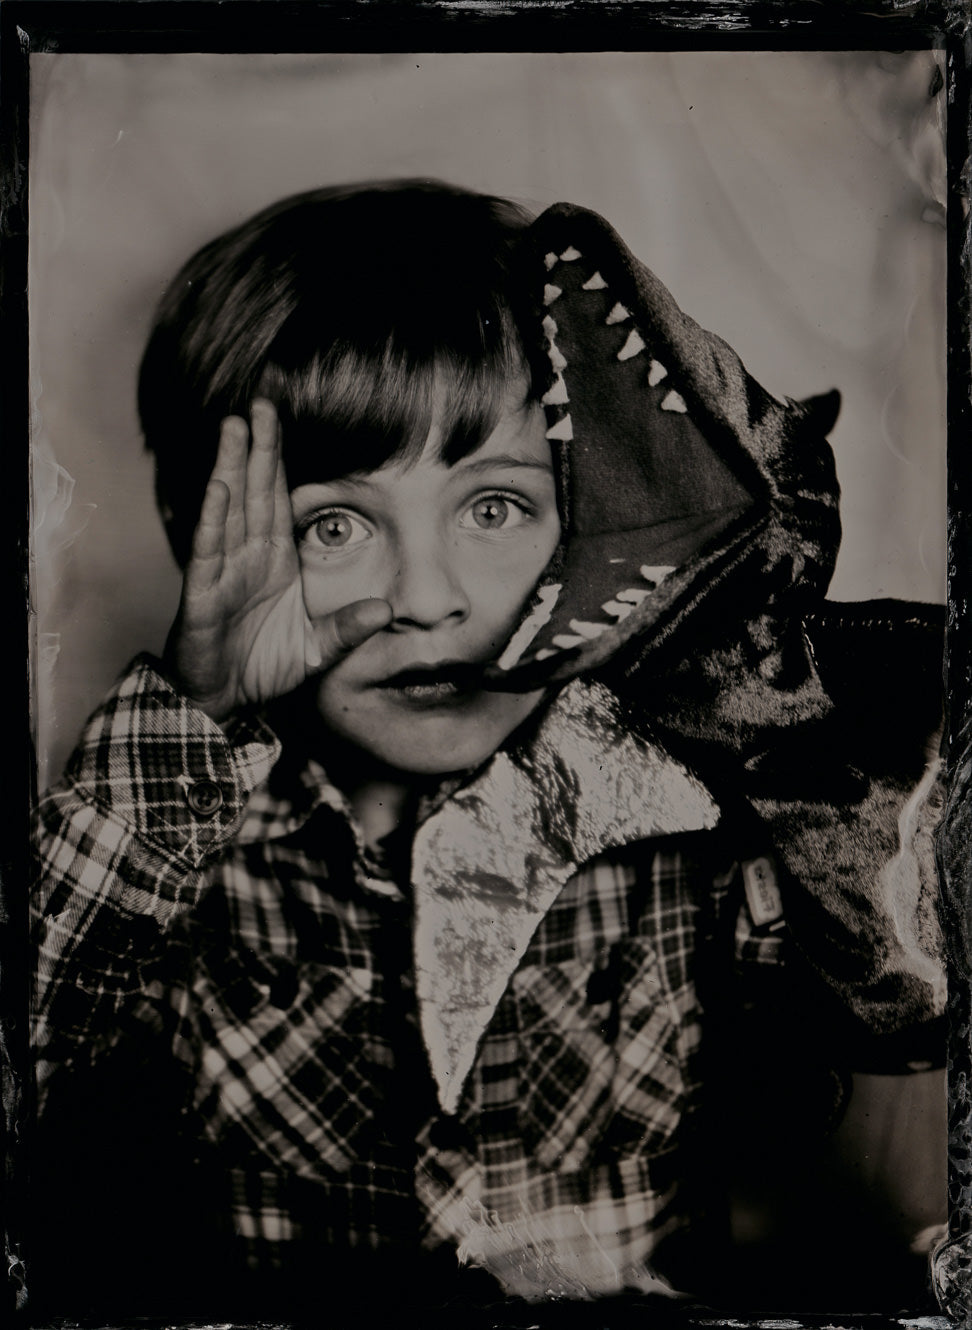
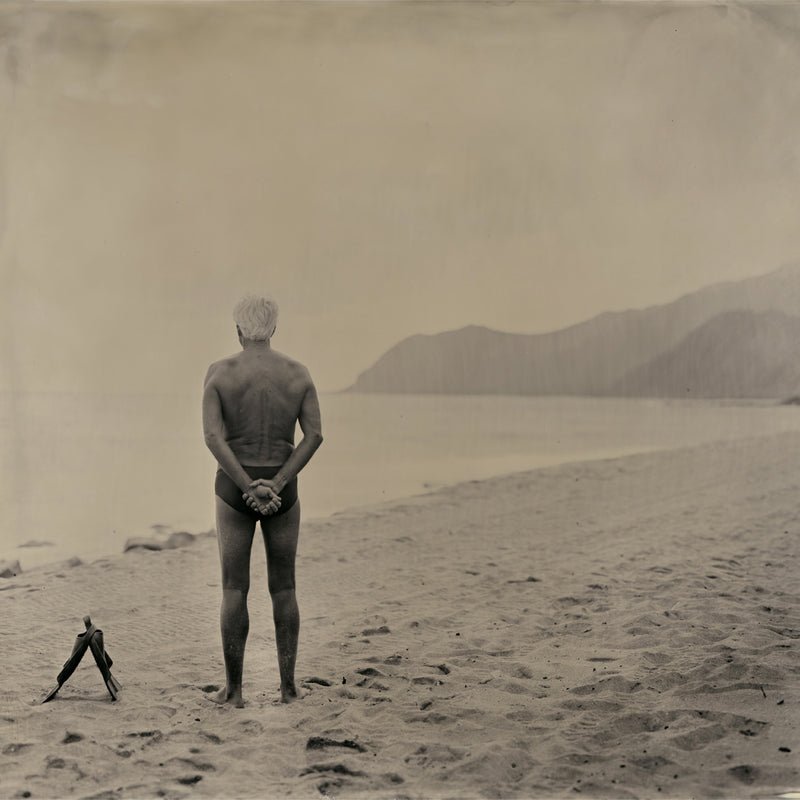
Most of the plates I make today are straight positives, meaning that each image is a one-off - like a Polaroid. Positives are called ambrotypes if they are on glass, or tintypes/ferrotypes if they’re on metal (most modern practitioners use aluminium).
The Camera & Plate Holders
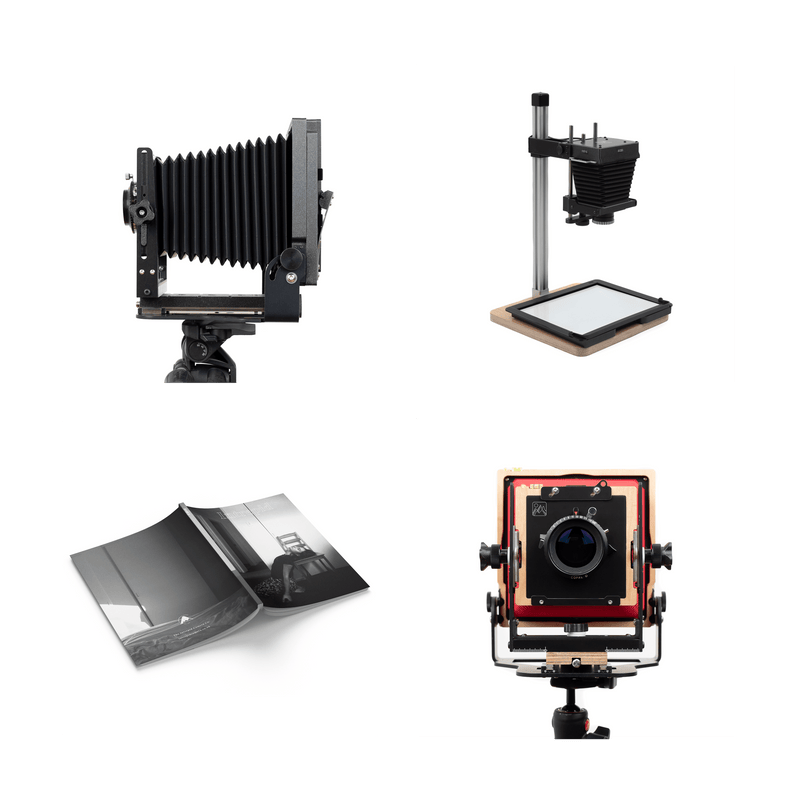
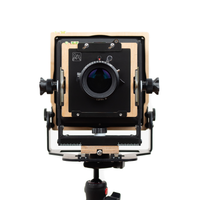
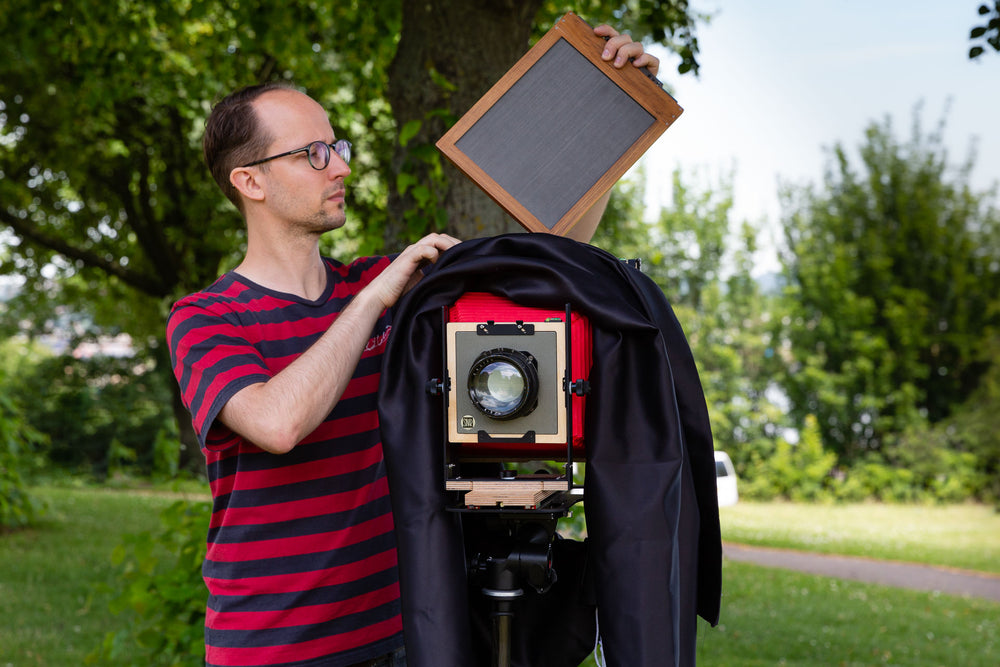
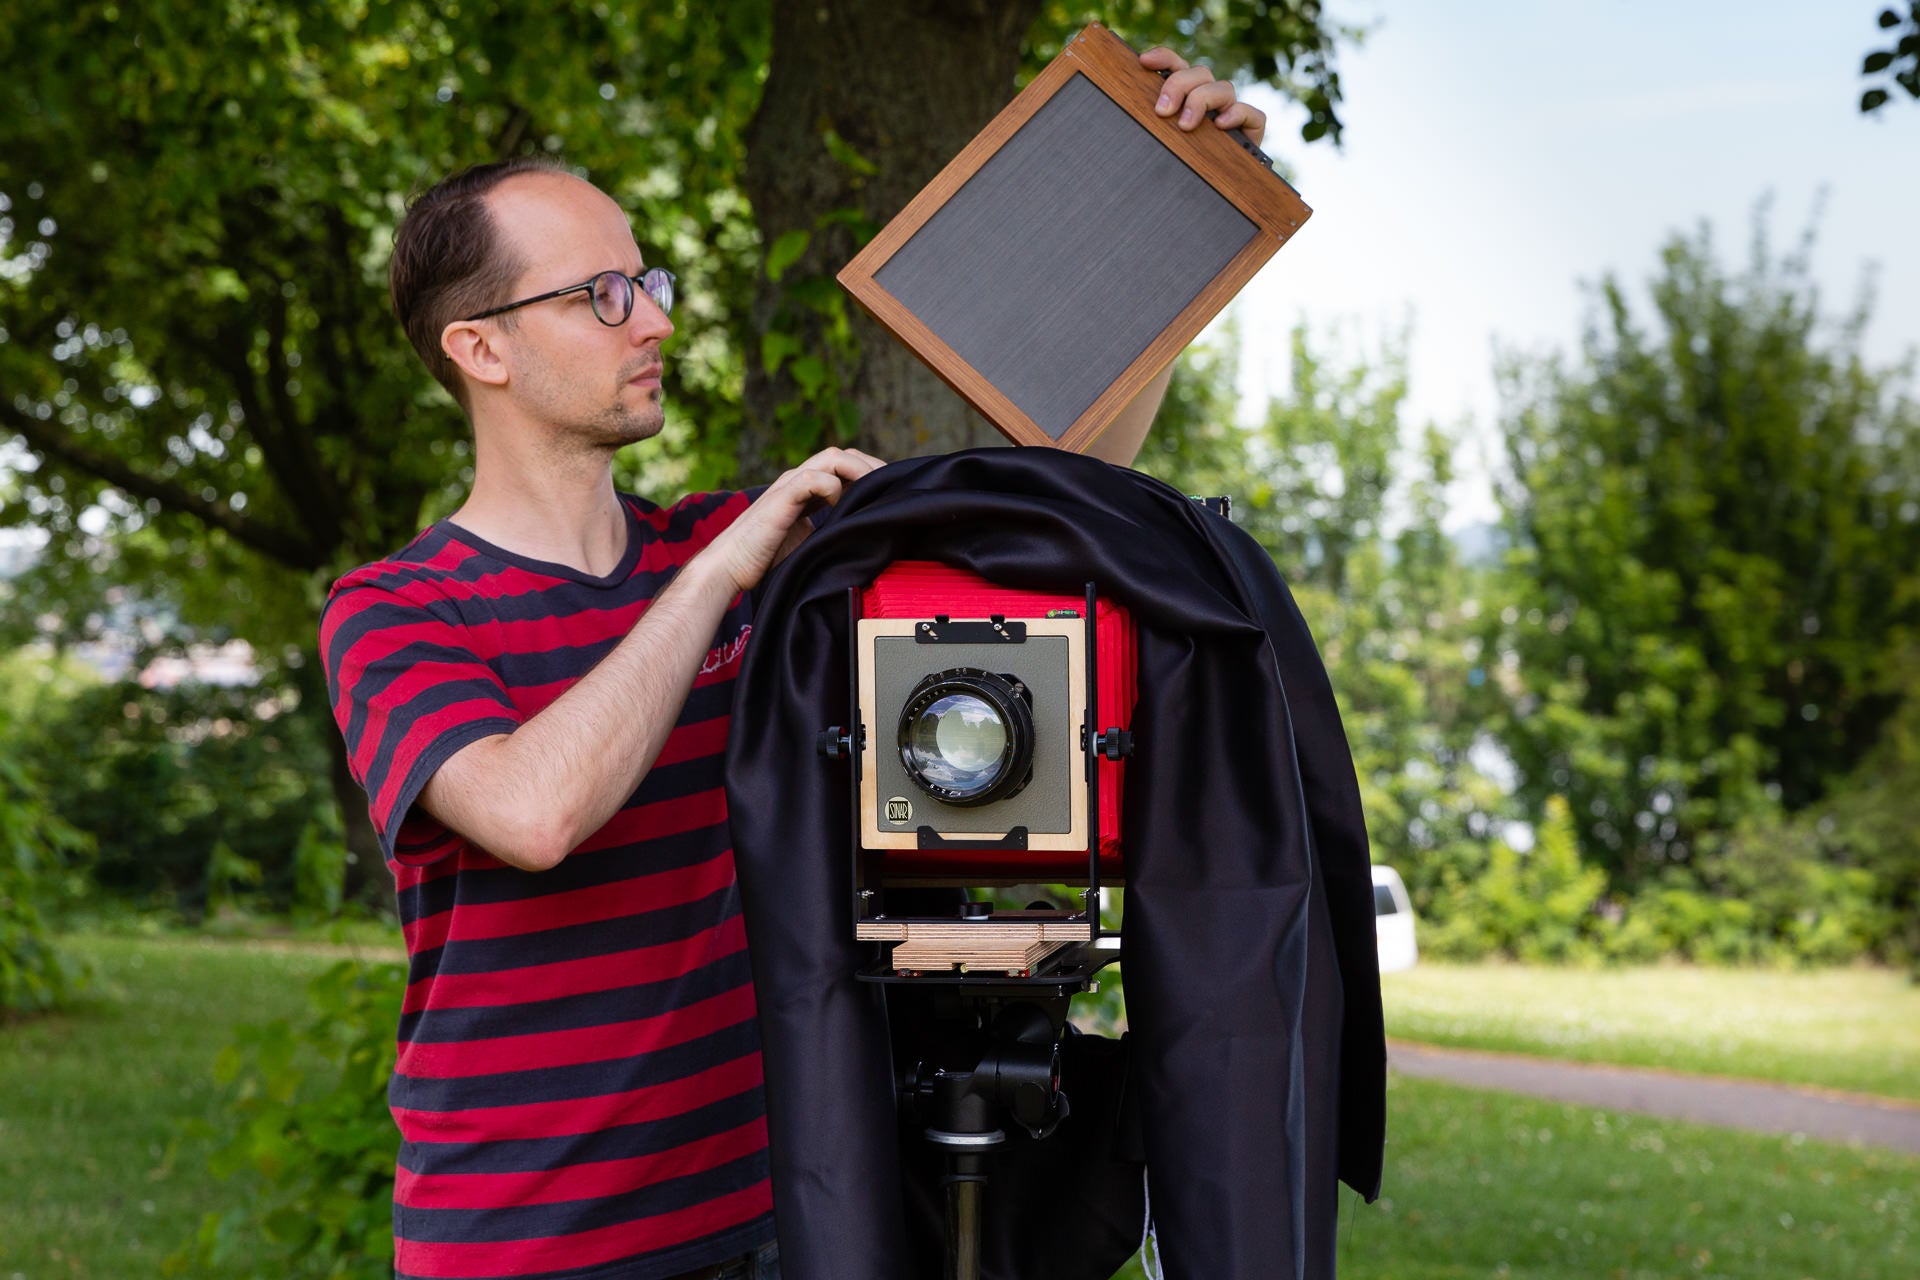
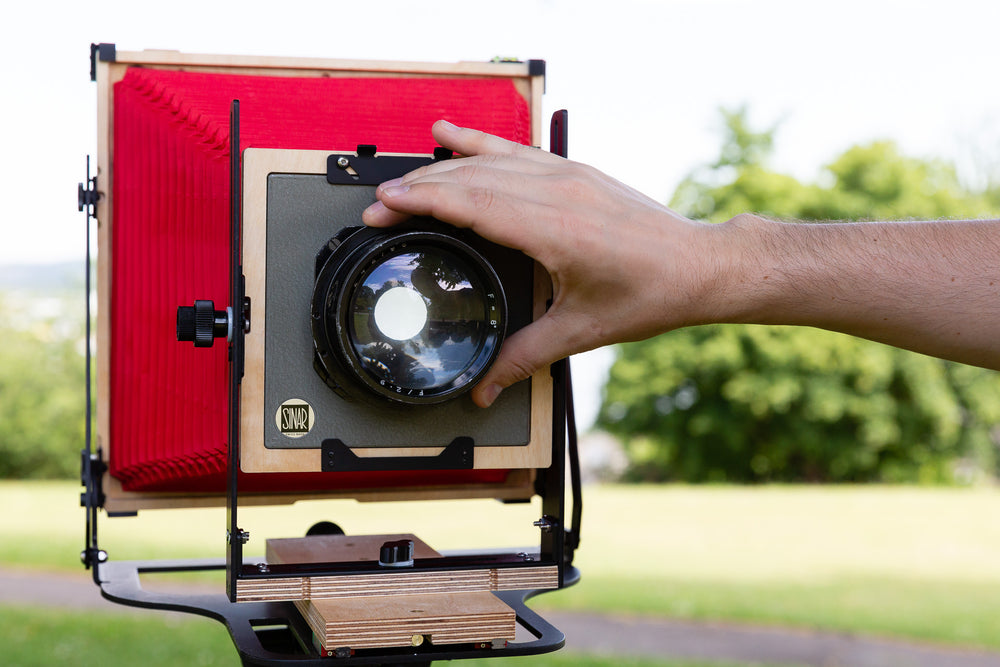
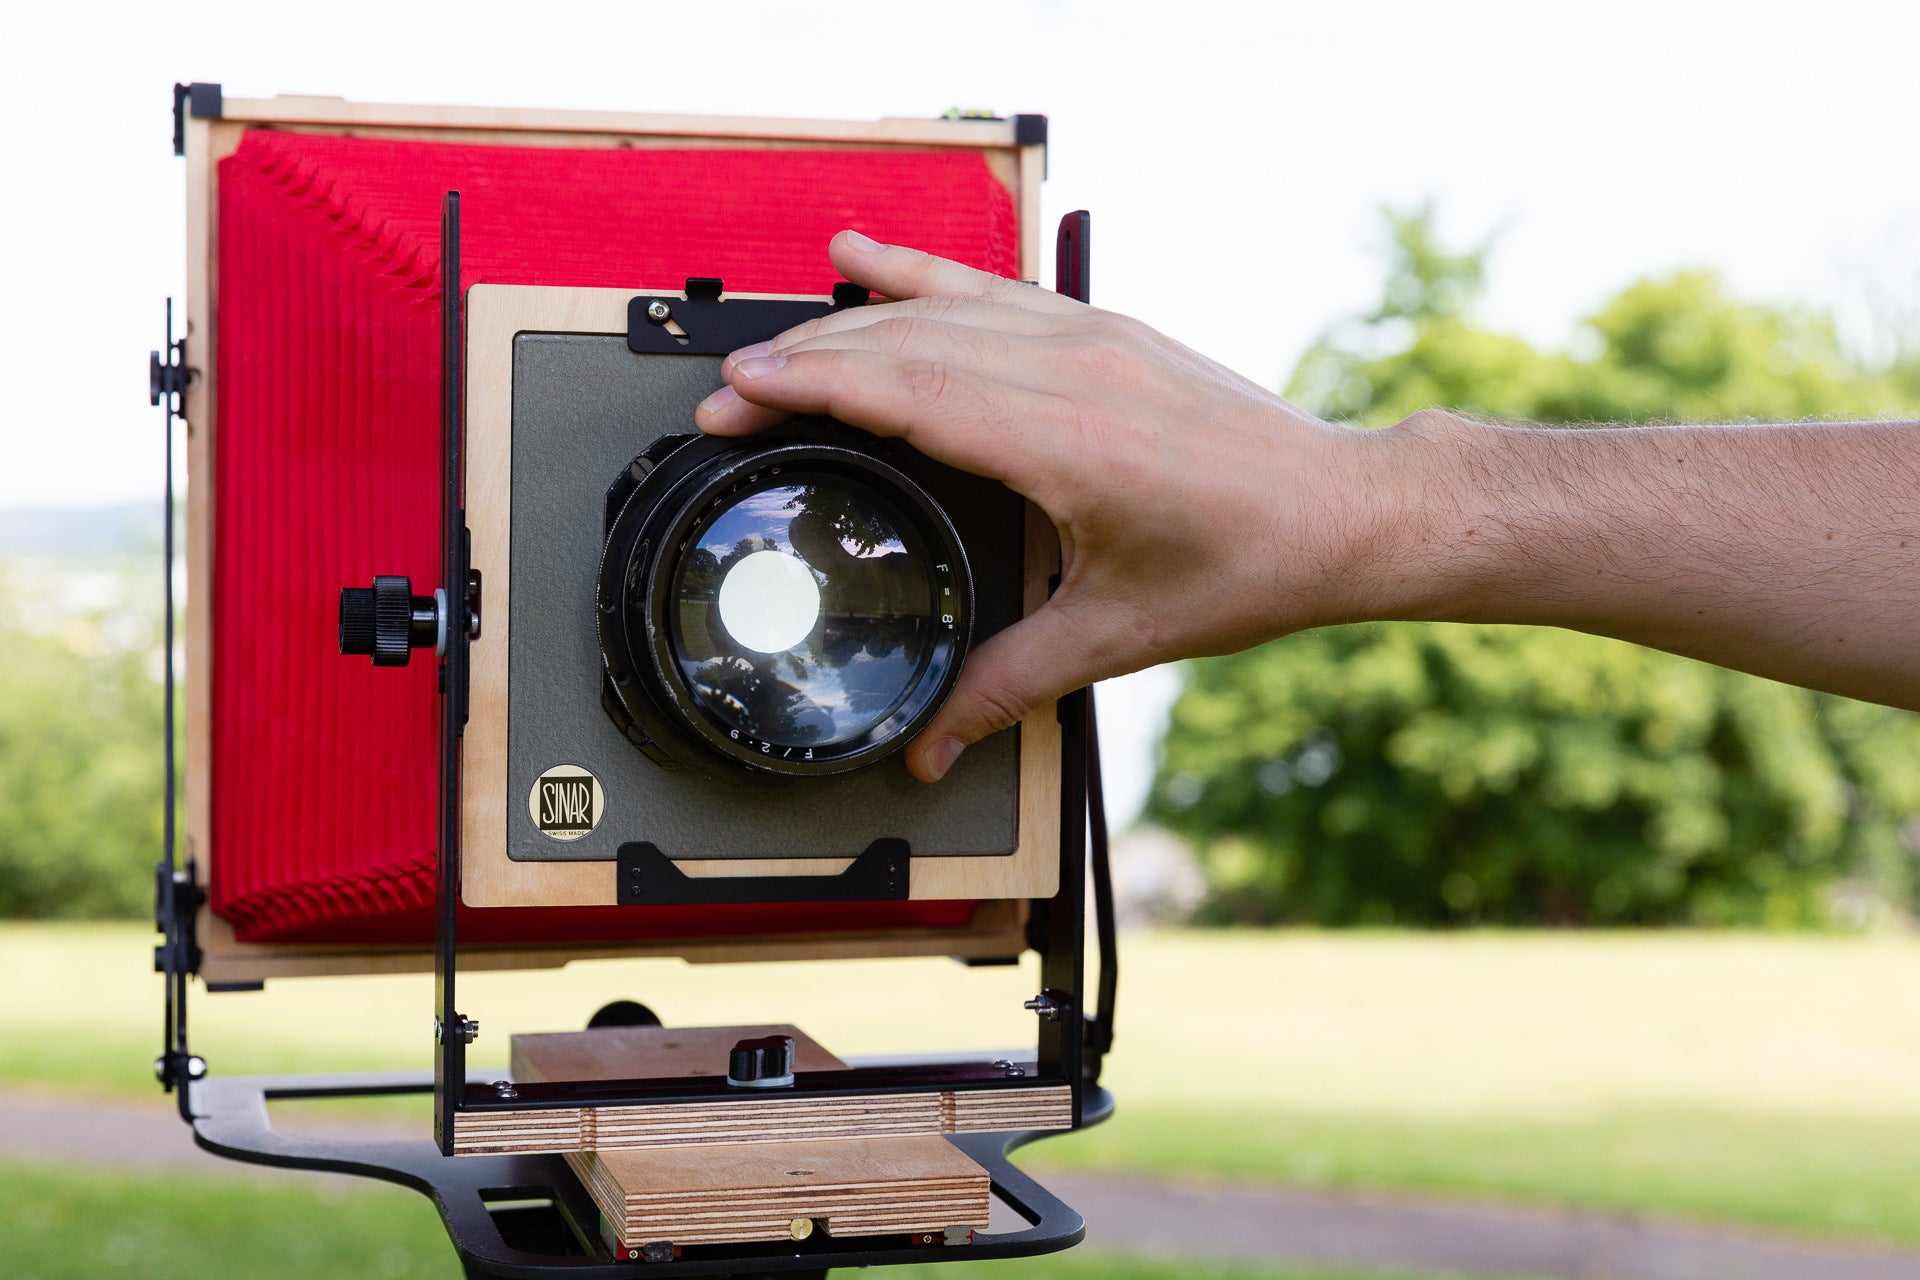
The size of the camera dictates the size of the plate. A large format camera, like a 4x5 or 8x10, gives you a great starting point, and as the plate goes into its own plate holder you are unlikely to damage the camera. I have used many antique cameras and recently bought the Intrepid 8x1 as a lighter and more reliable way of making large plates. You can use an old brownie or a Holga to make small plates, but the silver nitrate will make it unsuitable for normal use afterwards.
Assuming that you have an Intrepid camera and lenses all you need for the camera side of things is a working plate holder. You can either modify an existing film holder (Toyo, Fidelity etc) or buy a purpose-built one from Chamonix, Lund Photographic, or Stenopeika.
It's all in your hands
Like any craft, wet plate photography involves a few different tools and processes that you need to get a handle on. The most important aspect is the chemistry as you are essentially coating your own emulsion for each photograph you make. The different sets of chemistry required (collodion, silver, developer, fixer and varnish) vary in complexity, but they all need to be mixed and then maintained to get the best out of them. You can buy it premixed from Wet Plate Supplies, John Brewer, Mamut Photo, Lund or make it yourself. It’s important to note that many of the ingredients are dangerous and extreme caution must be taken.
The best way to learn the process is to attend a workshop where you are taken through each stage of the process and can problem solve etc. I run workshops for small groups and can tailor 1-2-1 sessions to your experience and ambitions, you can find more details on my website.
Part 1: Preparing your plate
There is no quick way of explaining the entire process so what follows here is a summary. It is vitally important that you wear appropriate safety equipment when using the chemistry. You are going to need a lot of stuff, but if you already have a darkroom you’re halfway there. If you don’t have access to a darkroom make sure your space is well-ventilated - some of the chemistry has a penetrating smell.
If you are interested in learning the process, the best way is to attend a workshop to get some hands-on experience, alternatively, you can study the process using the countless resources available online from places like John Coffer, Scully & Osterman Studio, and Quinn Jacobson.
SUBSTRATE
Starting with the material you want to use as your base, prepare either a sheet of trophy aluminium or glass to the size of your plate holder. Make sure it fits the holder.
COLLODION EMULSION
Pour the collodion solution evenly over the plate. Balance the plate on your fingers as horizontally as possible and pour a puddle of collodion in the centre of the plate. Immediately start flowing the collodion from one corner to the next, as you get to corner 4 raise the plate to an angle and pour the excess into a ‘spill bottle’. Allow 15-30 seconds to dry - you should still be able to touch it and leave a fingerprint.
SENSITISING
Submerge the plate in the silver nitrate solution. This is where the emulsion becomes light-sensitive when it forms silver iodide. Close the lid on your silver box and leave the plate to sensitise for 3-5 minutes.
*The next step needs to be done under red safelight*
LOADING THE PLATEHOLDER
Once the 3 minutes have passed, remove the plate from the silver bath inside the darkroom. Wipe the back of the plate to remove any excess silver and load it into your holder, closing the dark slide. Now you need to expose and develop your image before the plate dries out and becomes unusable - this depends on temperature and humidity, but normally 15 minutes is fine.
Part 2: Exposing your image
Check your setup, focus and composition again, evaluating the lighting for exposure. When you are ready put your holder into the camera and make the exposure.
The shutter time depends on three variables: the aperture, the age of the collodion (older collodion = slower emulsion) and the amount of UV light - I often just use the lens cap as the shutter and count the seconds.
The speed of the emulsion is slow, equivalent to ISO 1 to 3, and light meters don’t really work because of UV sensitivity. In daylight work in open shade and do a test exposure of 5 seconds at F8 (1-2 secs in the sunshine). Correct the following plate whether you over-or under-exposed.
If you use flash it’s about trial and error with distance and power (many recommend 2400w gear, but I’ve got great results using 2 x 500w). Daylight-balanced continuous lights work well too. You will soon get the hang of the exposure required in different situations.
Part 3: Developing
*The next steps need to be done under red safelight*
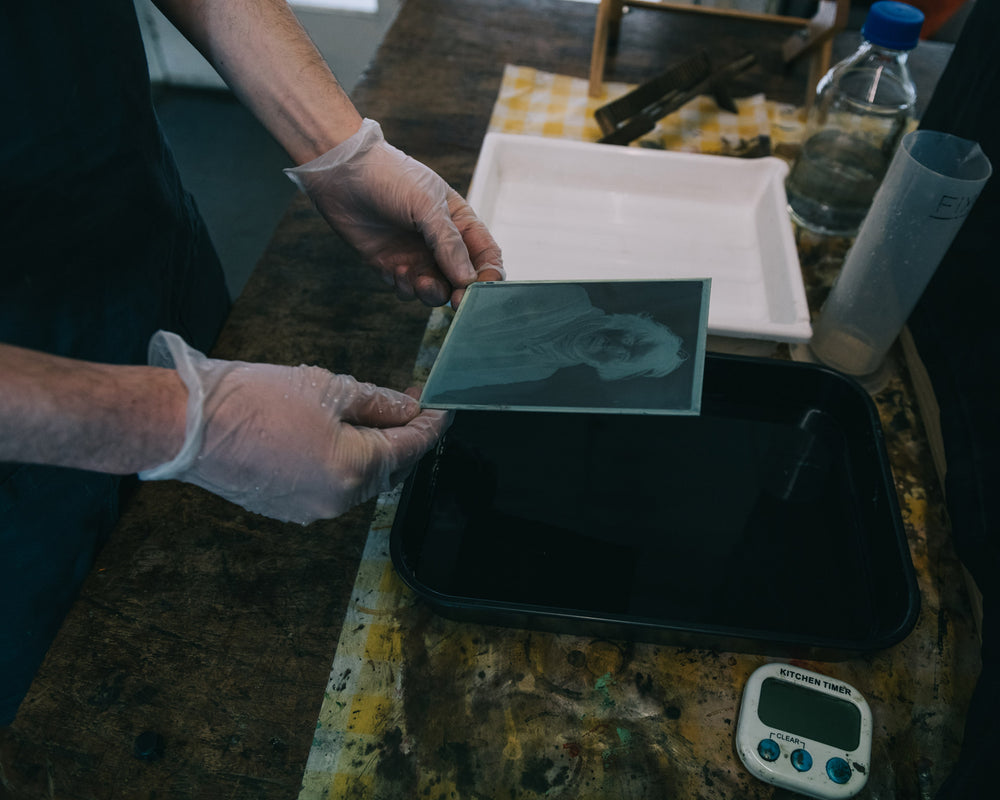
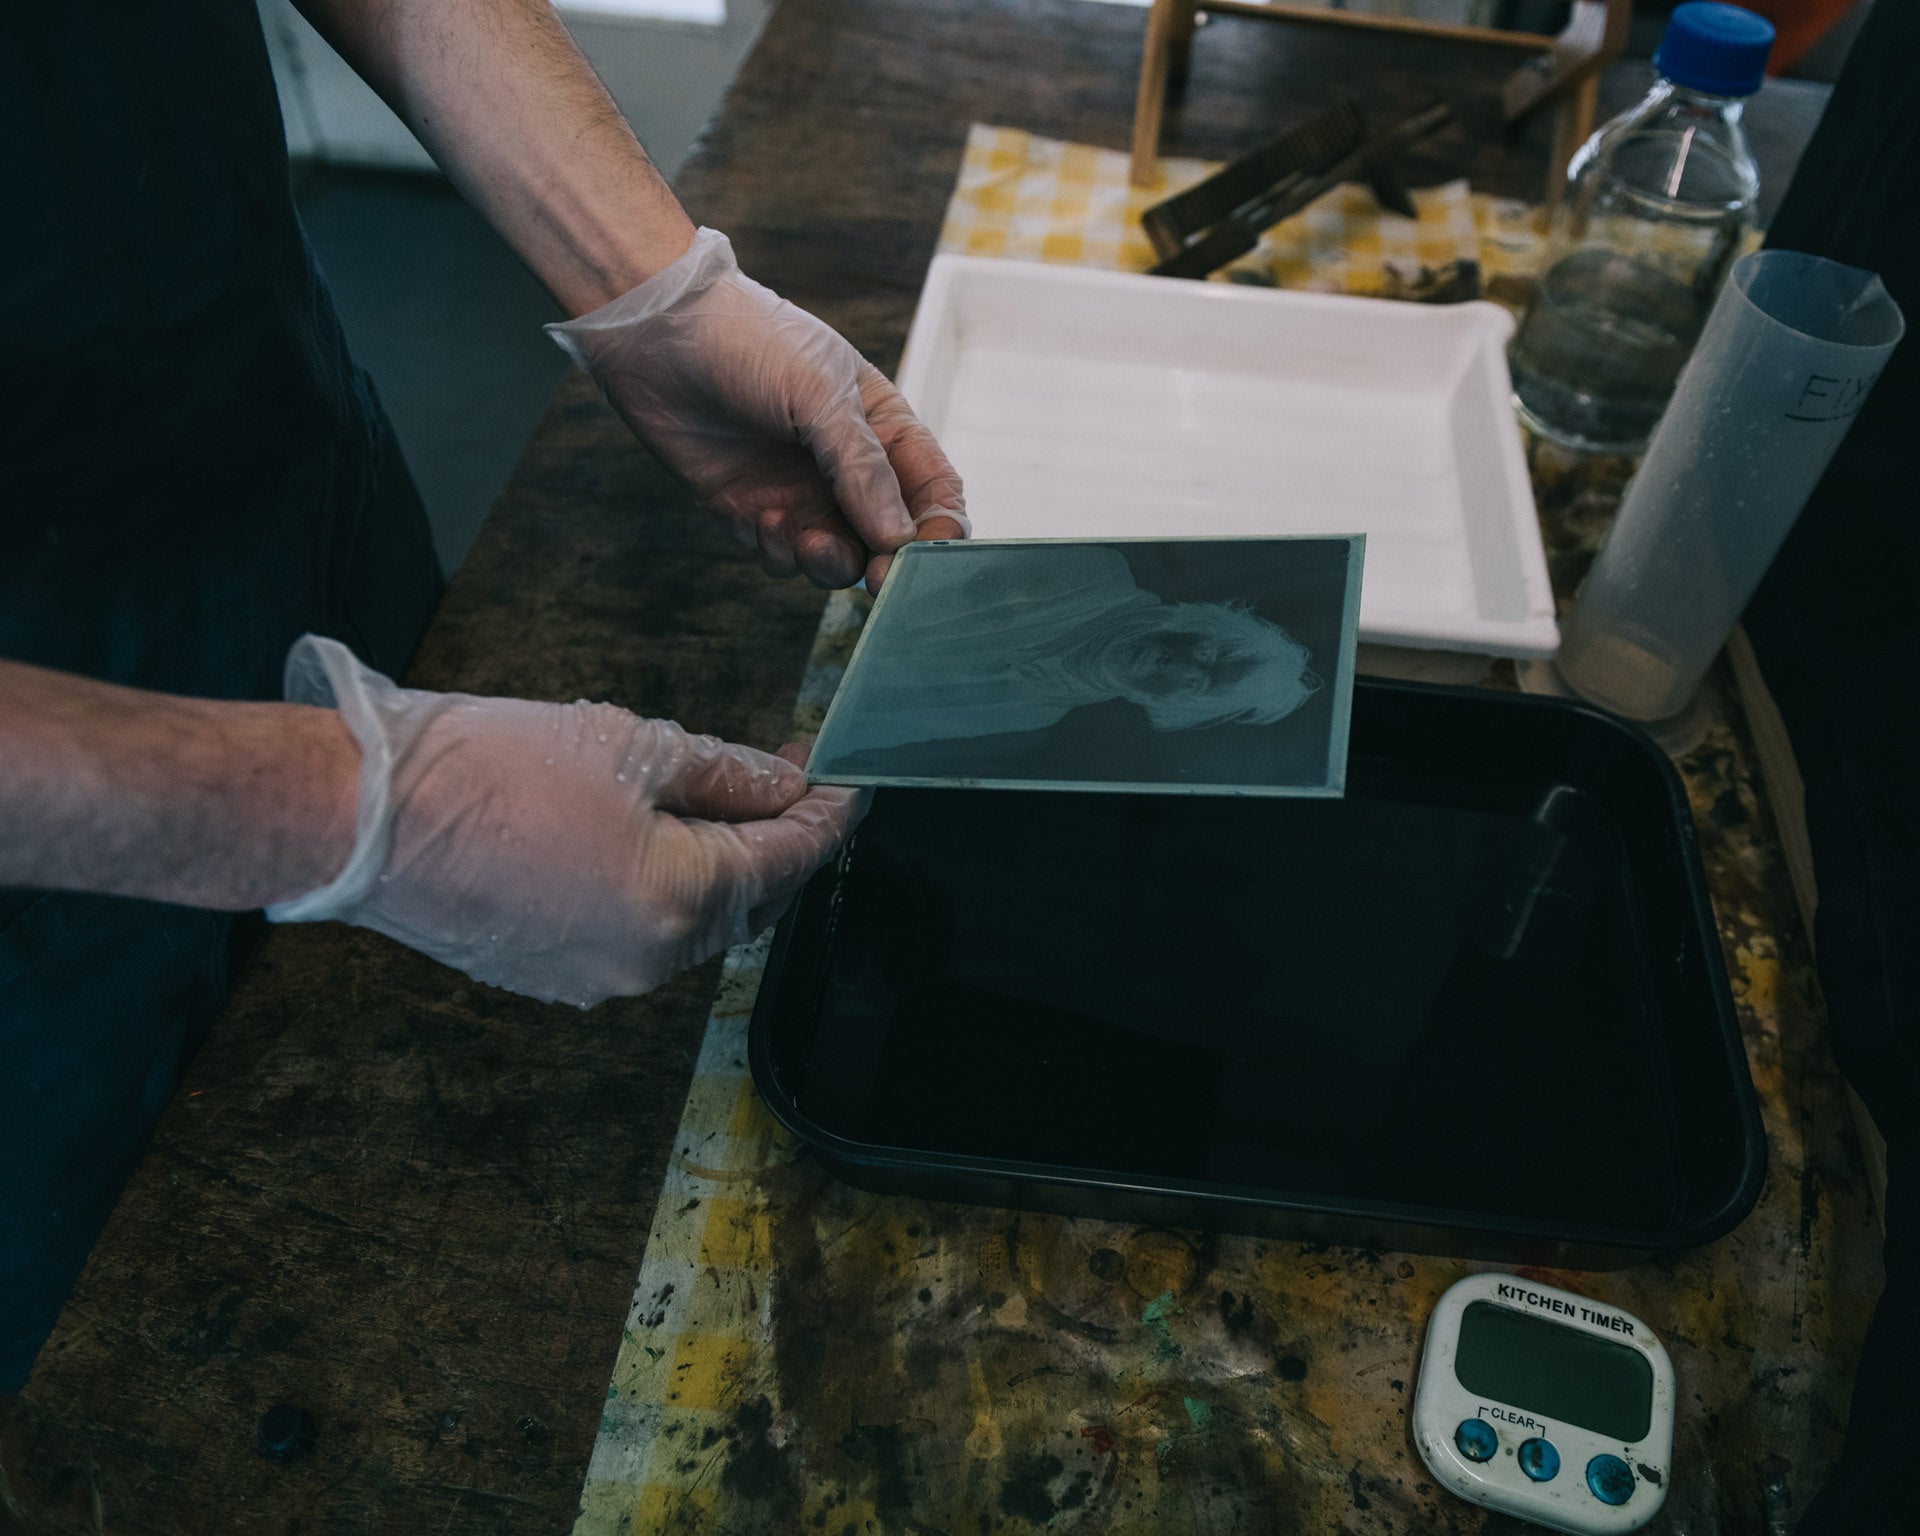
Go back into the darkroom. Quickly and evenly pour the developer along one of the edges of the plate to cover it all instantly. Try and keep as much on the plate as possible and rock the plate to ensure the whole plate gets coated. You should see a negative image appearing after a few seconds. An ideal exposure should give you a development time of 15sec.
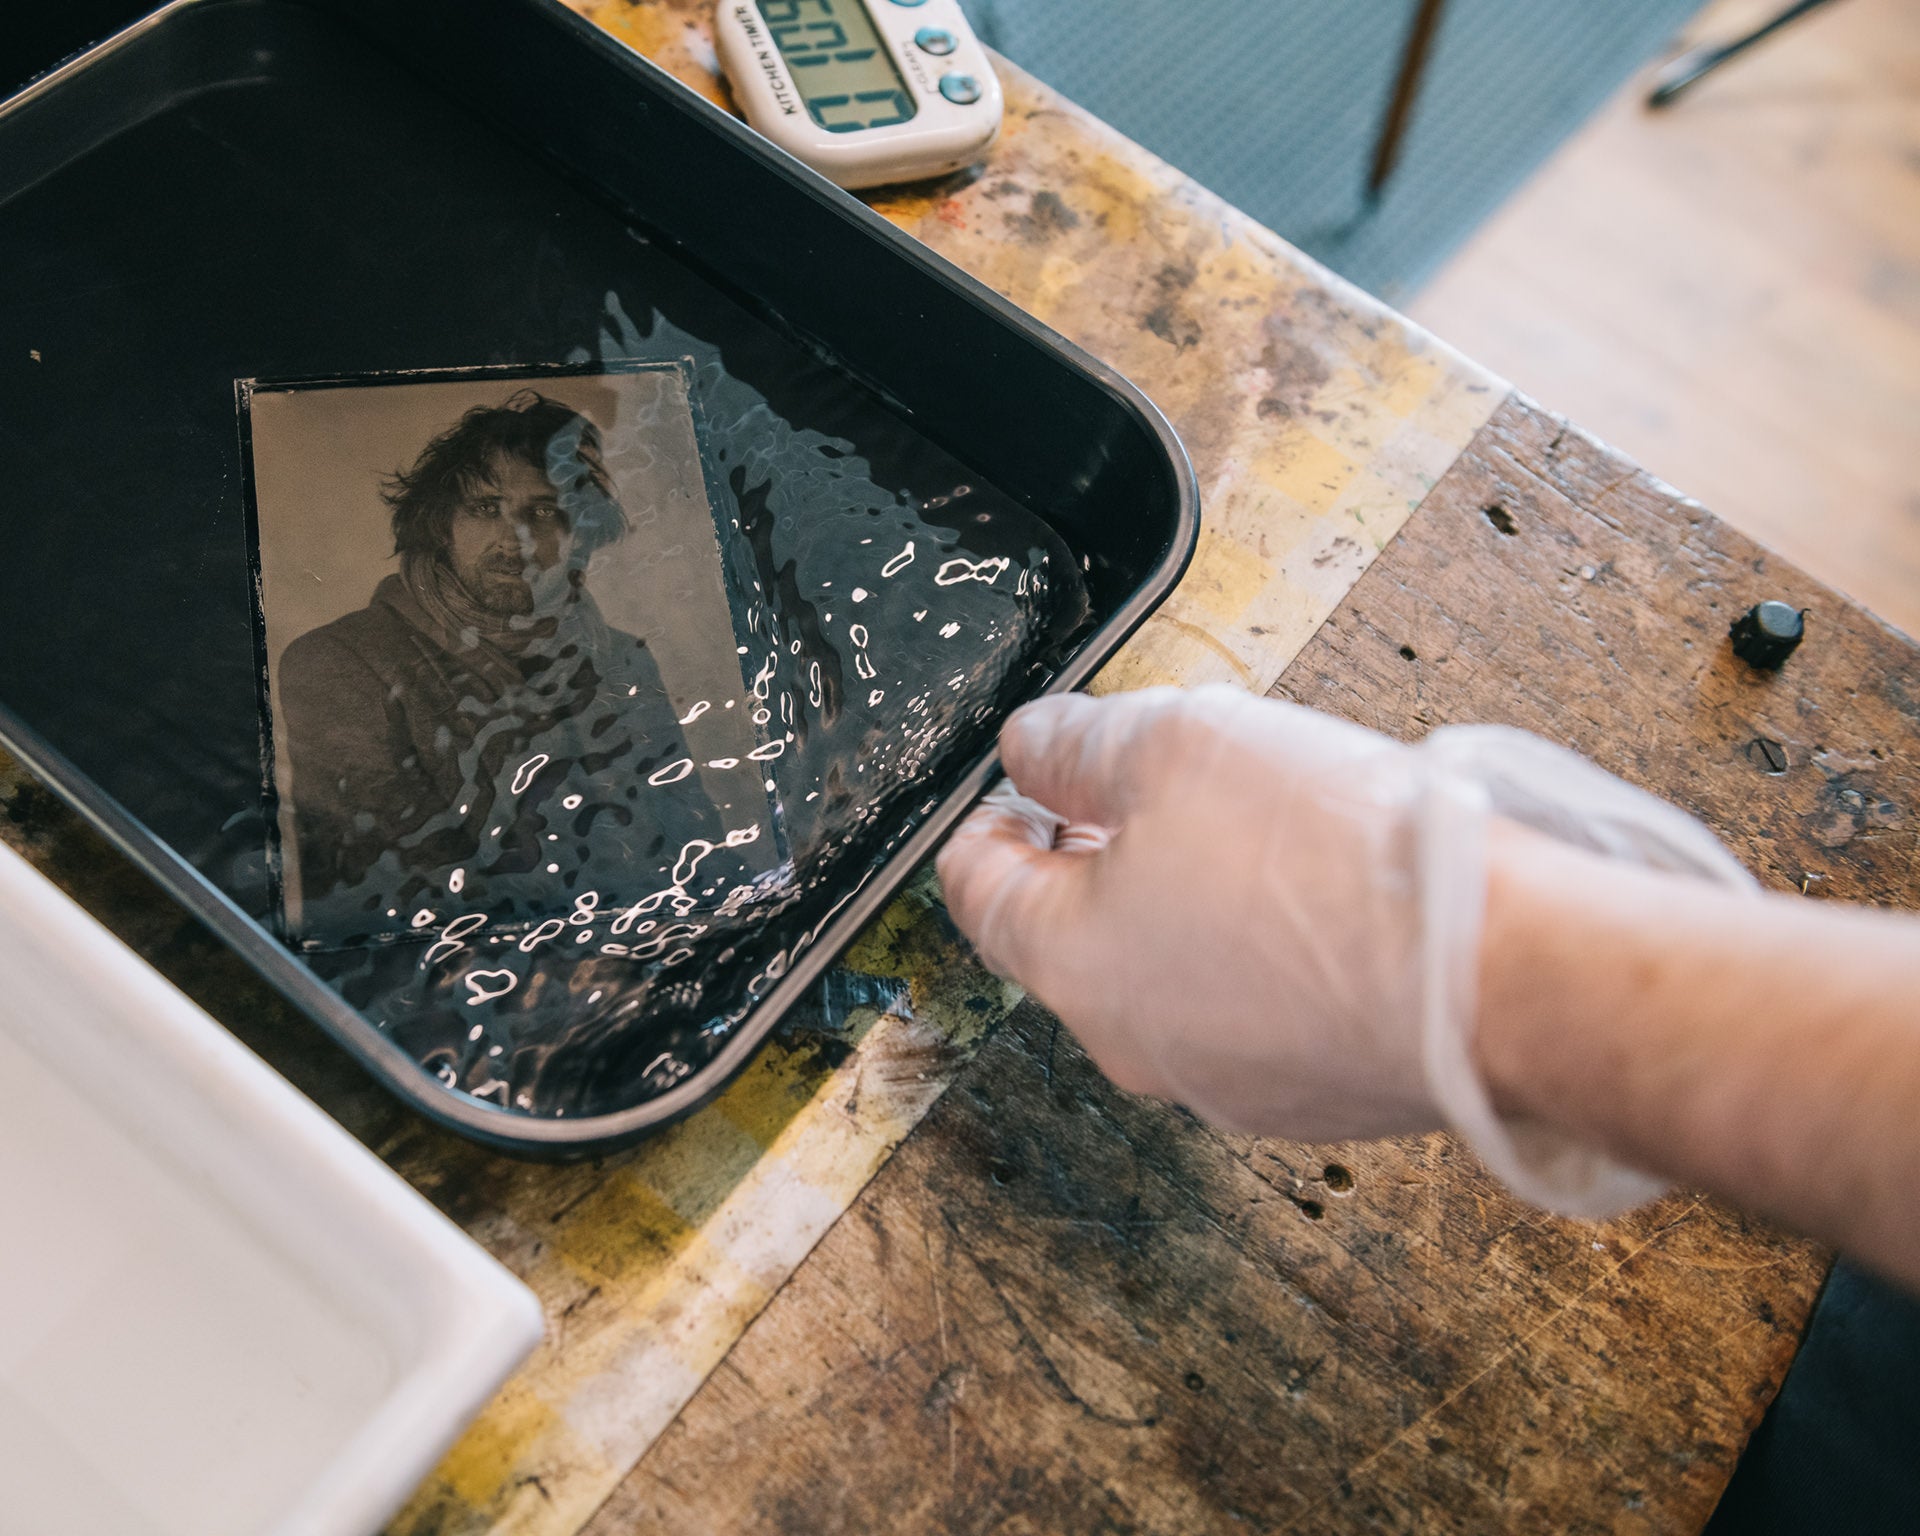
When you start seeing the mid-tones immediately pour water over the plate to halt the development. Wash with water until the greasy residue of the developer has disappeared from the surface of the plate.
*It is now safe to turn the lights on*
Part 4: The final steps
FIXING
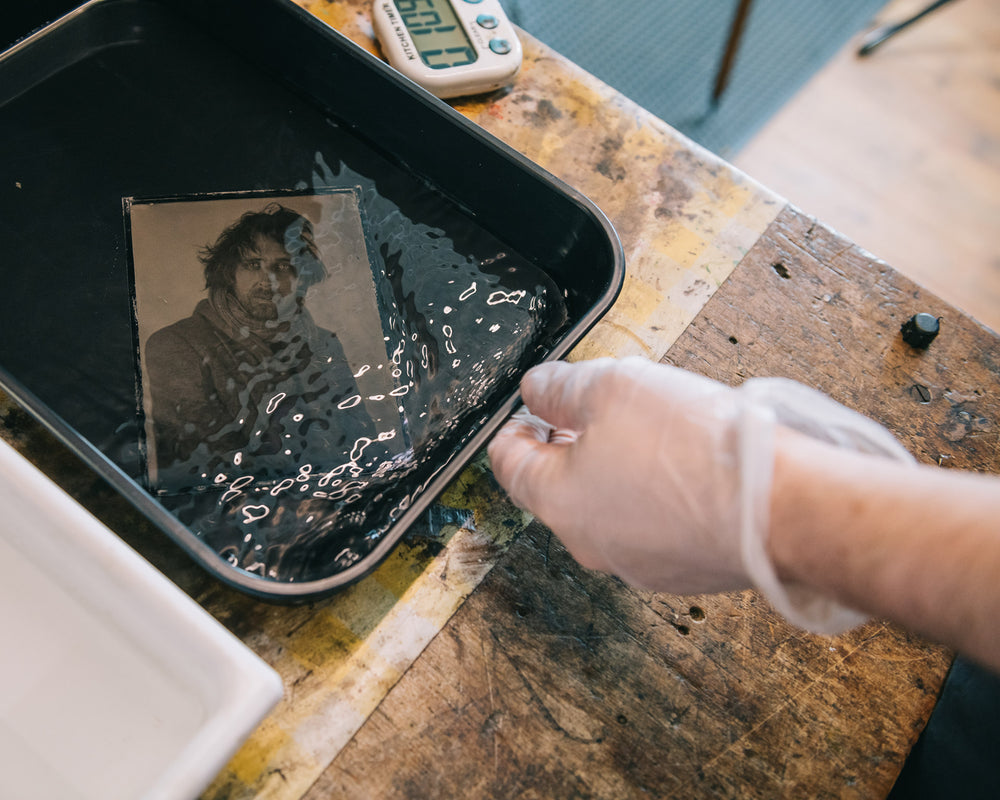
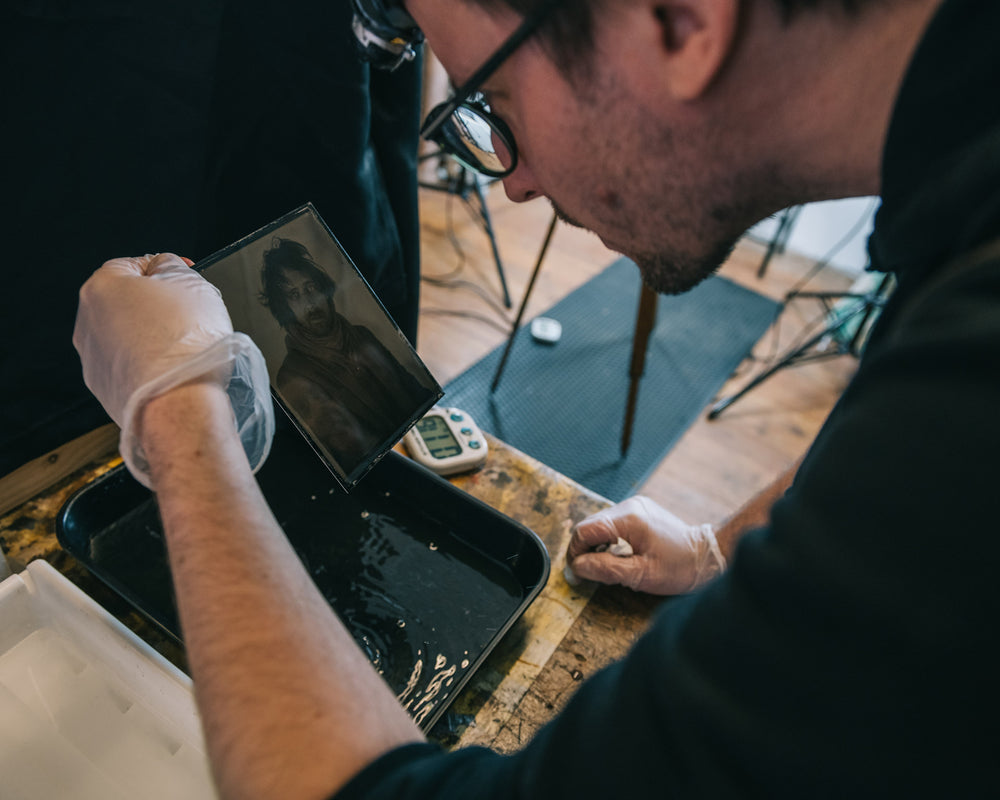
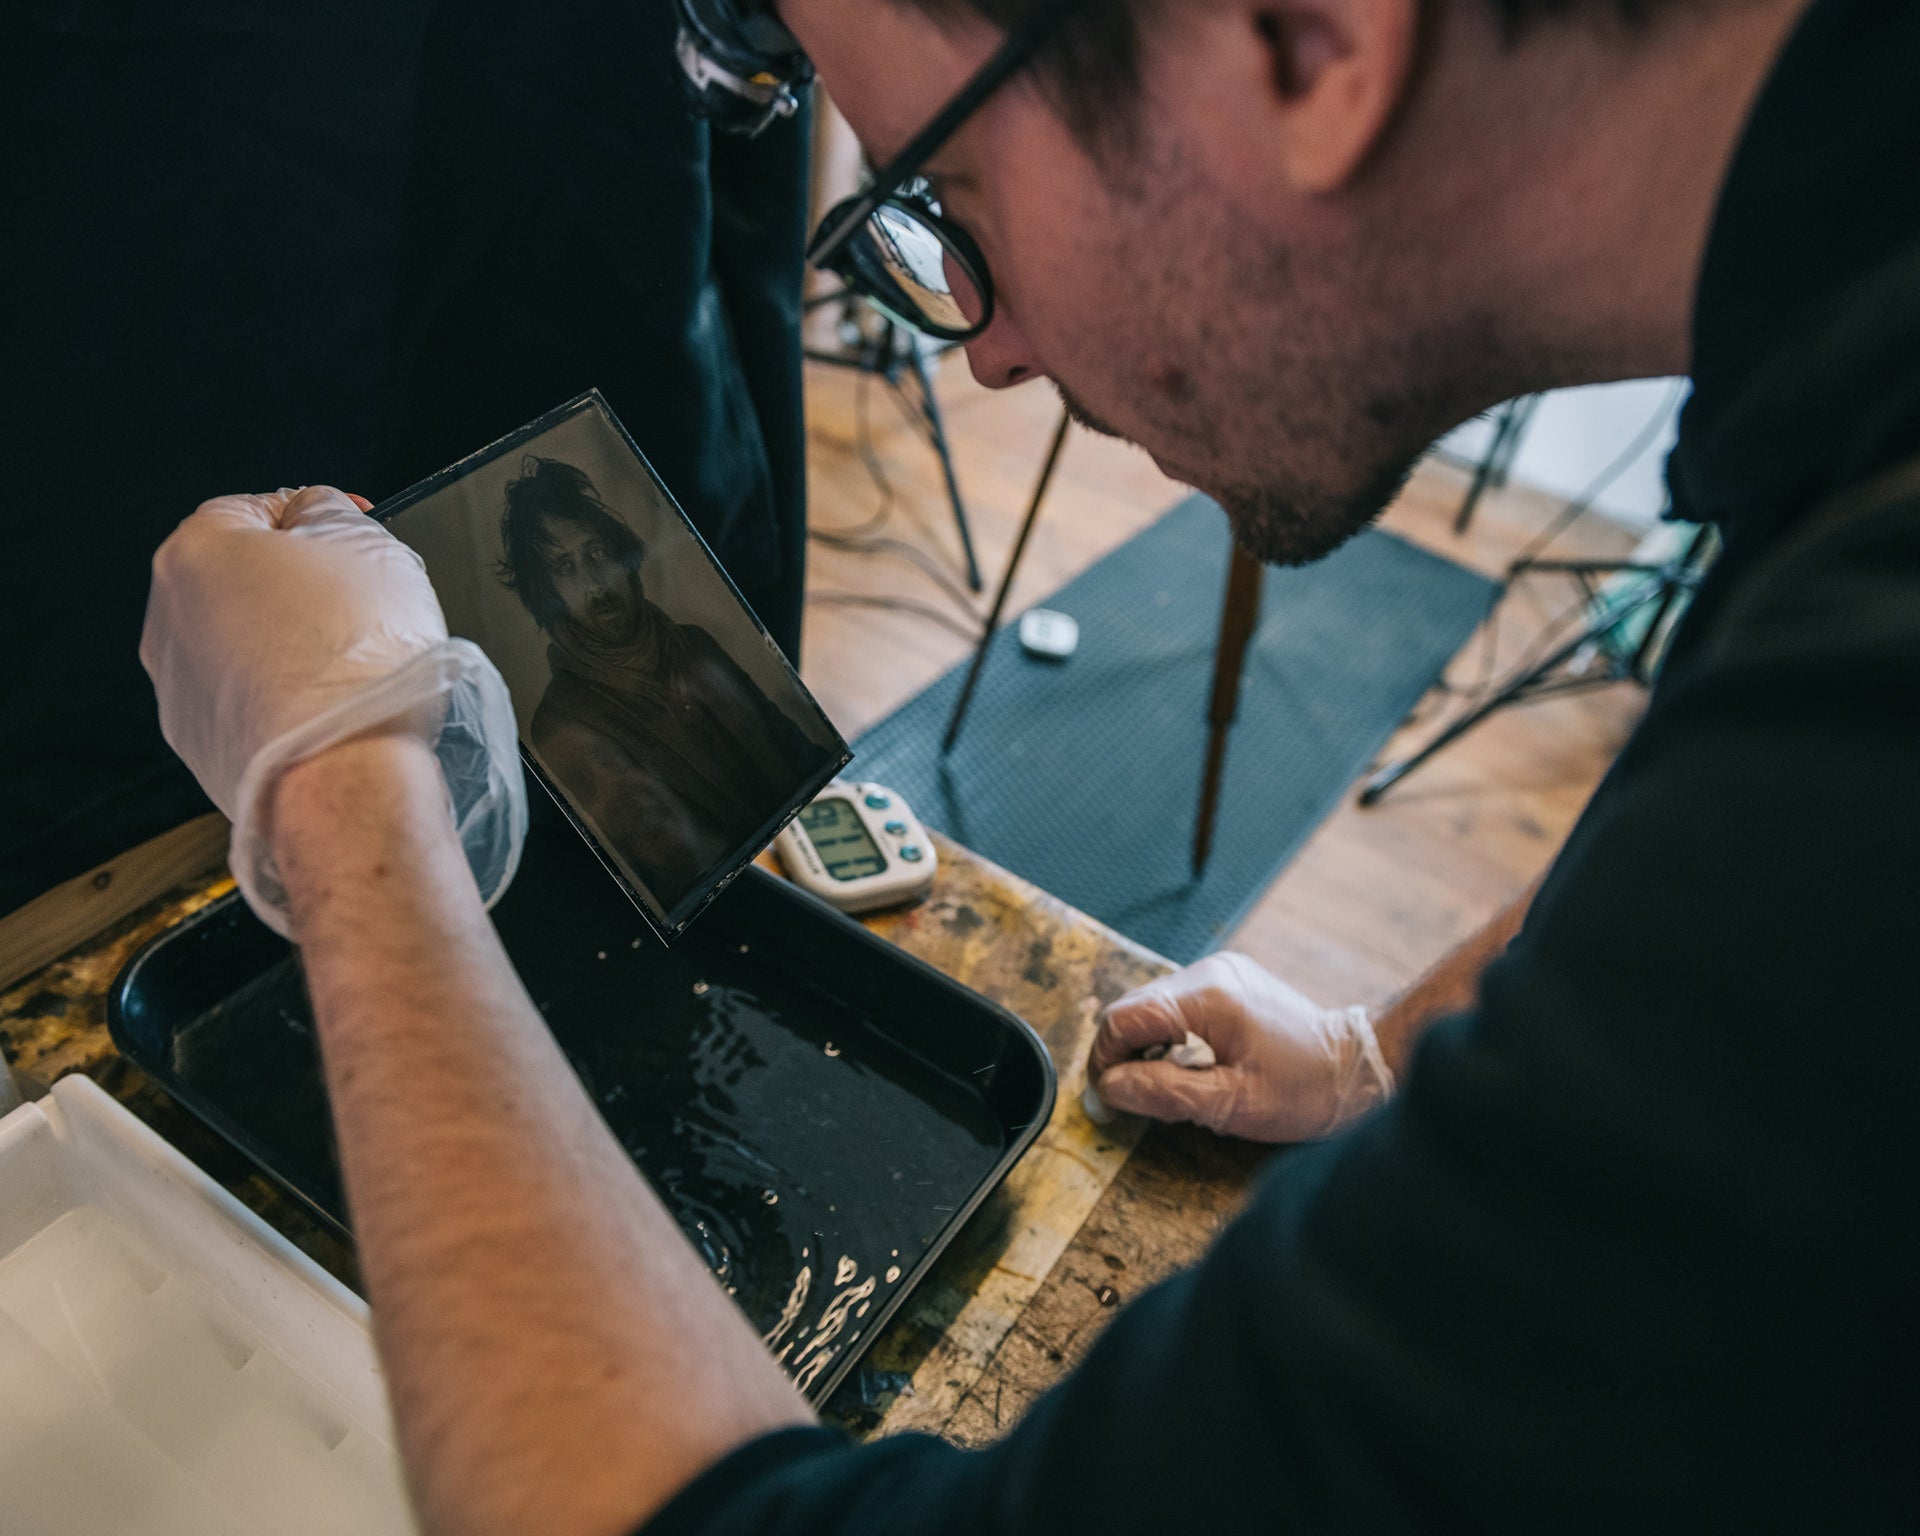
The fixing is the part of the process that most people love - it looks like magic. Put the plate into the fixer and watch as the image appears. The most common fixers used are Ilford Rapid Fix and Plain Hypo Fixer.
RINSING
Leave the plate in running water for at least 15 minutes. It is important that the plates are rinsed properly to remove any chemical residue.
DRYING
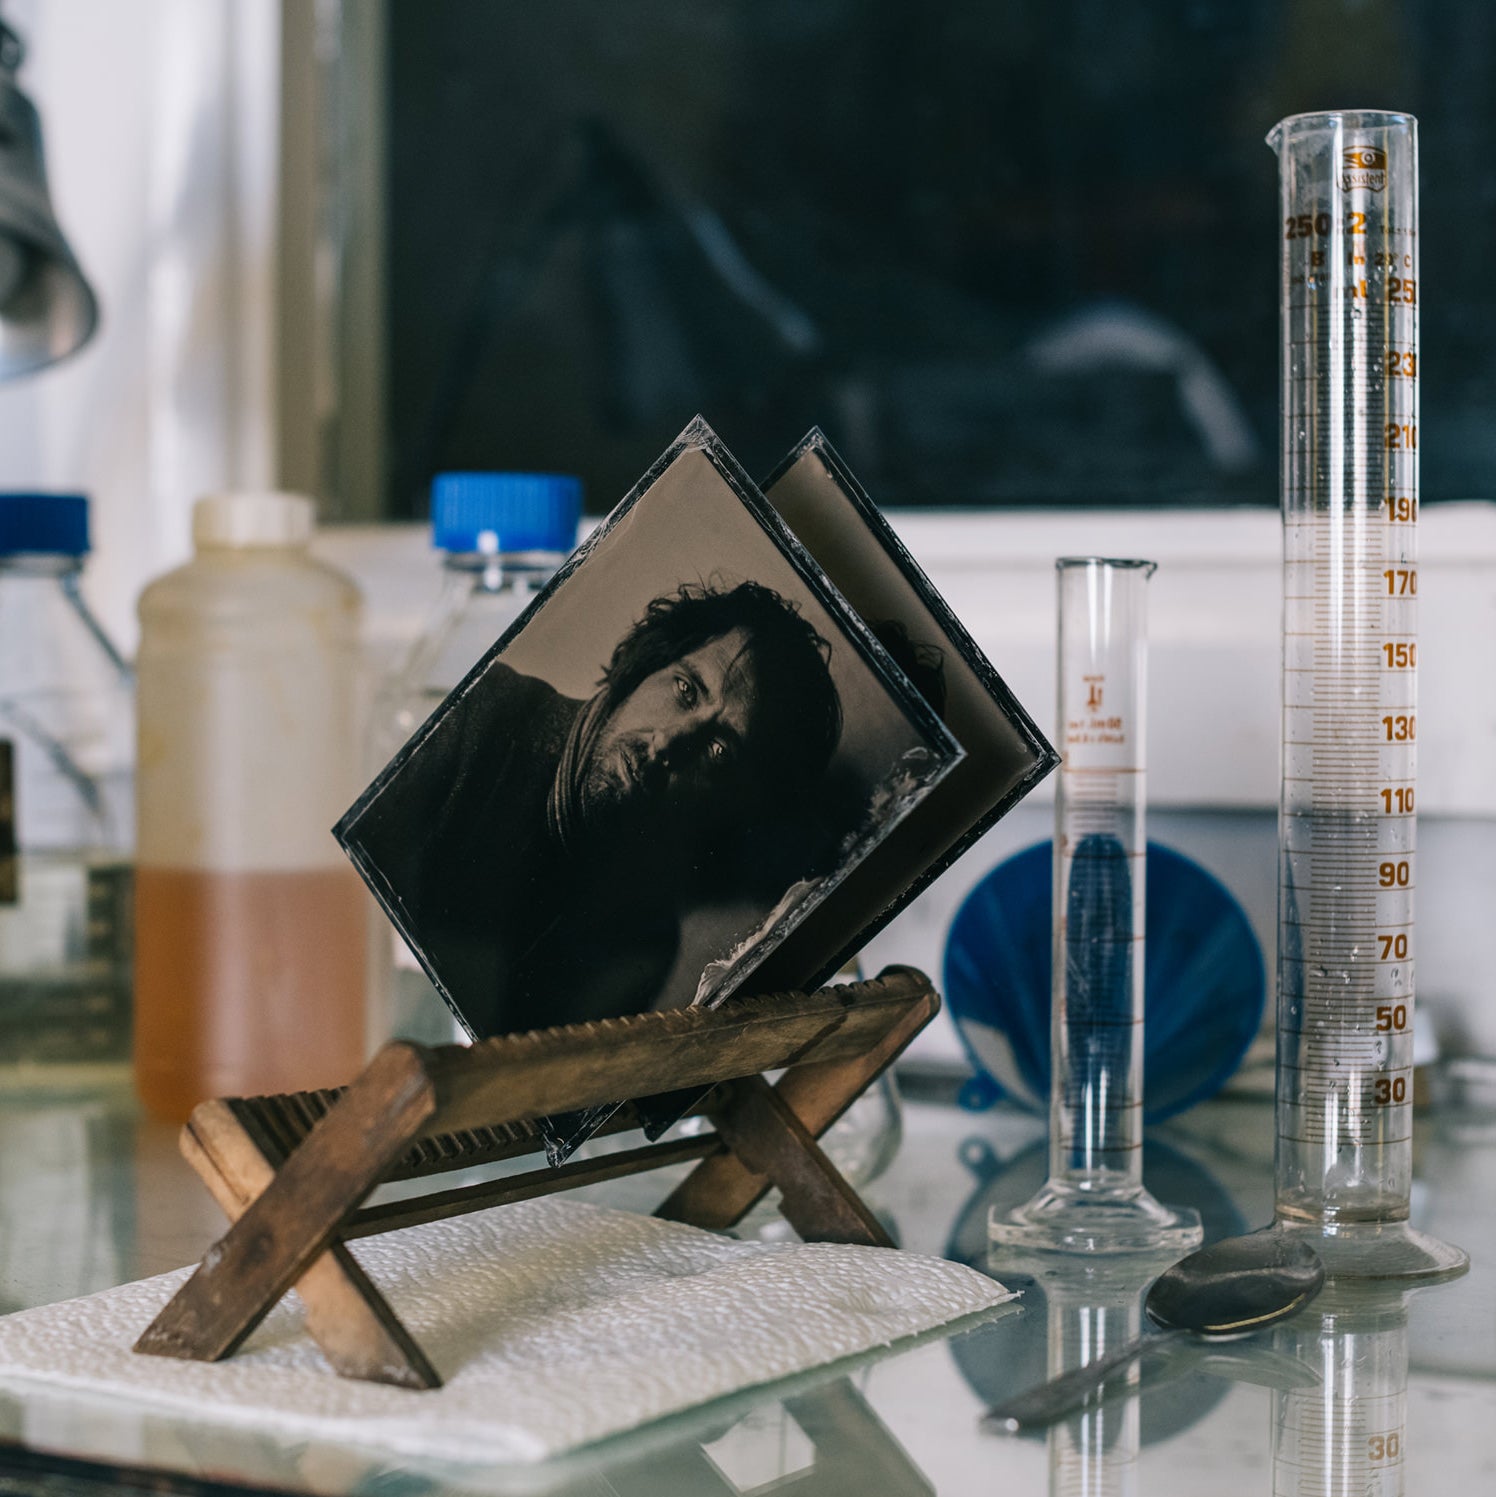
Air-dry the plates on a drying rack. I sometimes use a hairdryer (when I’m in a dust-free environment) to gently speed up the drying process.
VARNISHING
This is an important stage as it stops the silver from oxidising. There are two different types of varnish:
Sandarac: a tree resin varnish scented with lavenders
Shellac: made from resinous secretions of an insect called Laccifer Lacca.
Heat the plate from the back - to do this you can use a small alcohol lamp, but I prefer using a halogen heater or a hairdryer. It should be almost too hot to touch. Pour the varnish the same way you poured the collodion. Keep it on the plate whilst you circle it over the surface, corner to corner. This allows the varnish to seep into the collodion. Then pour off all the excess into a spill bottle and dip the edges on some paper kitchen roll. Return to the heat until you see the alcohol of the varnish evaporate. Leave to dry completely.
