01.
Mount
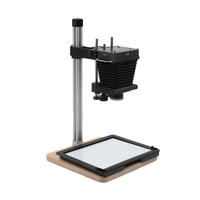
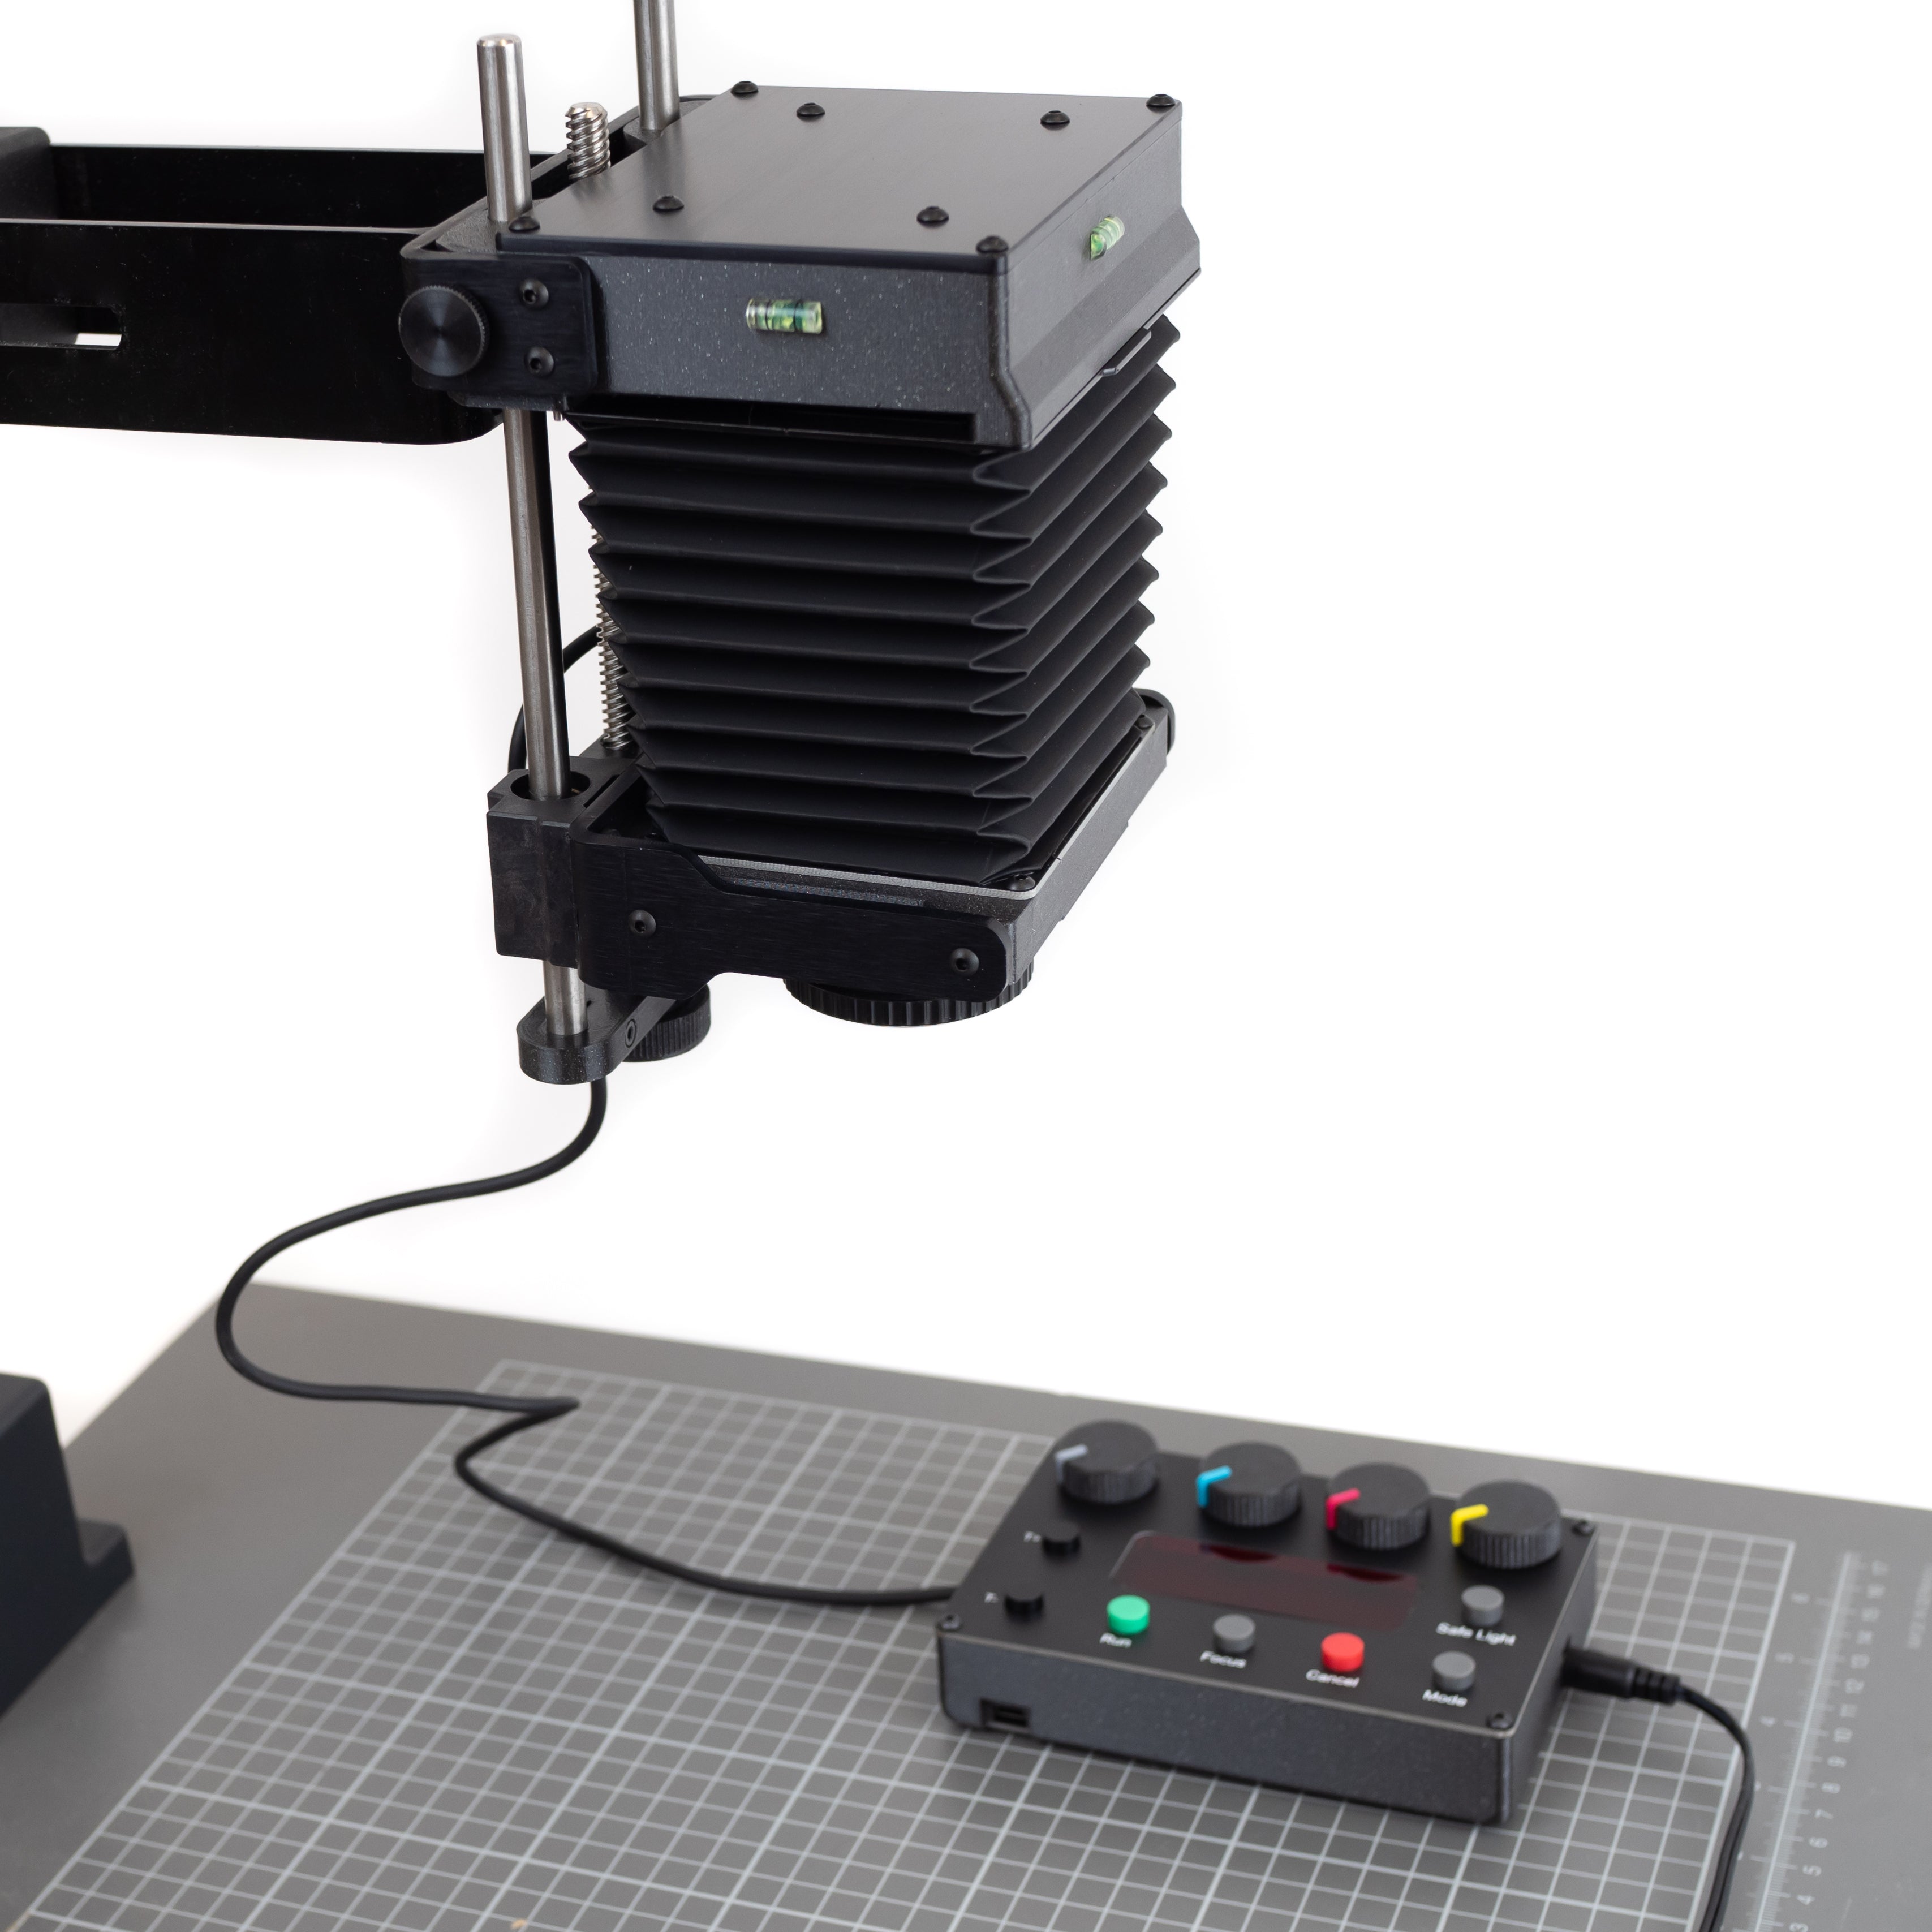
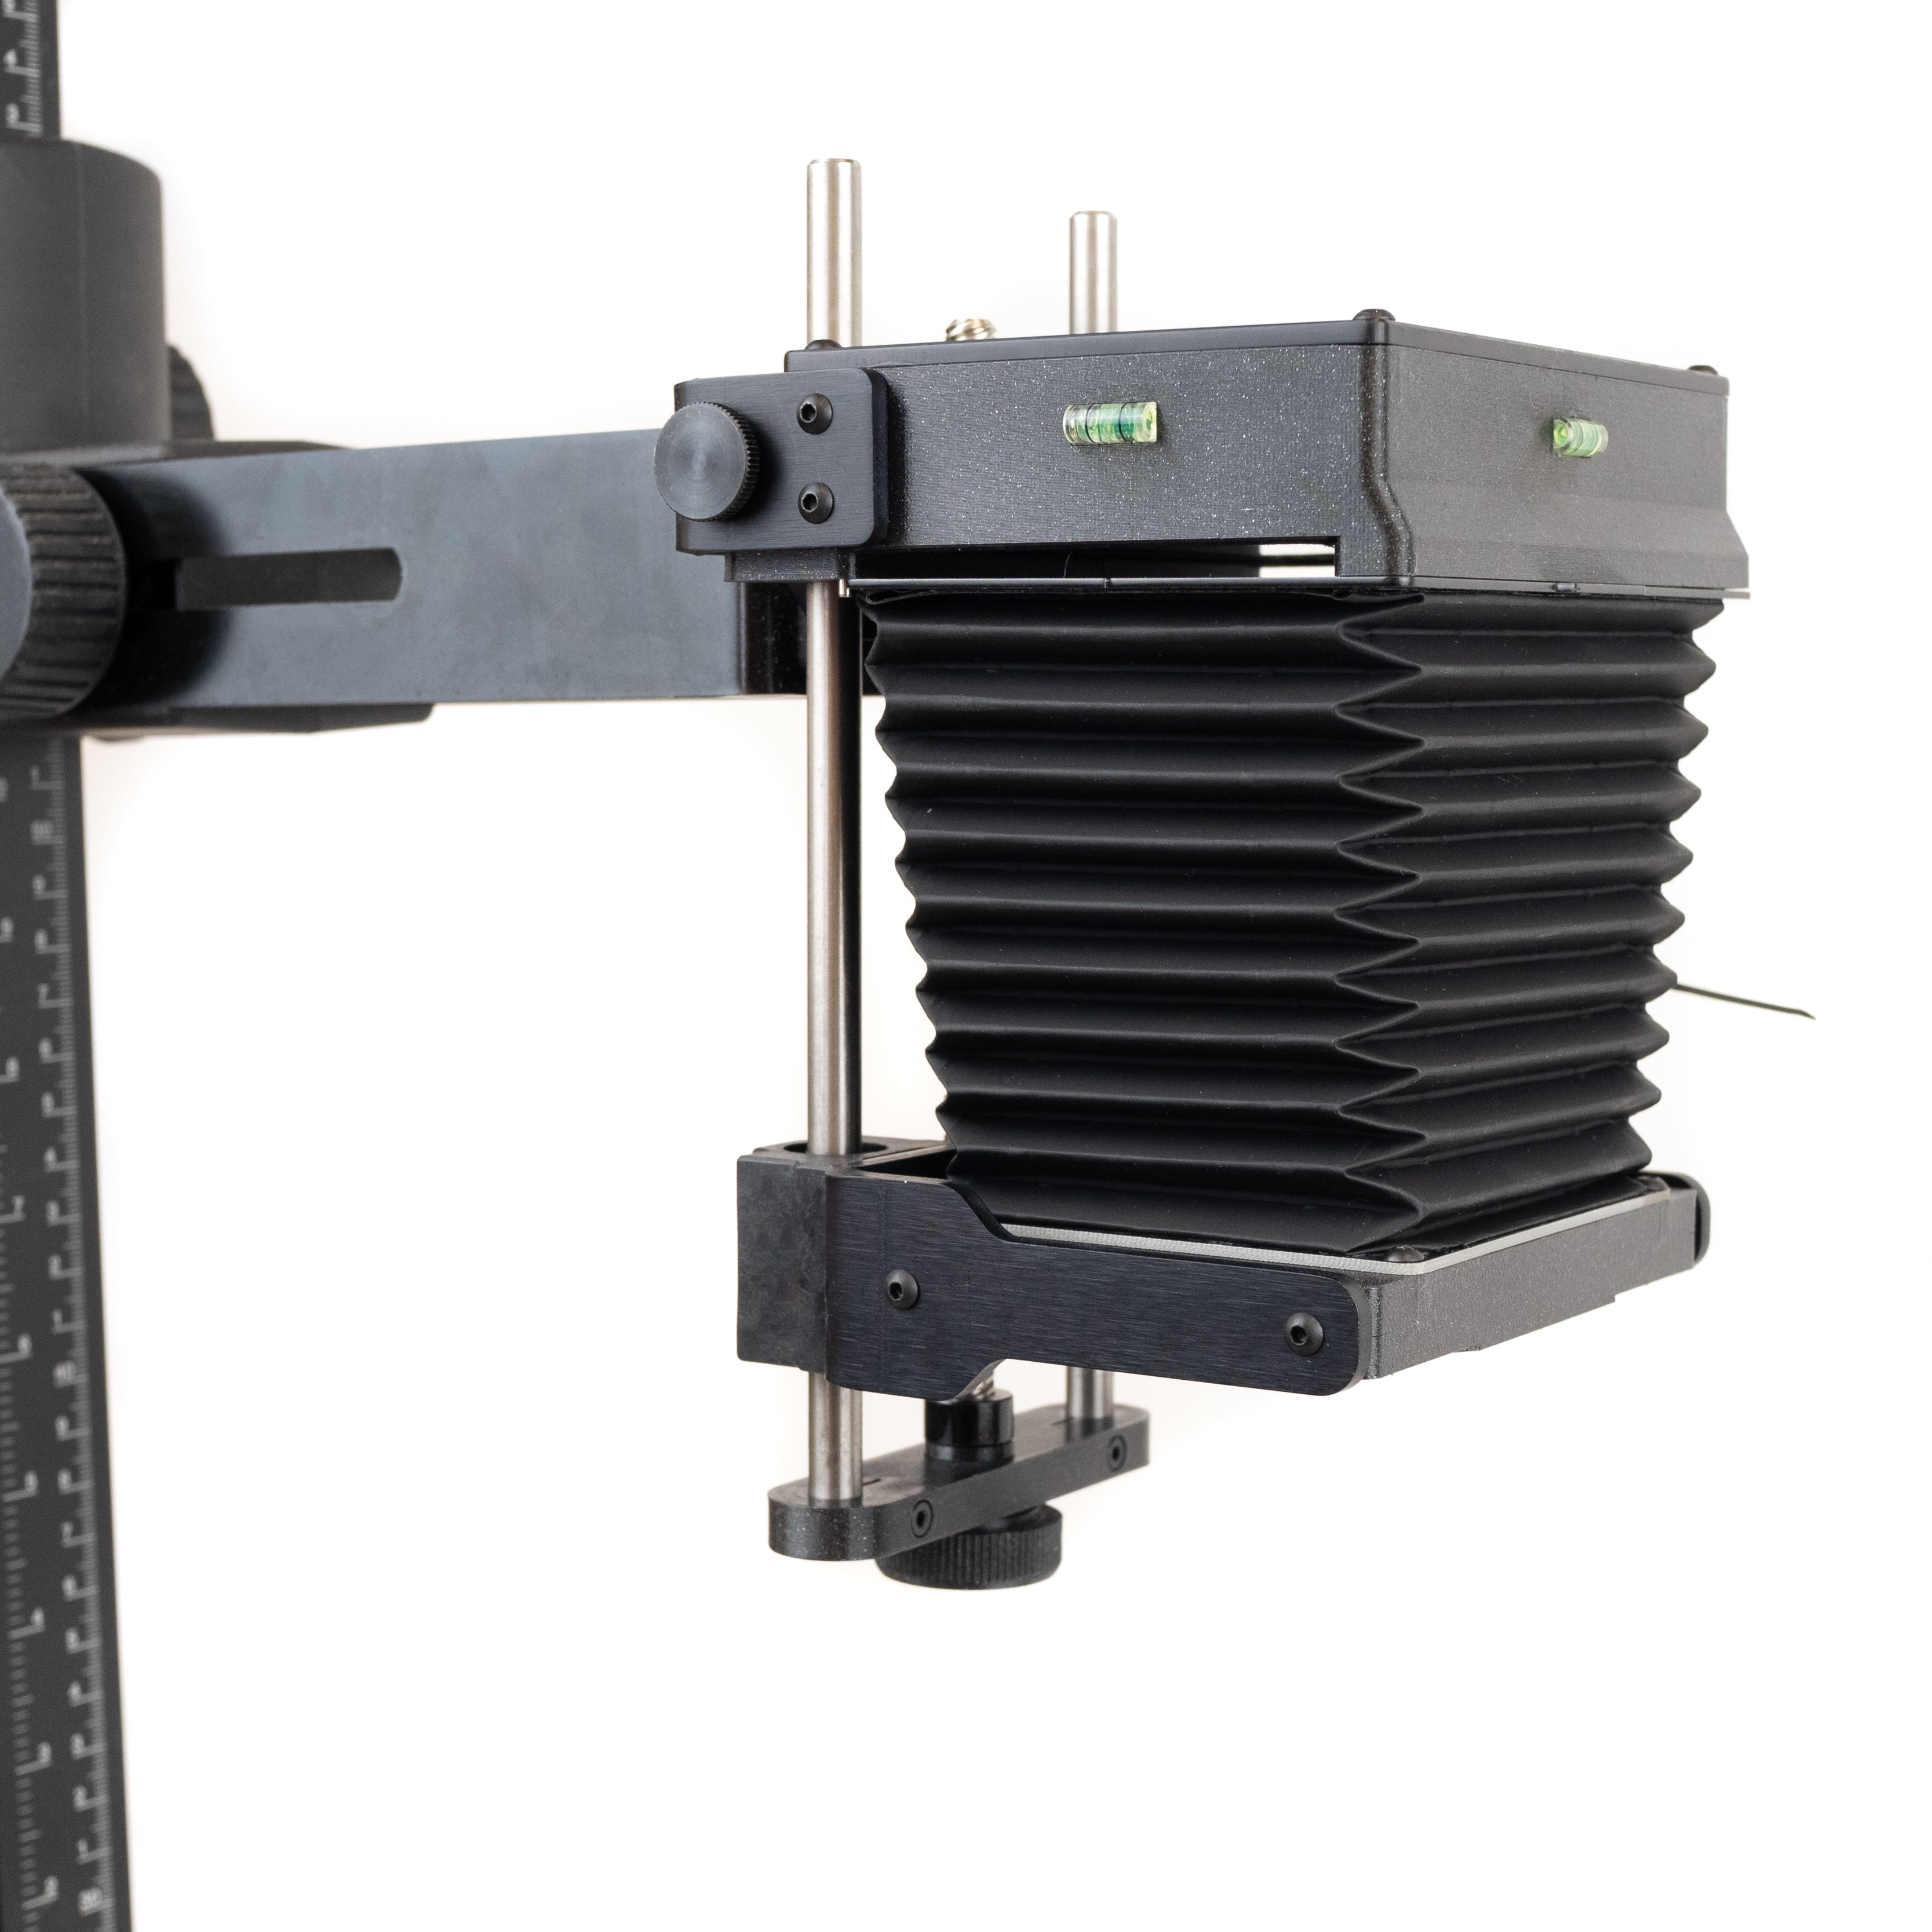
Mount your Enlarger unit to a tripod or copy stand. A copy stand is easier to use but if you are on budget a well set up tripod can still produce impressive results. The Compact Enlarger has a standard 1/4 20tpi thread.
02.
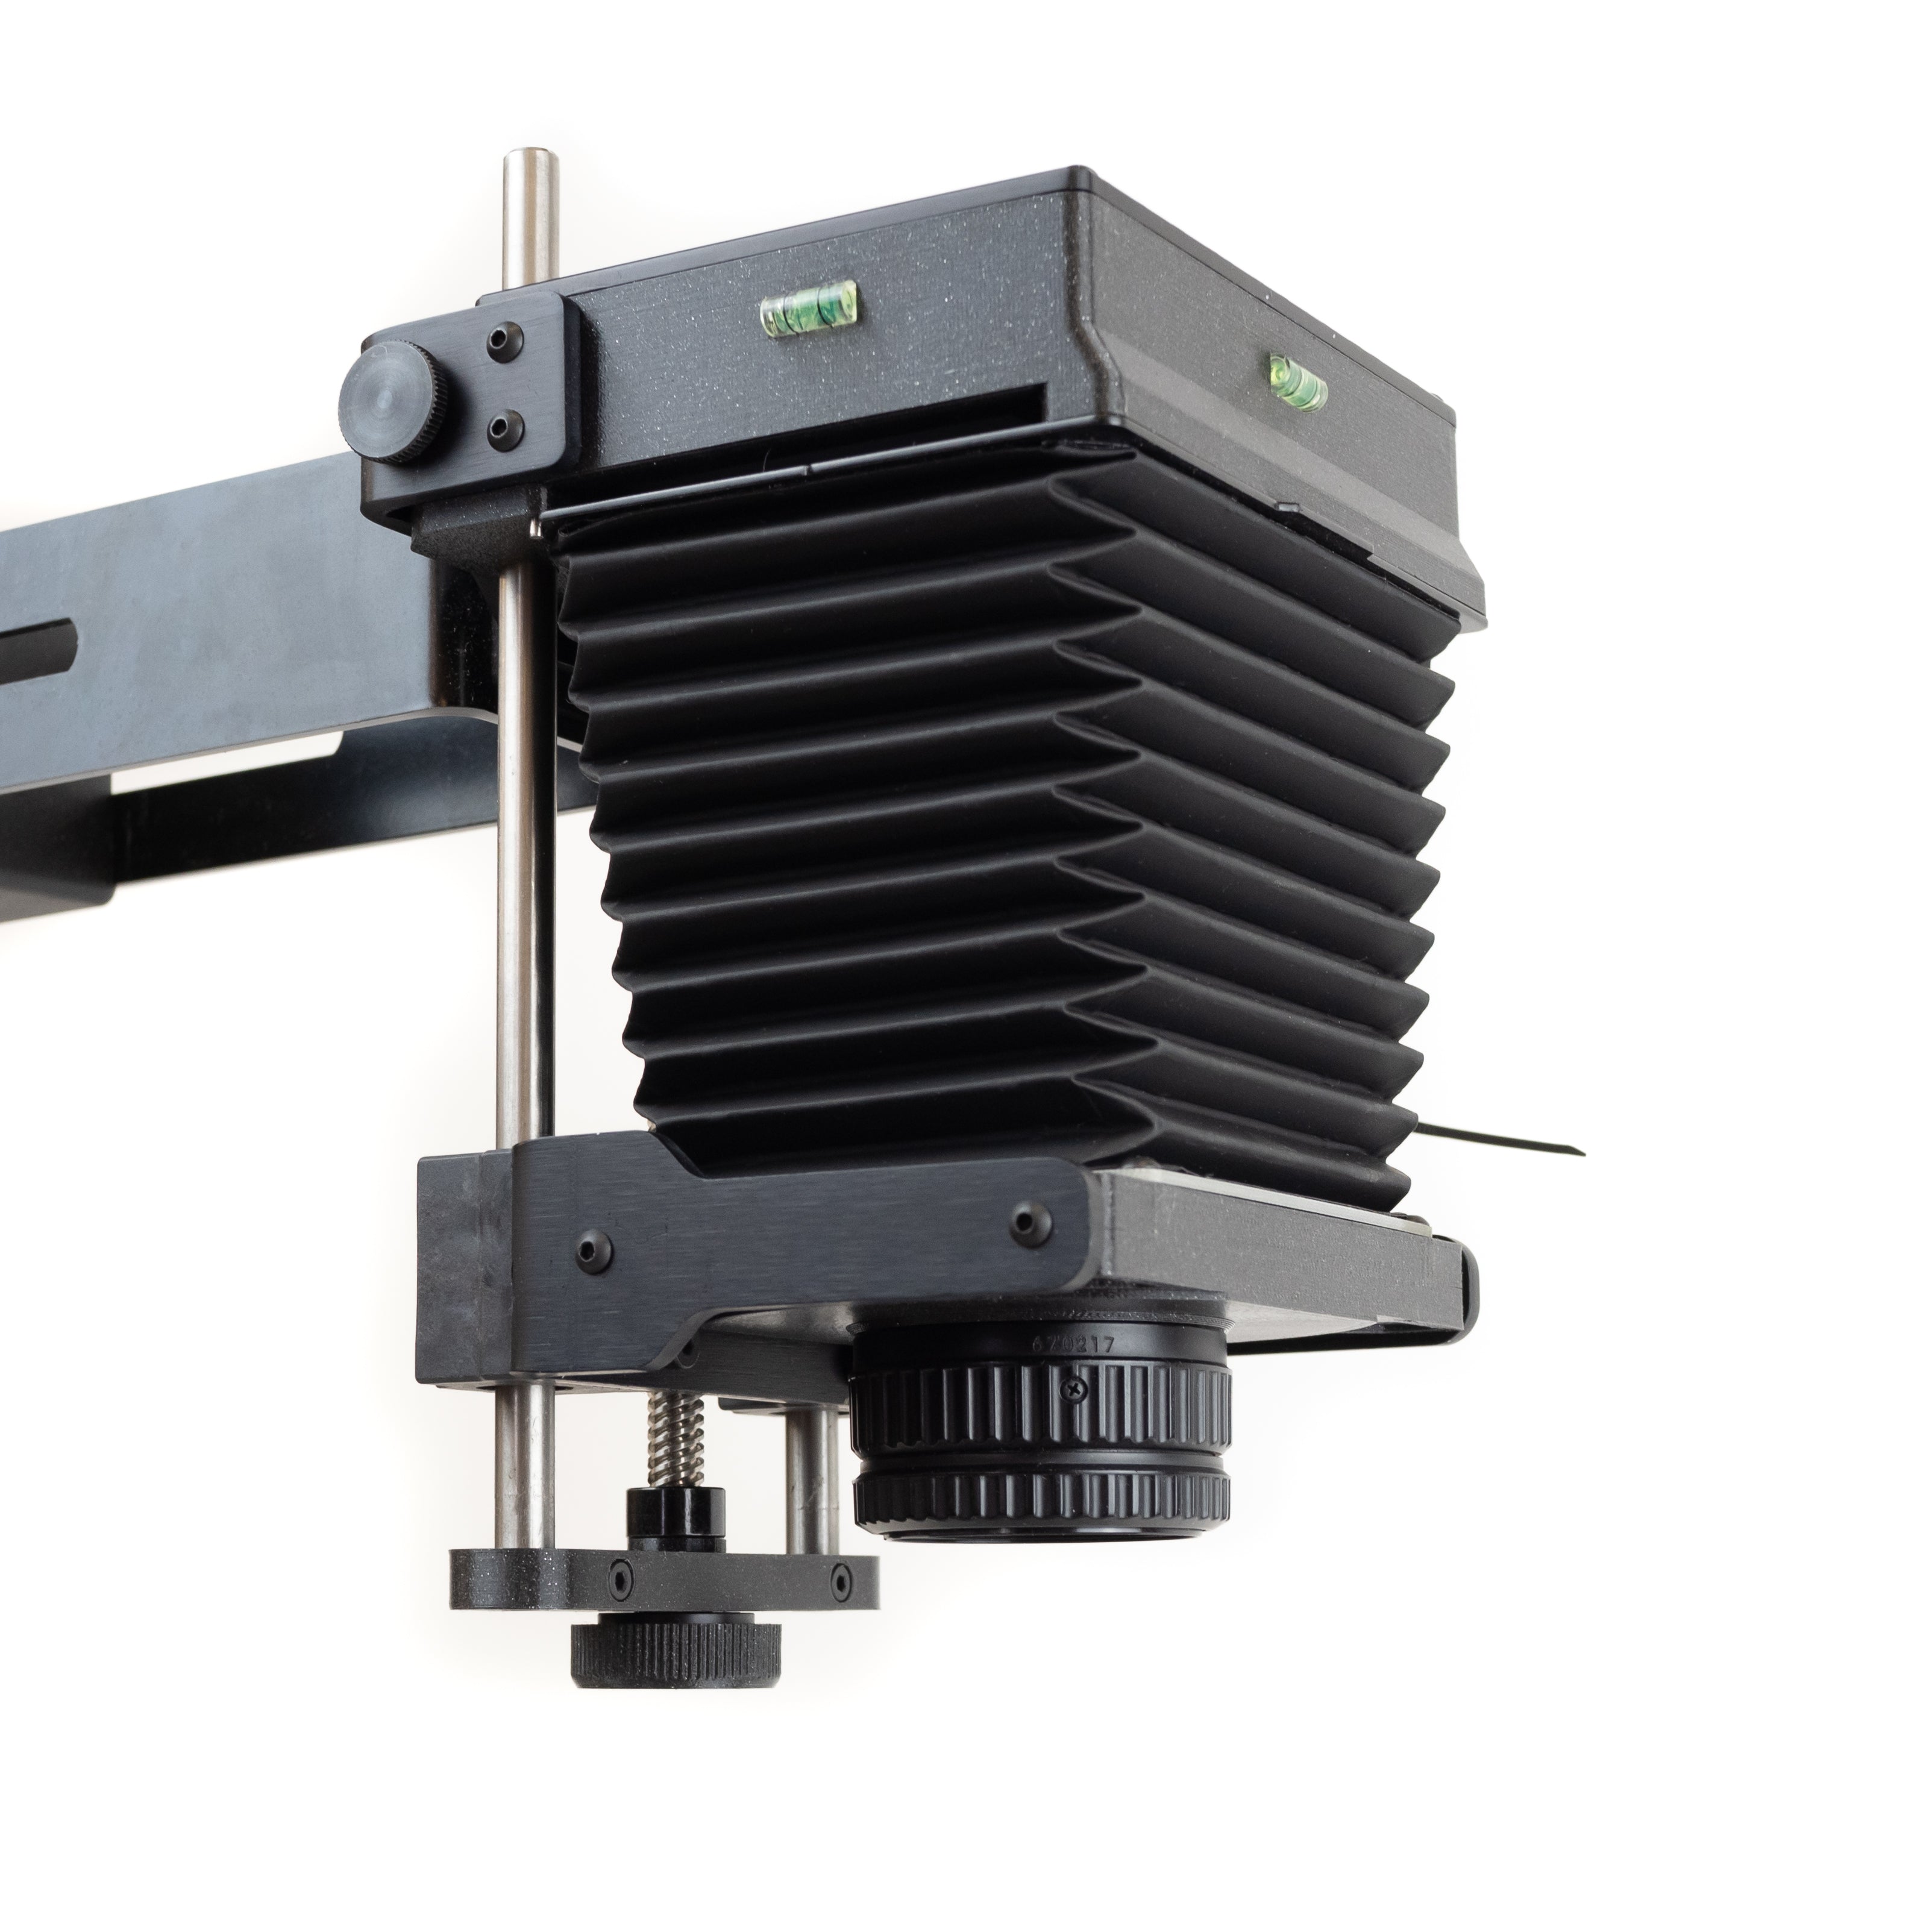
Attach Lens
Screw in your Enlarger lens (M39 mount). Many excellent quality enlarger lenses are available second hand. for 35mm we recommend a 50mm lens, for 6x4.5 to 6x7 a 80mm lens and a 105mm lens for the 6x9 size carrier.
03.
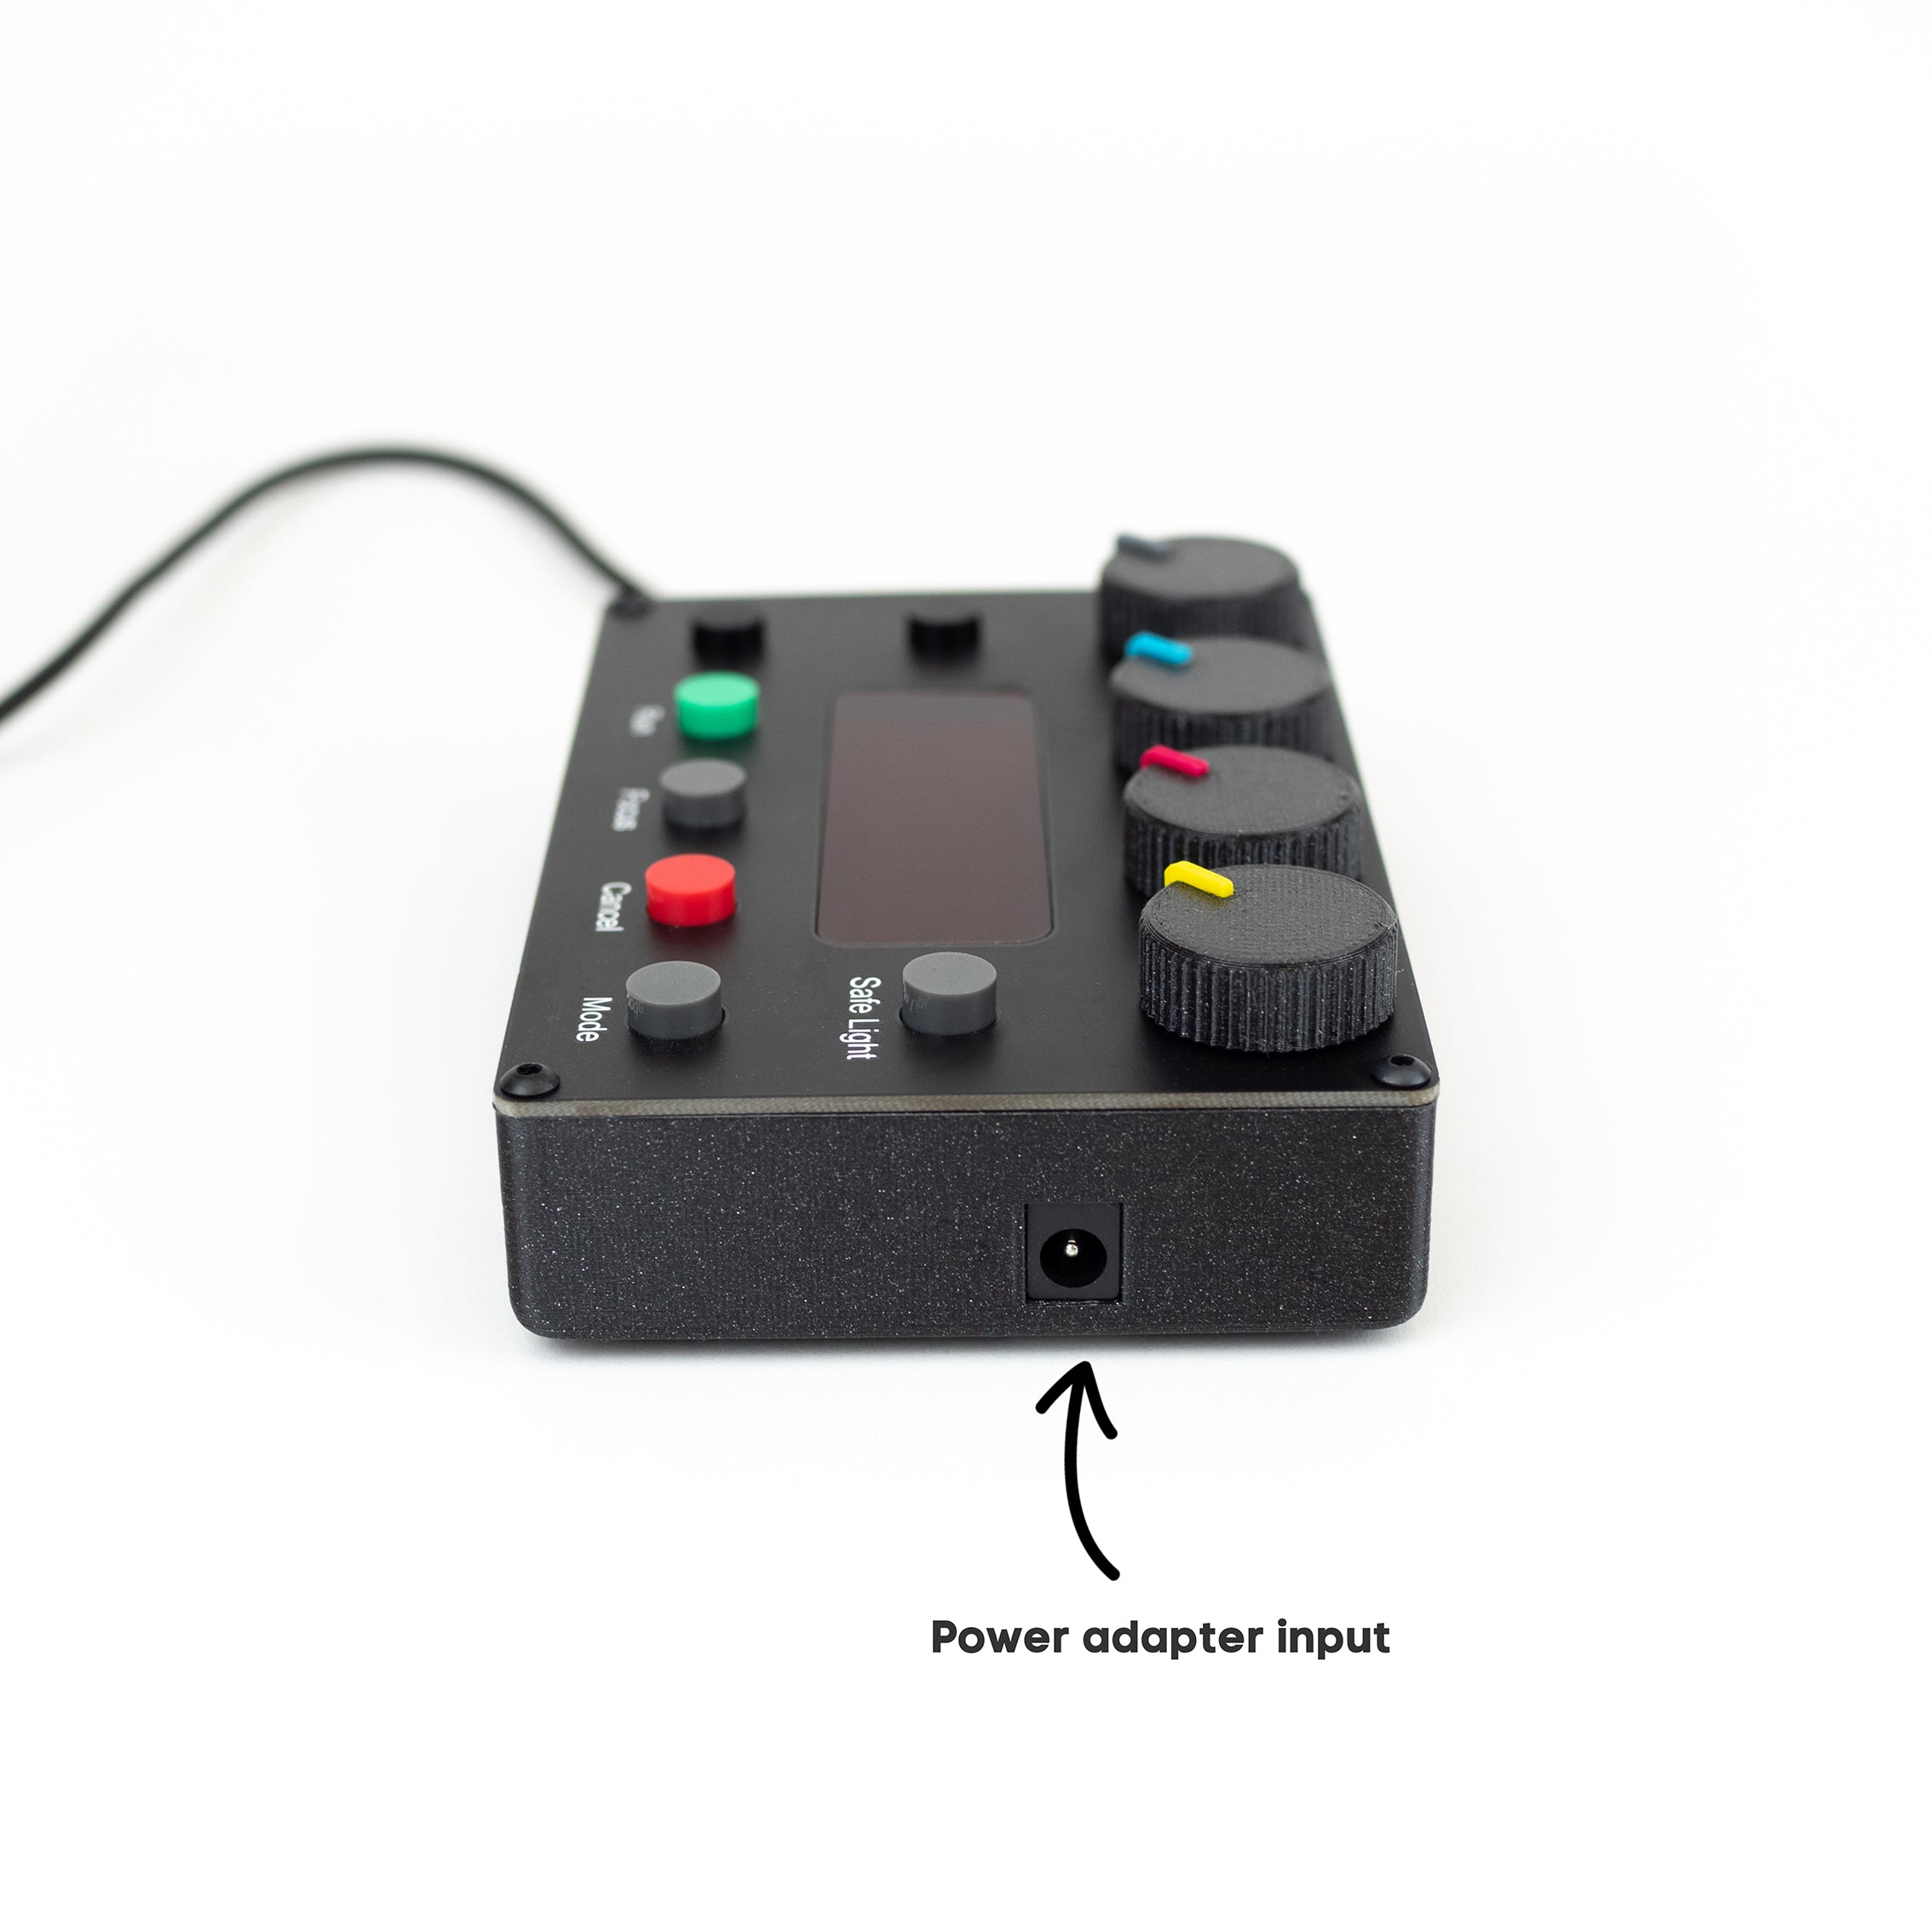
Attach Timer
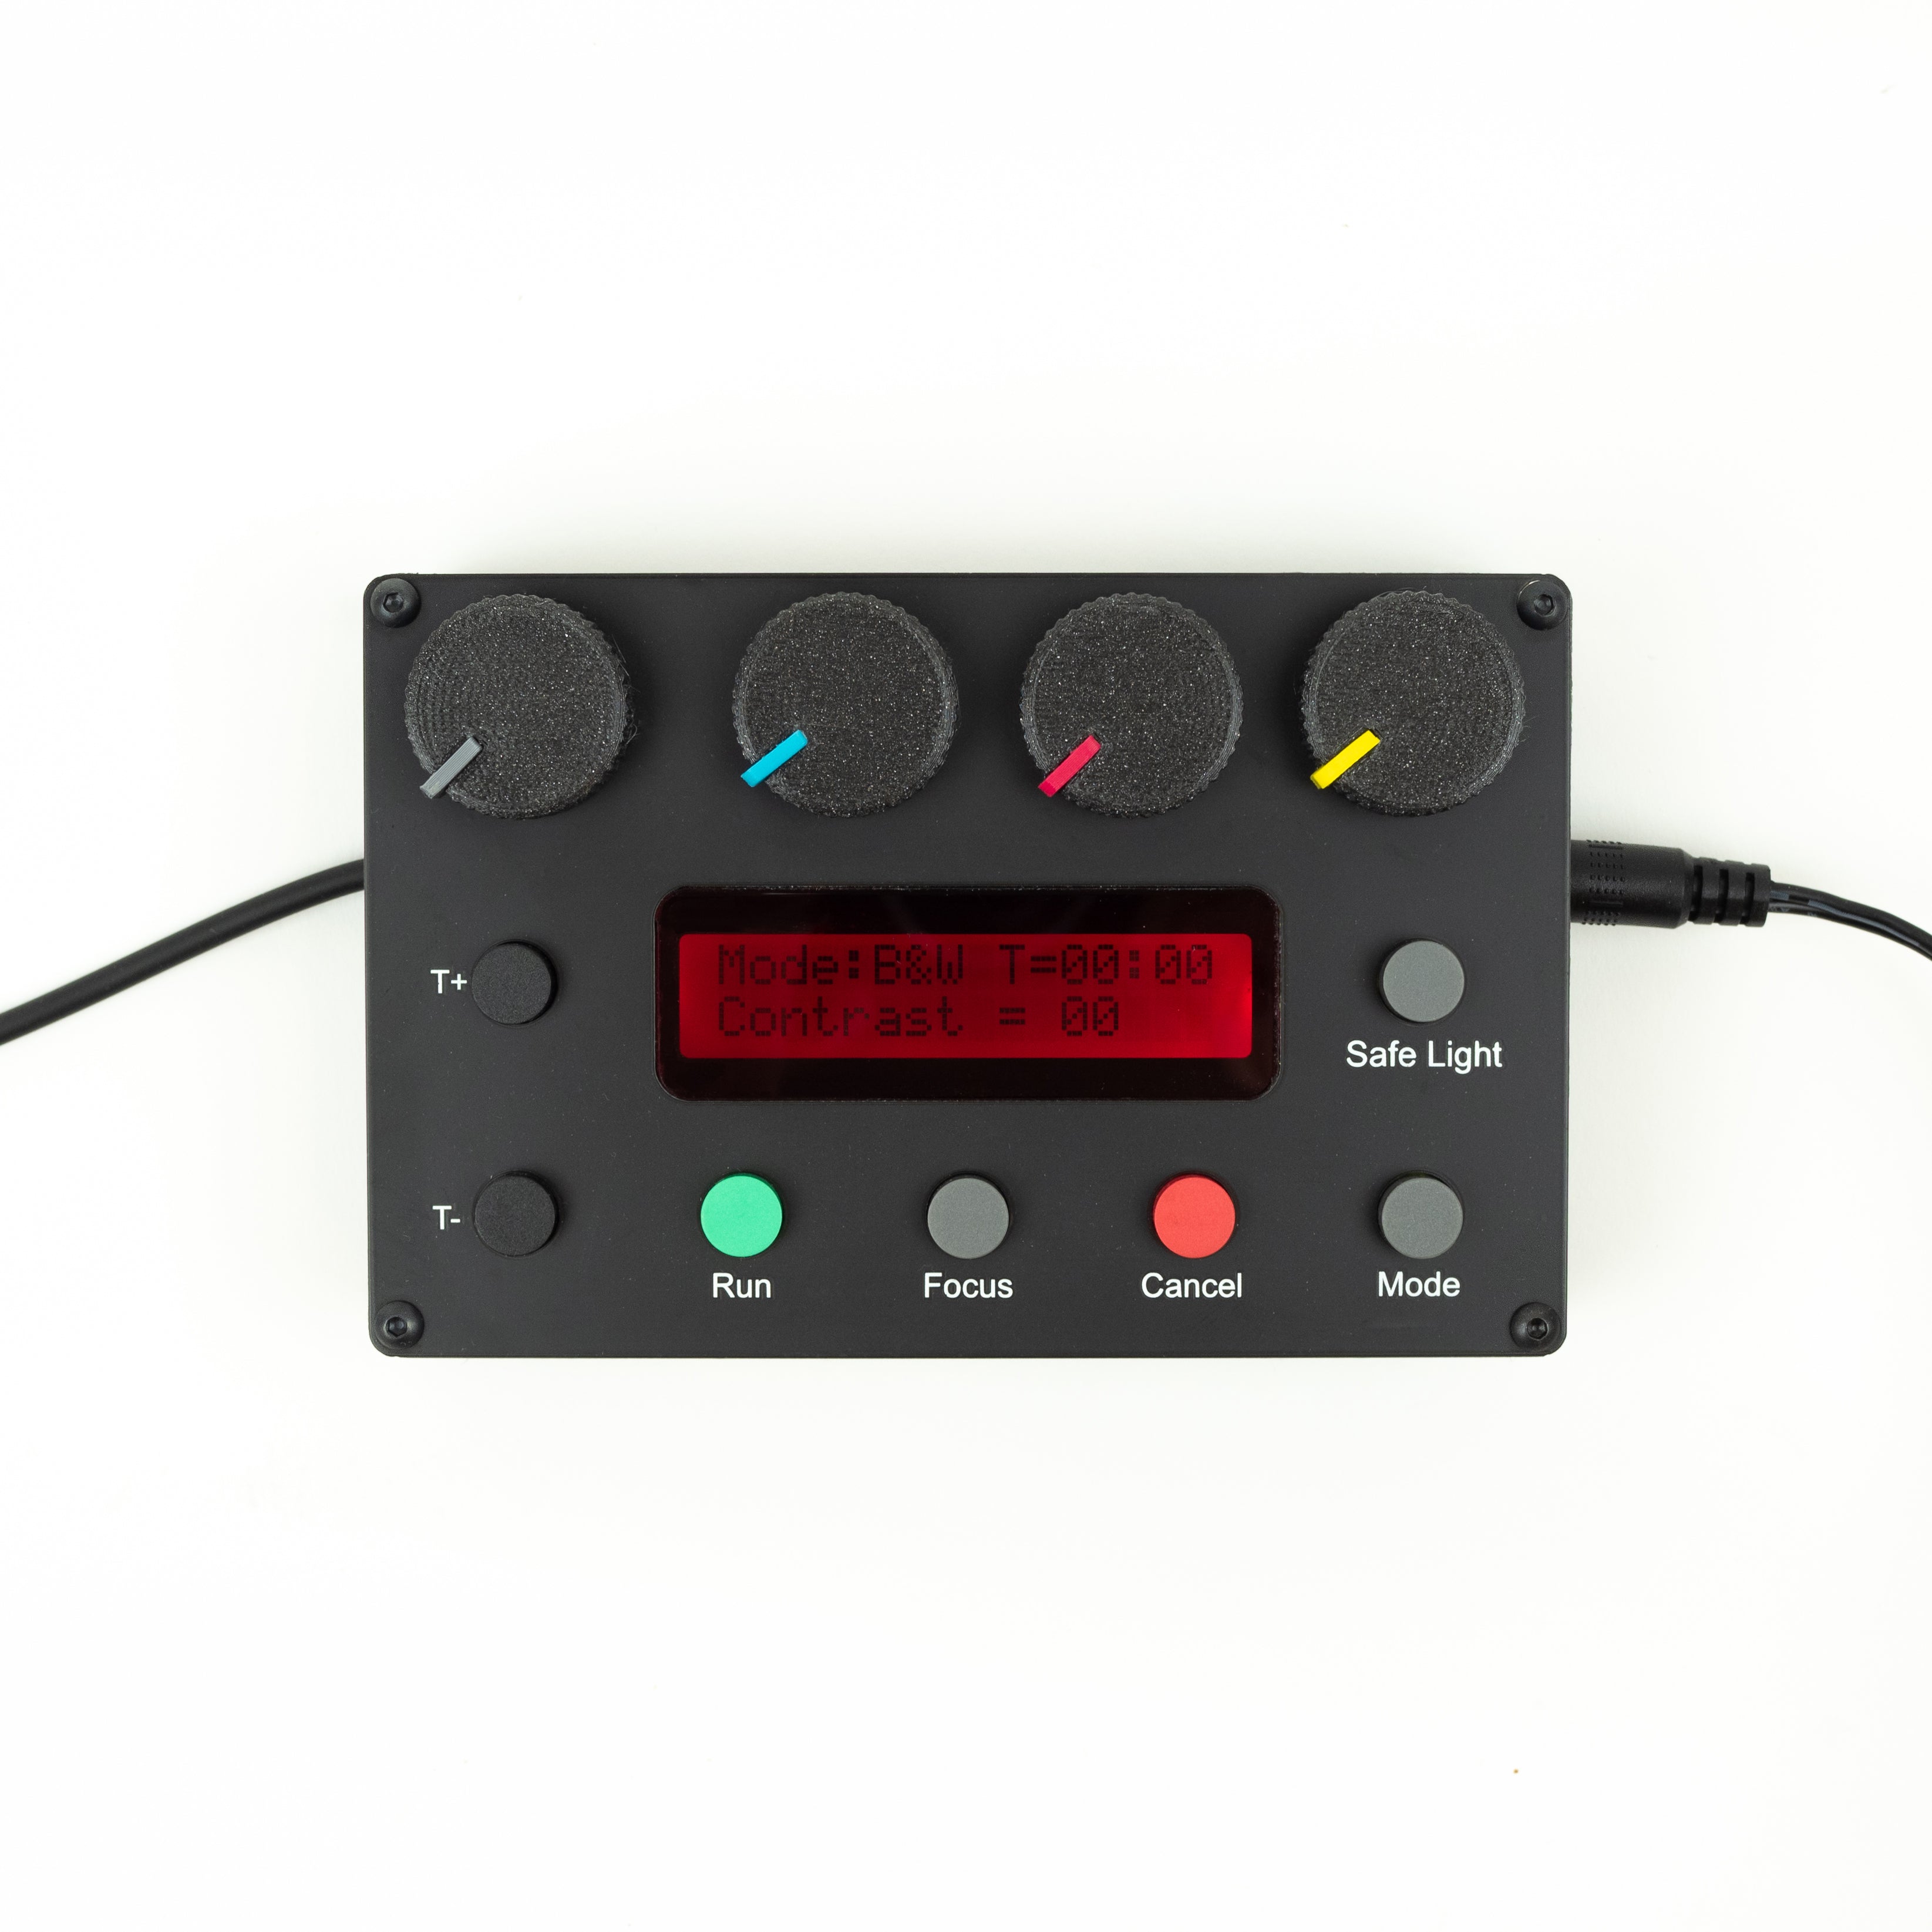
Plug the timer into the light source (if not connected) then plug in the power supply. Be very careful when attaching the timer, please follow the instructions in the Timer Quick Start Guide.
04.
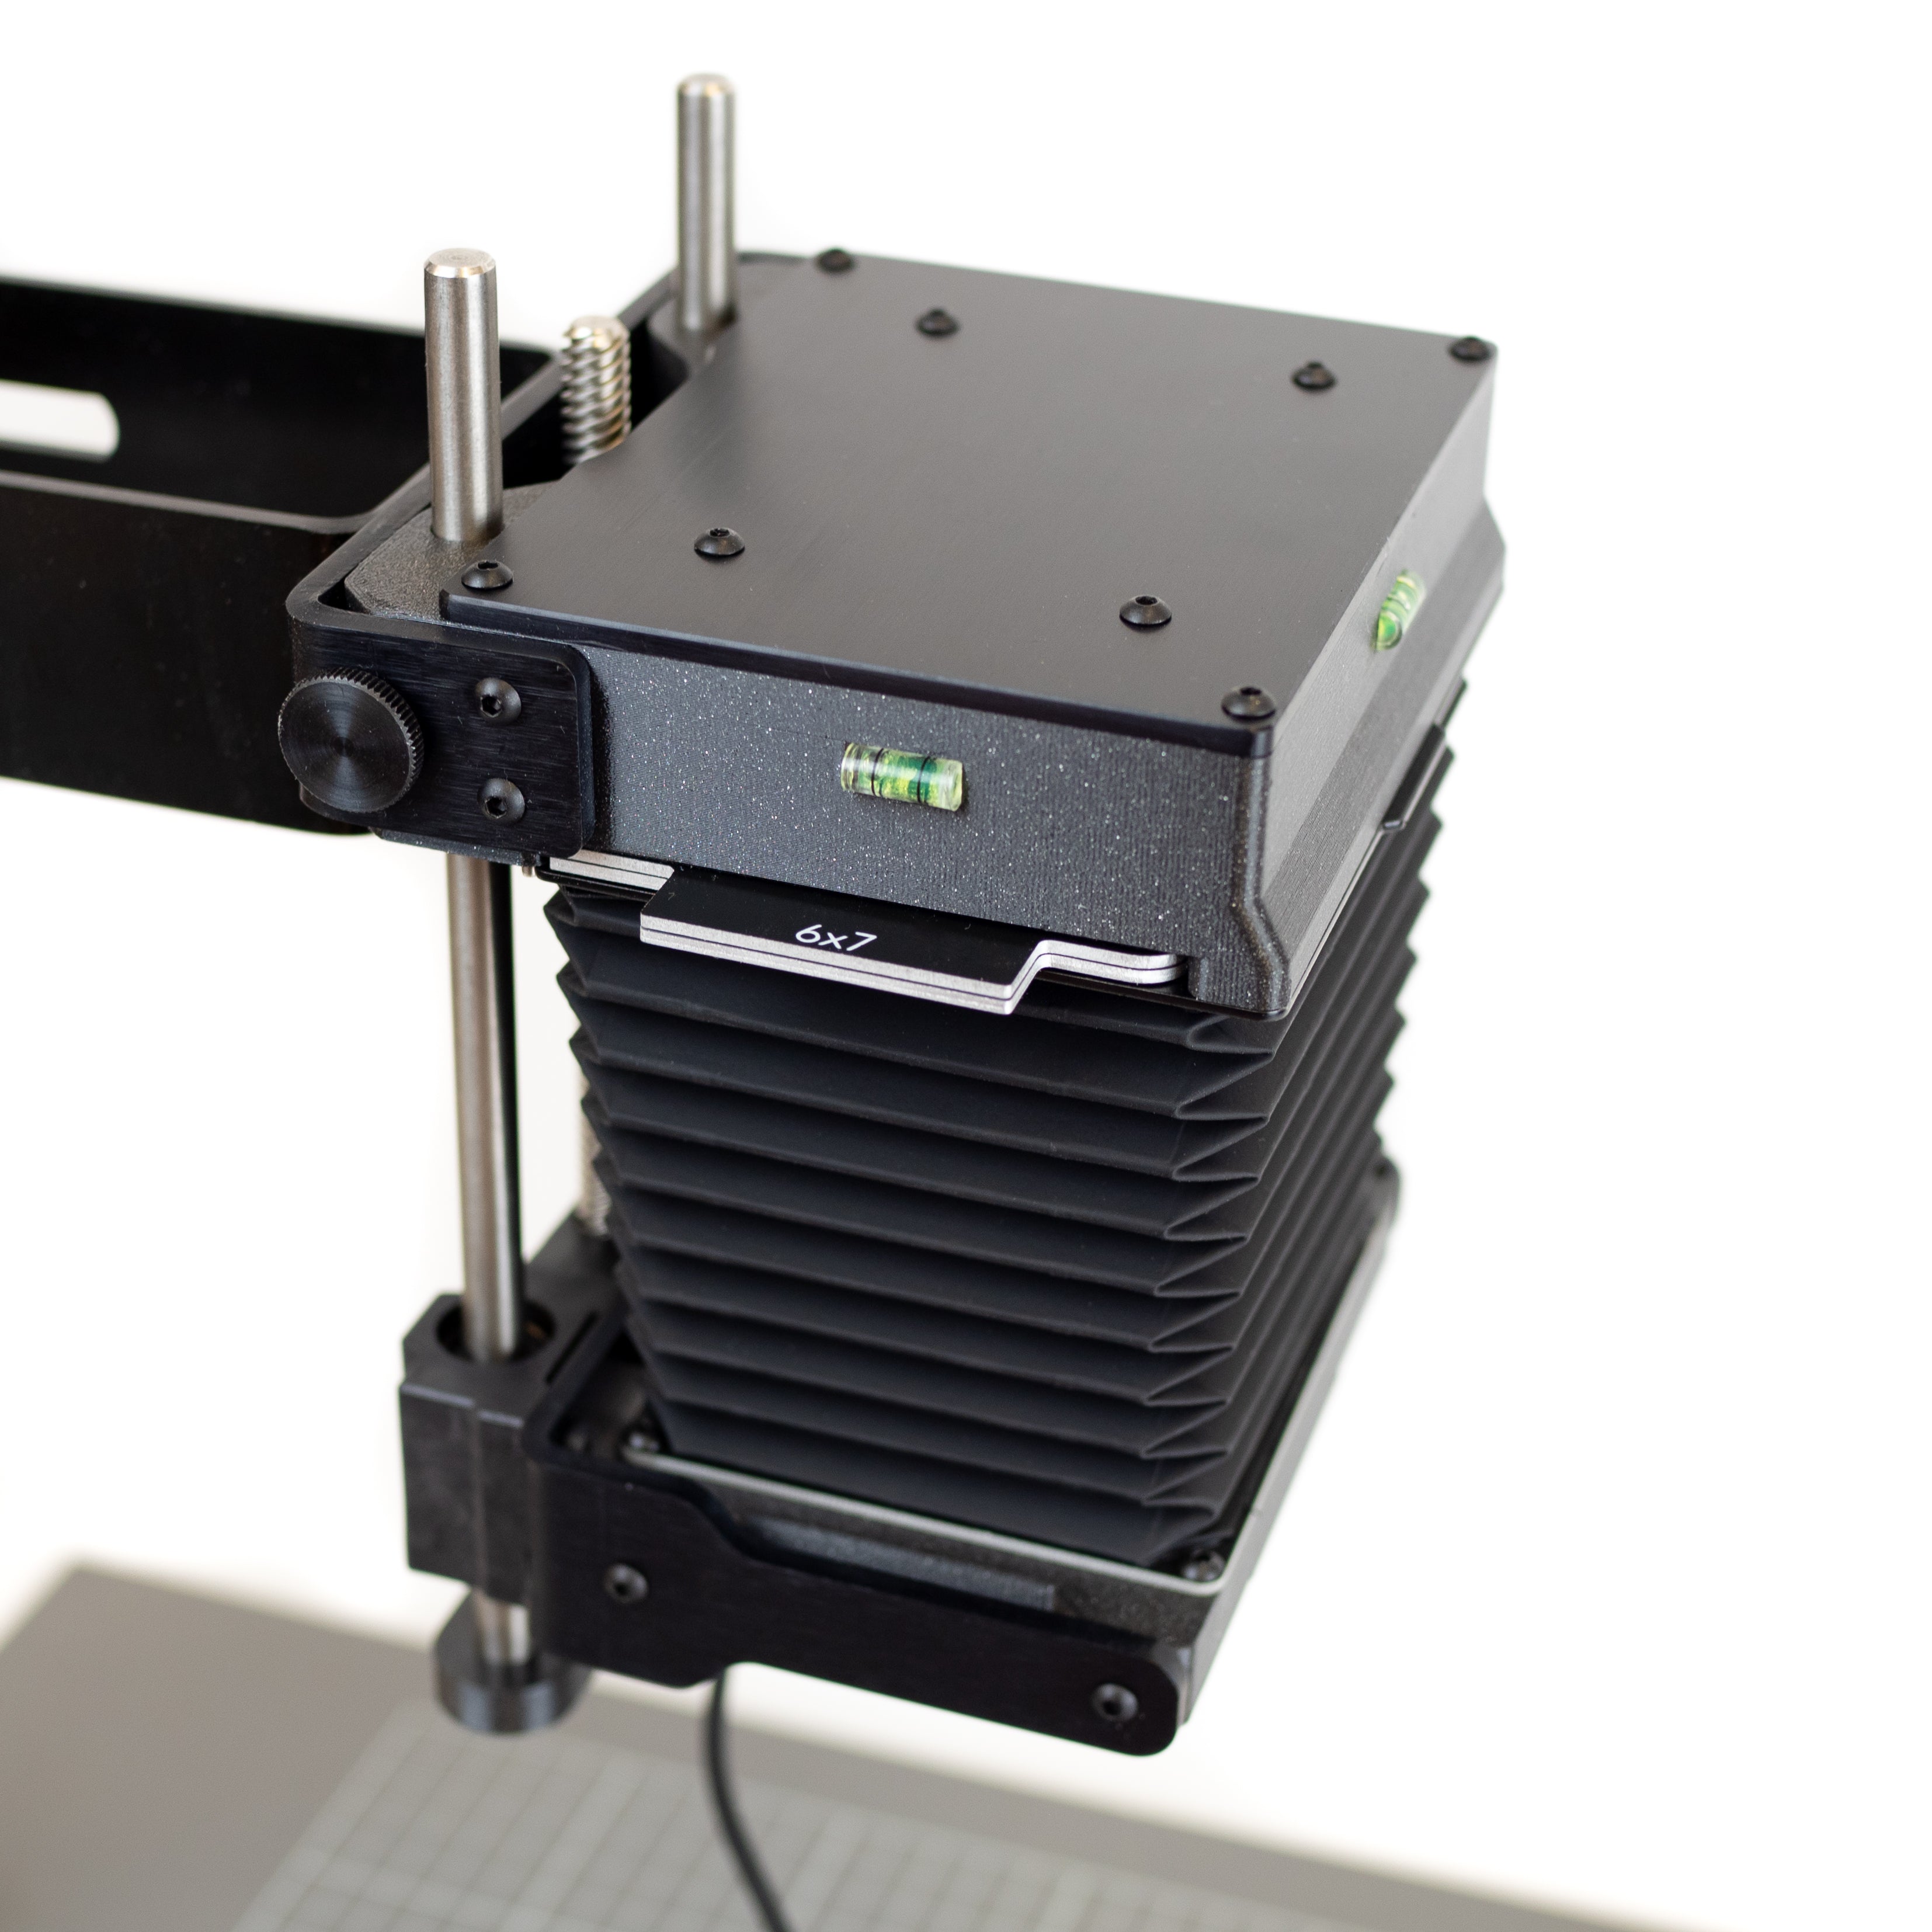
Insert Negative
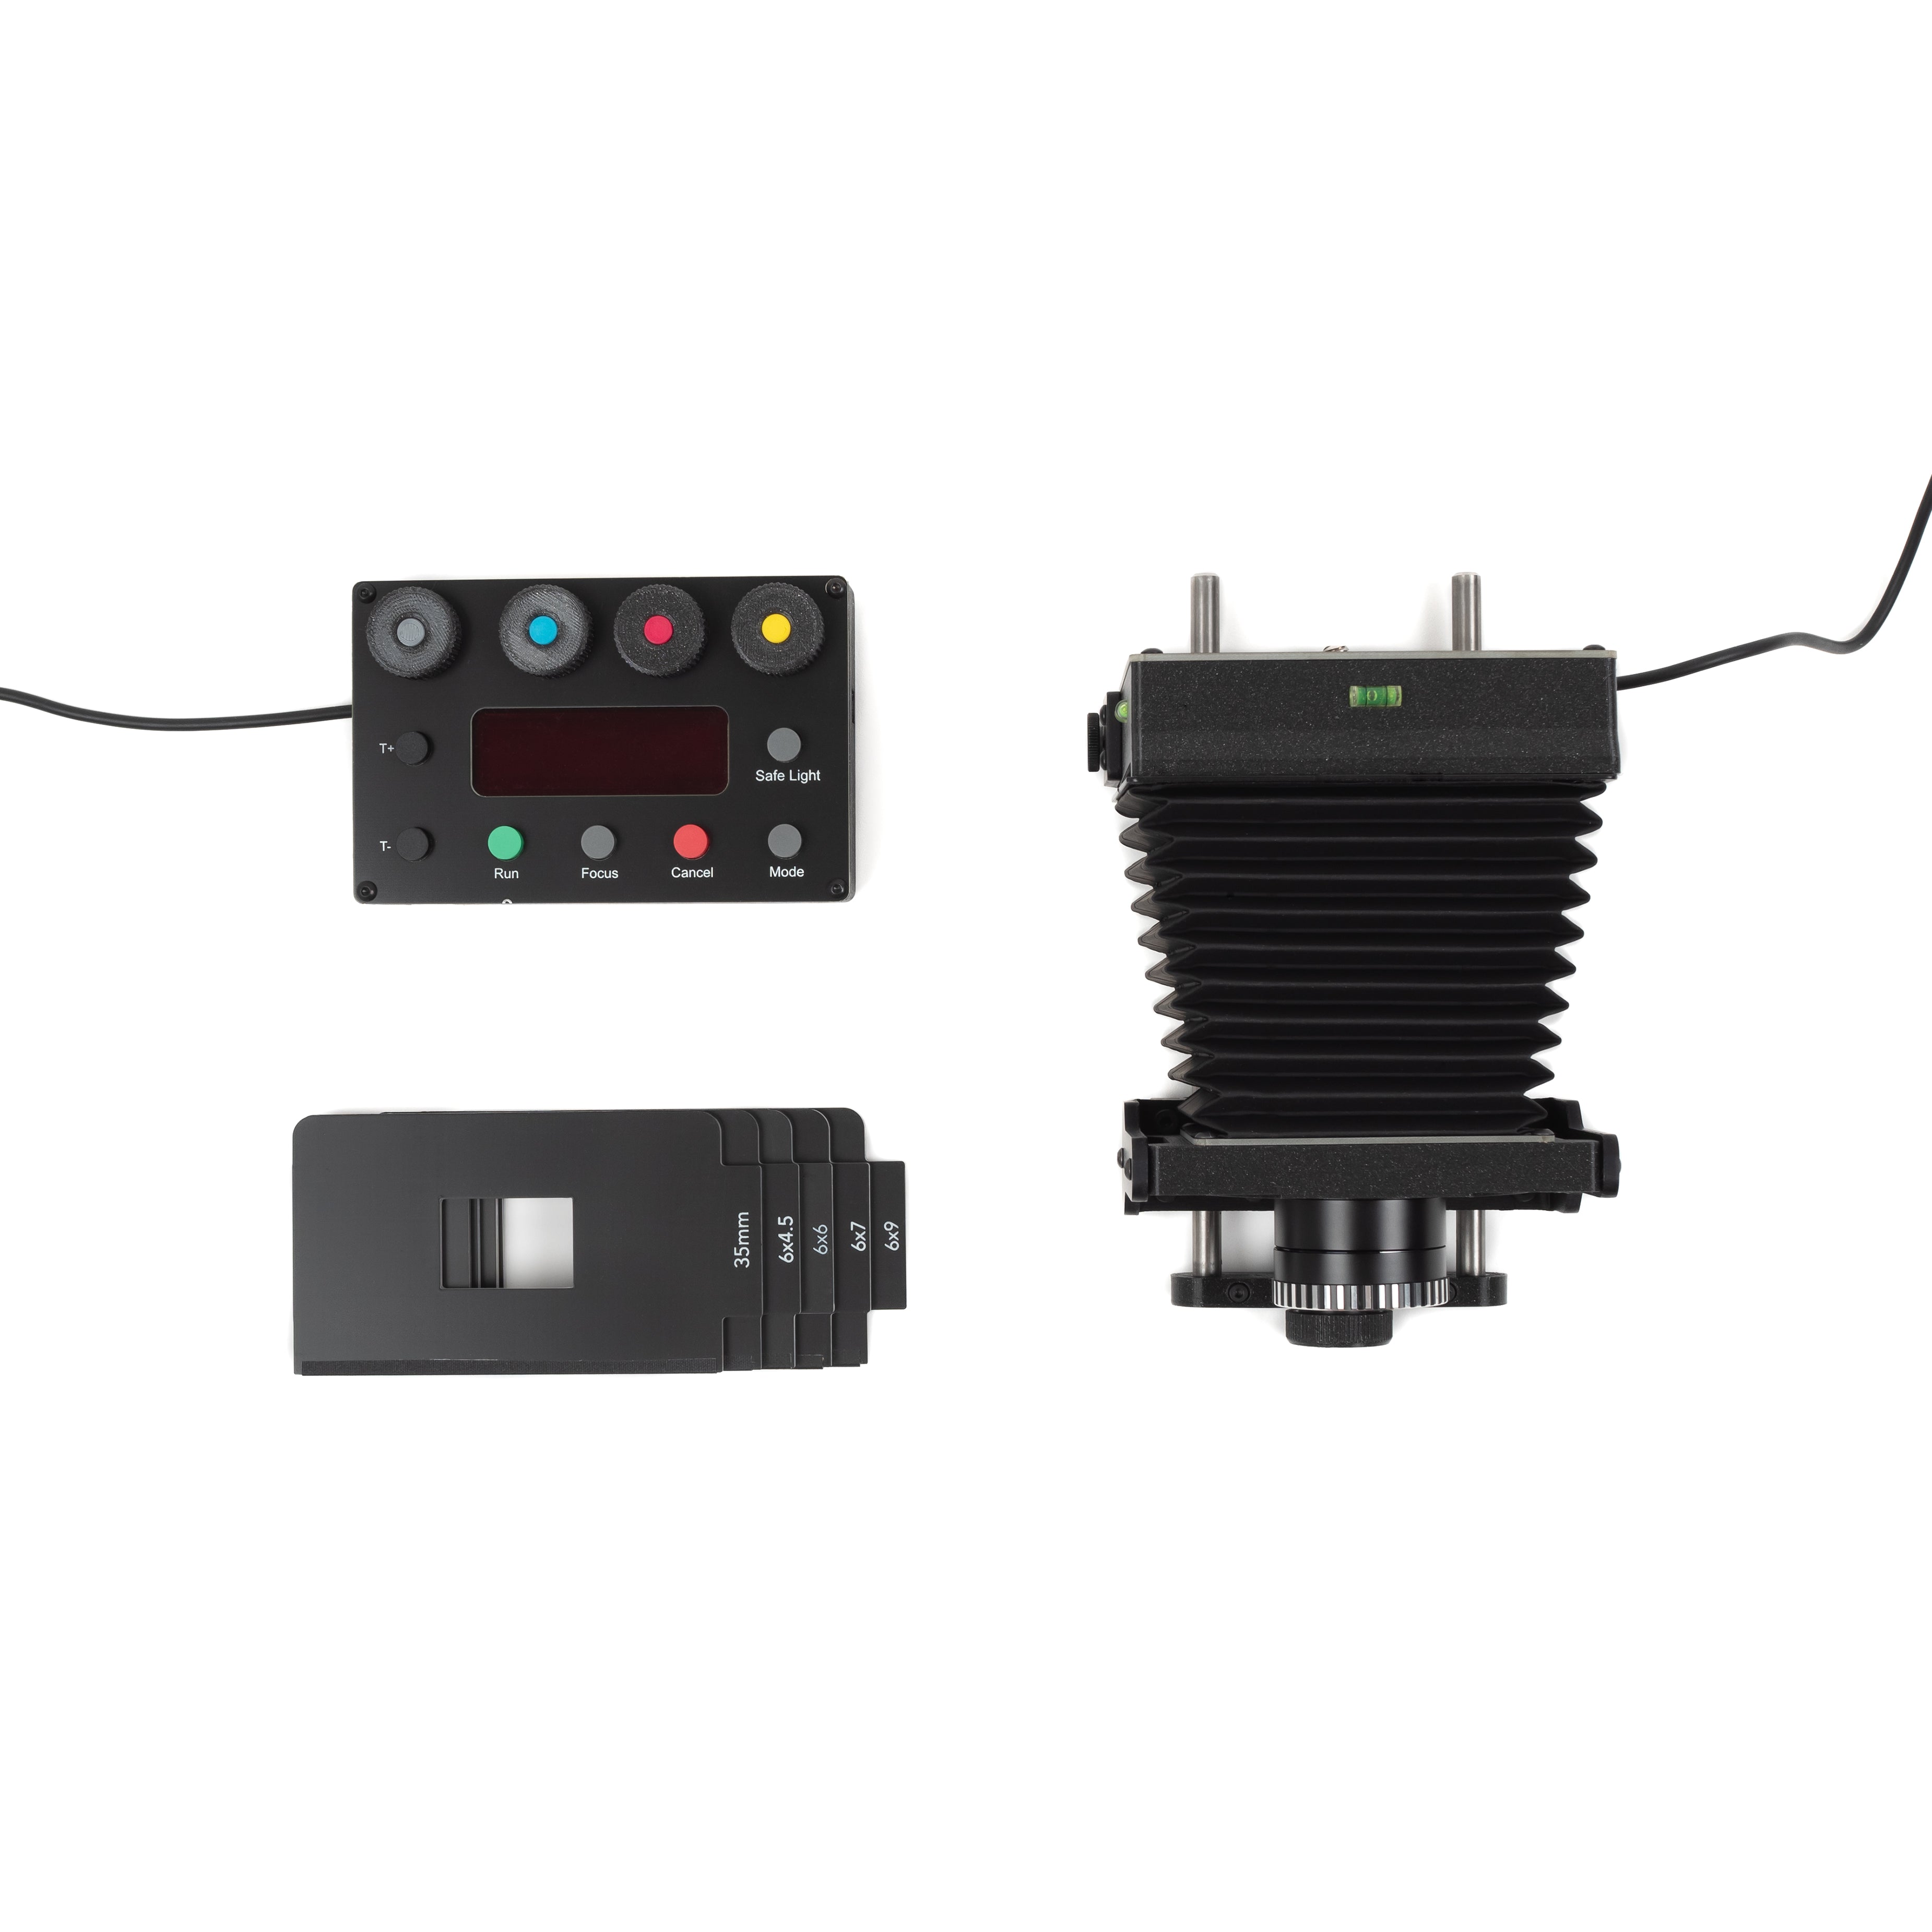
Place your negative emulsion side down into the correct carrier and insert. If your negative is longer than the carrier you can use the tab on the bellows to pull them down and insert the carrier through that way instead.
