

By Intrepid Camera | May, 2025
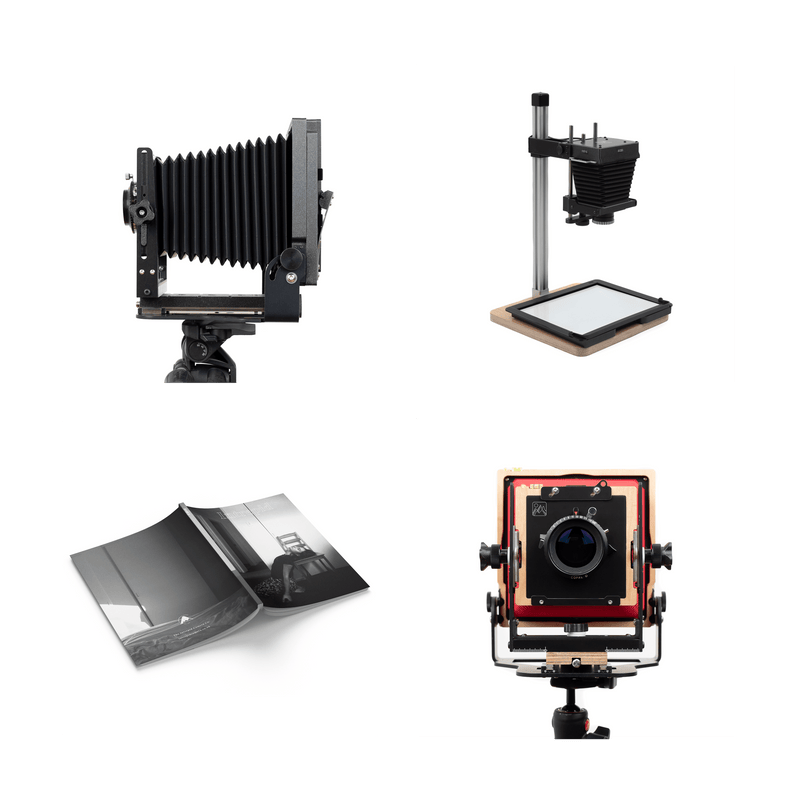
Ever wanted to shoot Polaroid SX-70 / 600 Film on your 4x5?

Well Now There Is A Way
You will find a link to a DXF file above. This is a type of line drawing that any laser cutter can follow to cut out the required parts for this project from black 180 gsm card.
Simply construct the envelope as instructed below, add some Polaroid film (either SX-70 or 600), and then use it with the Polaroid 545 or 545i holder, which is very easy to find, on your 4x5 camera.
This is an open-source project and is very much a work in progress. We will add more resources here over time and look forward to receiving community feedback on how to perfect this process. If you give it a go, please let us know how you got on and share your results!
01.
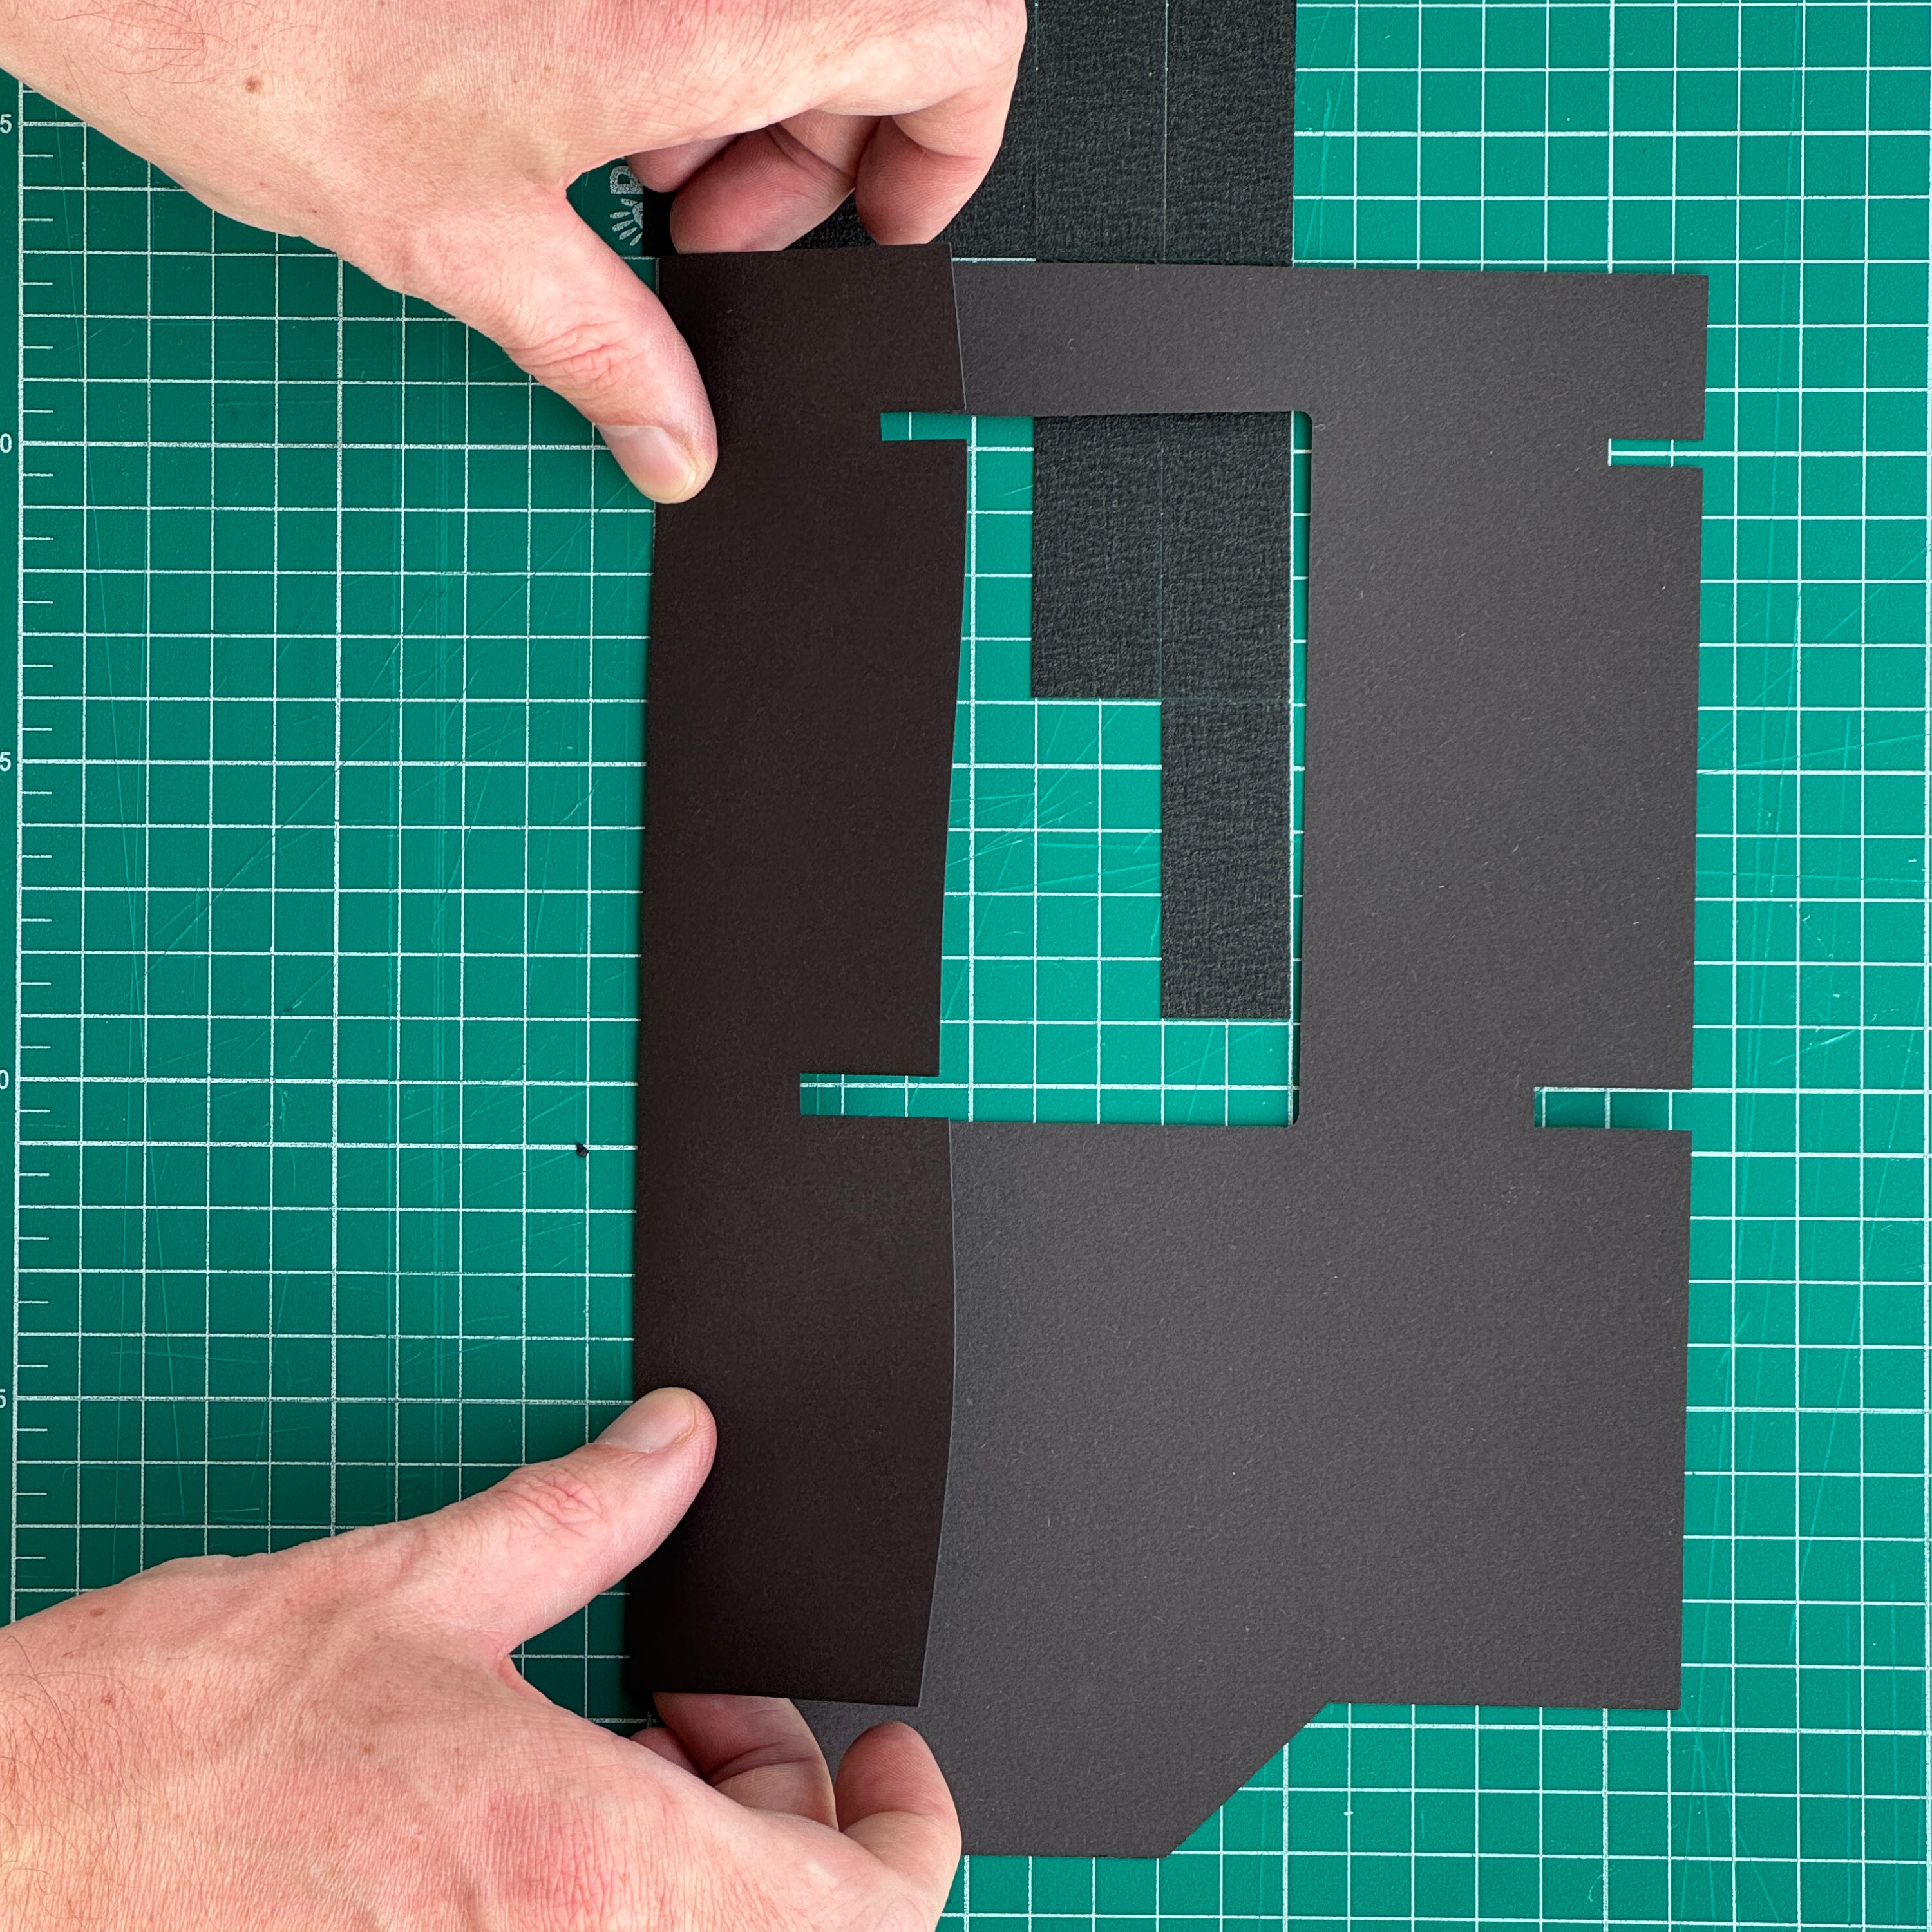
Step 1
Fold in the sides along the etched line, making sure to keep everything flat and not to crease the paper. Use a hard, flat tool to press down on the folds.
02.
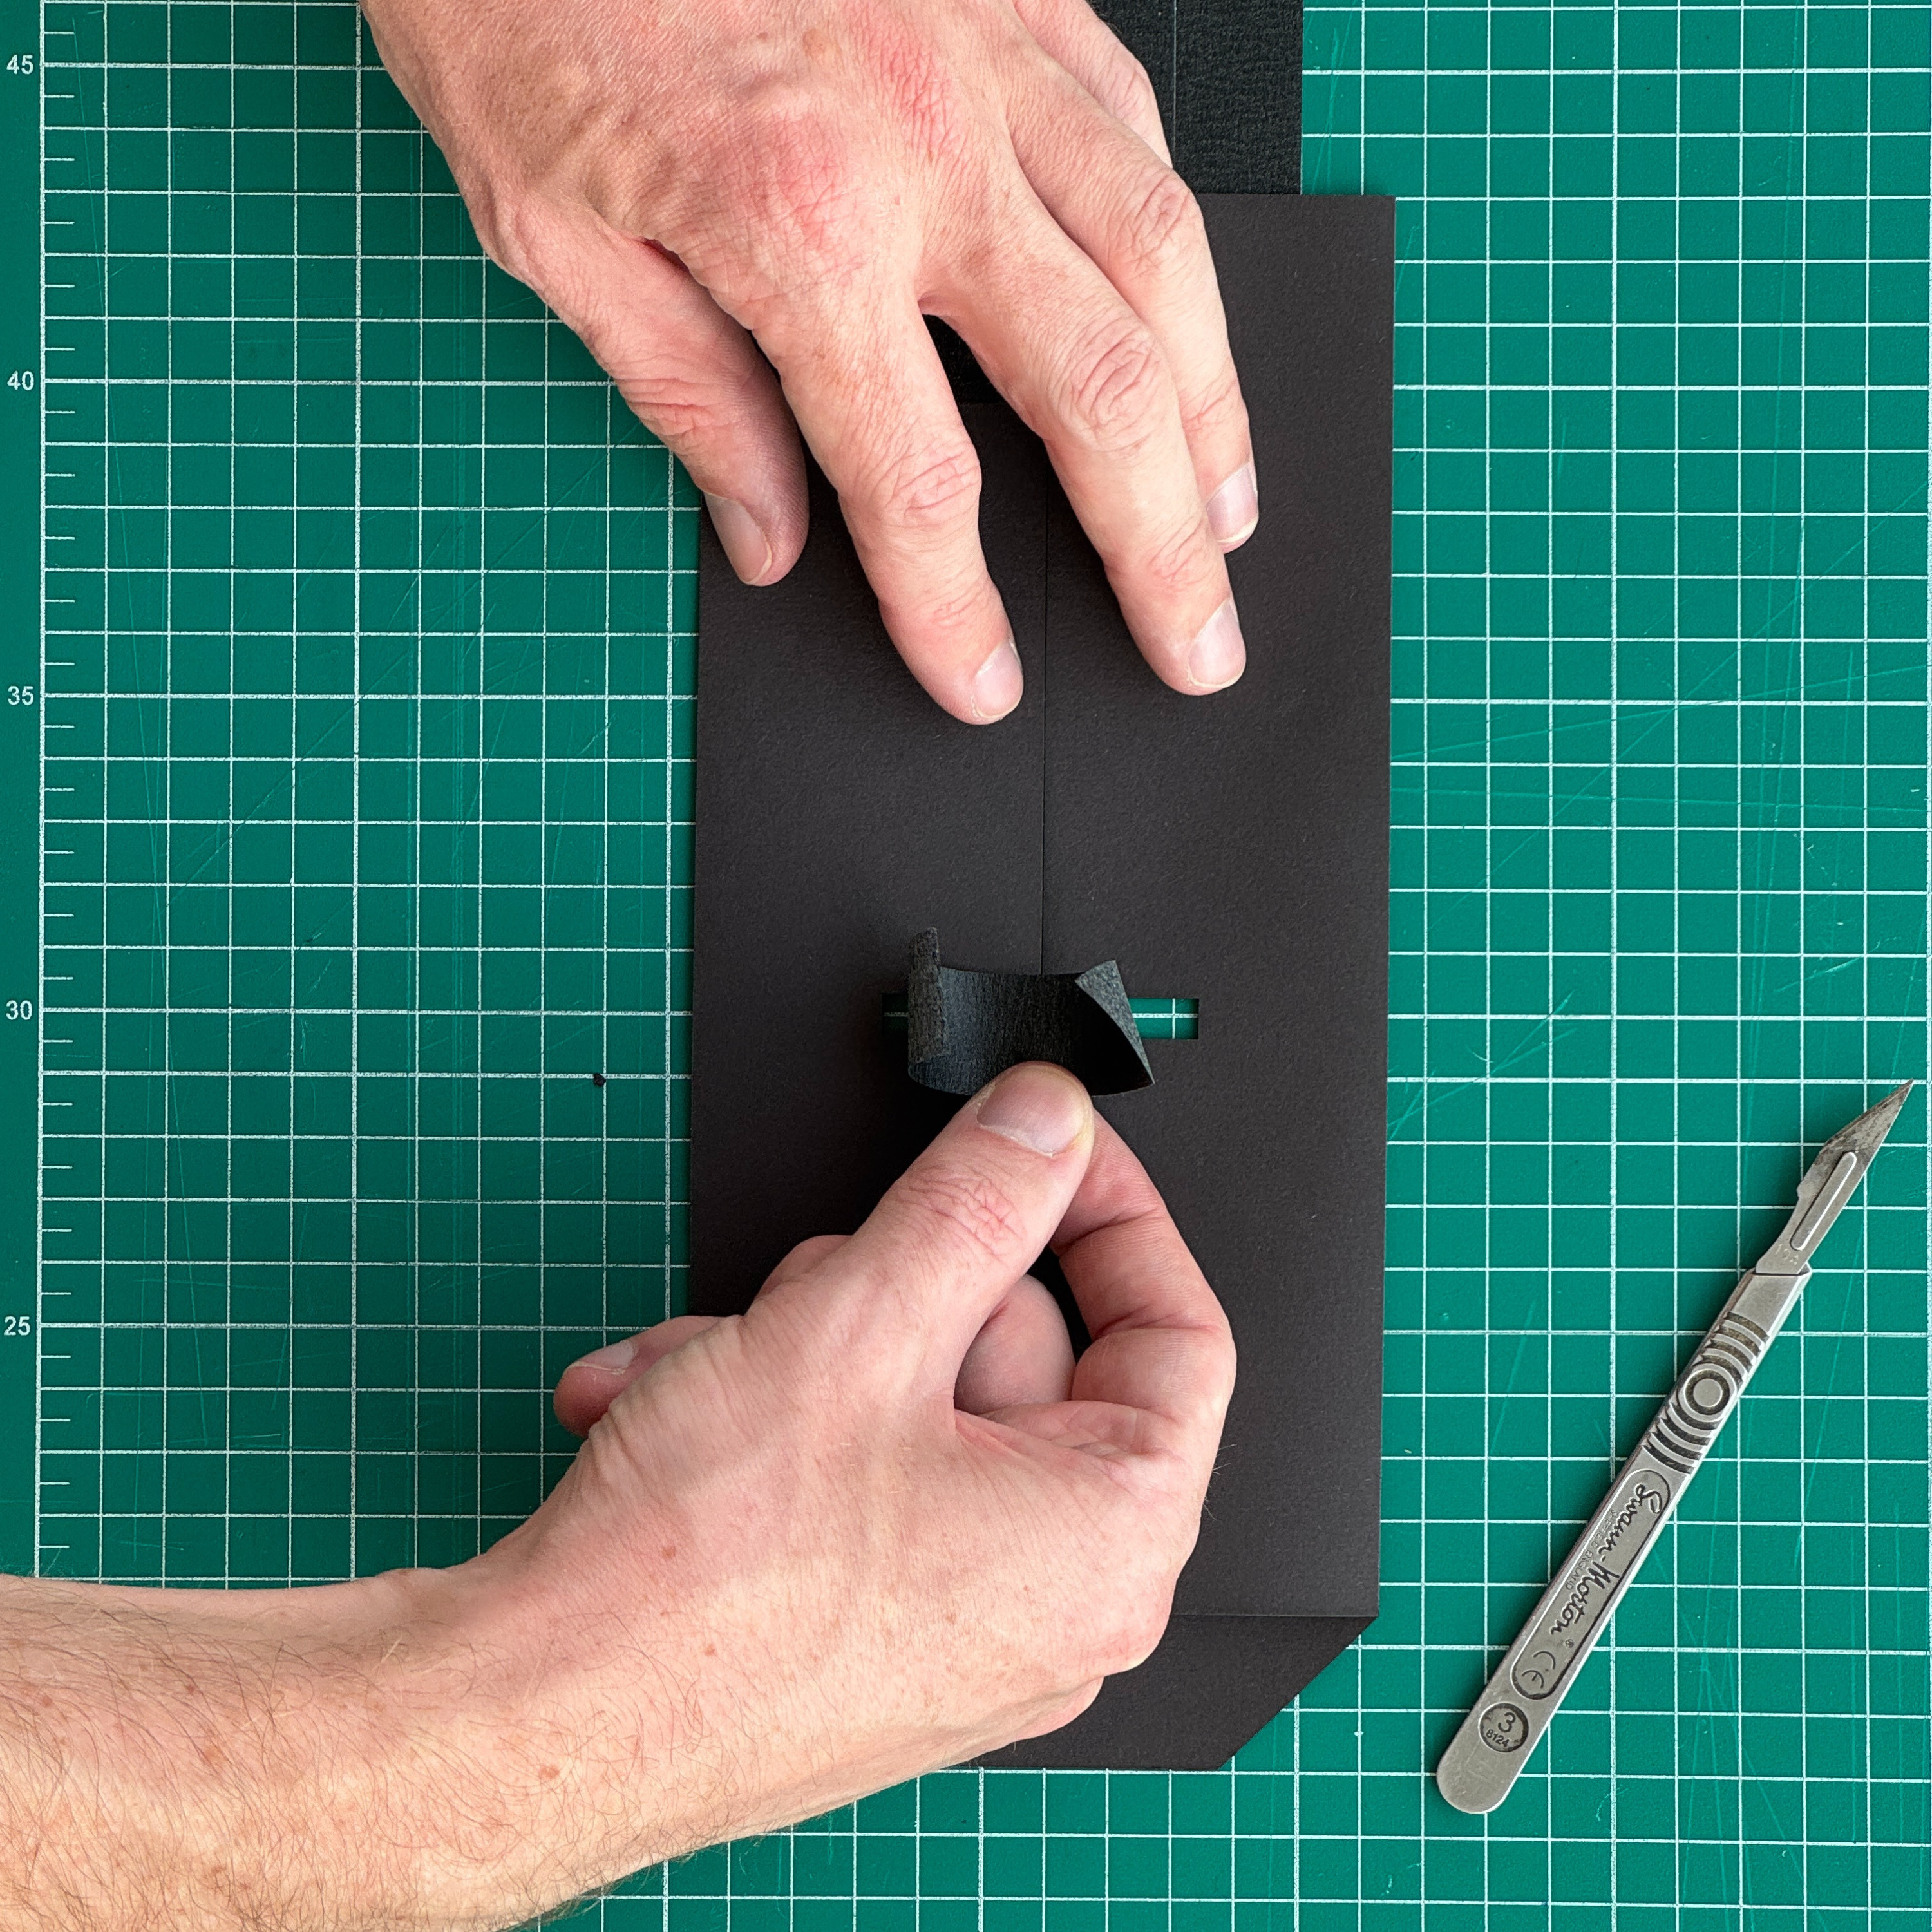
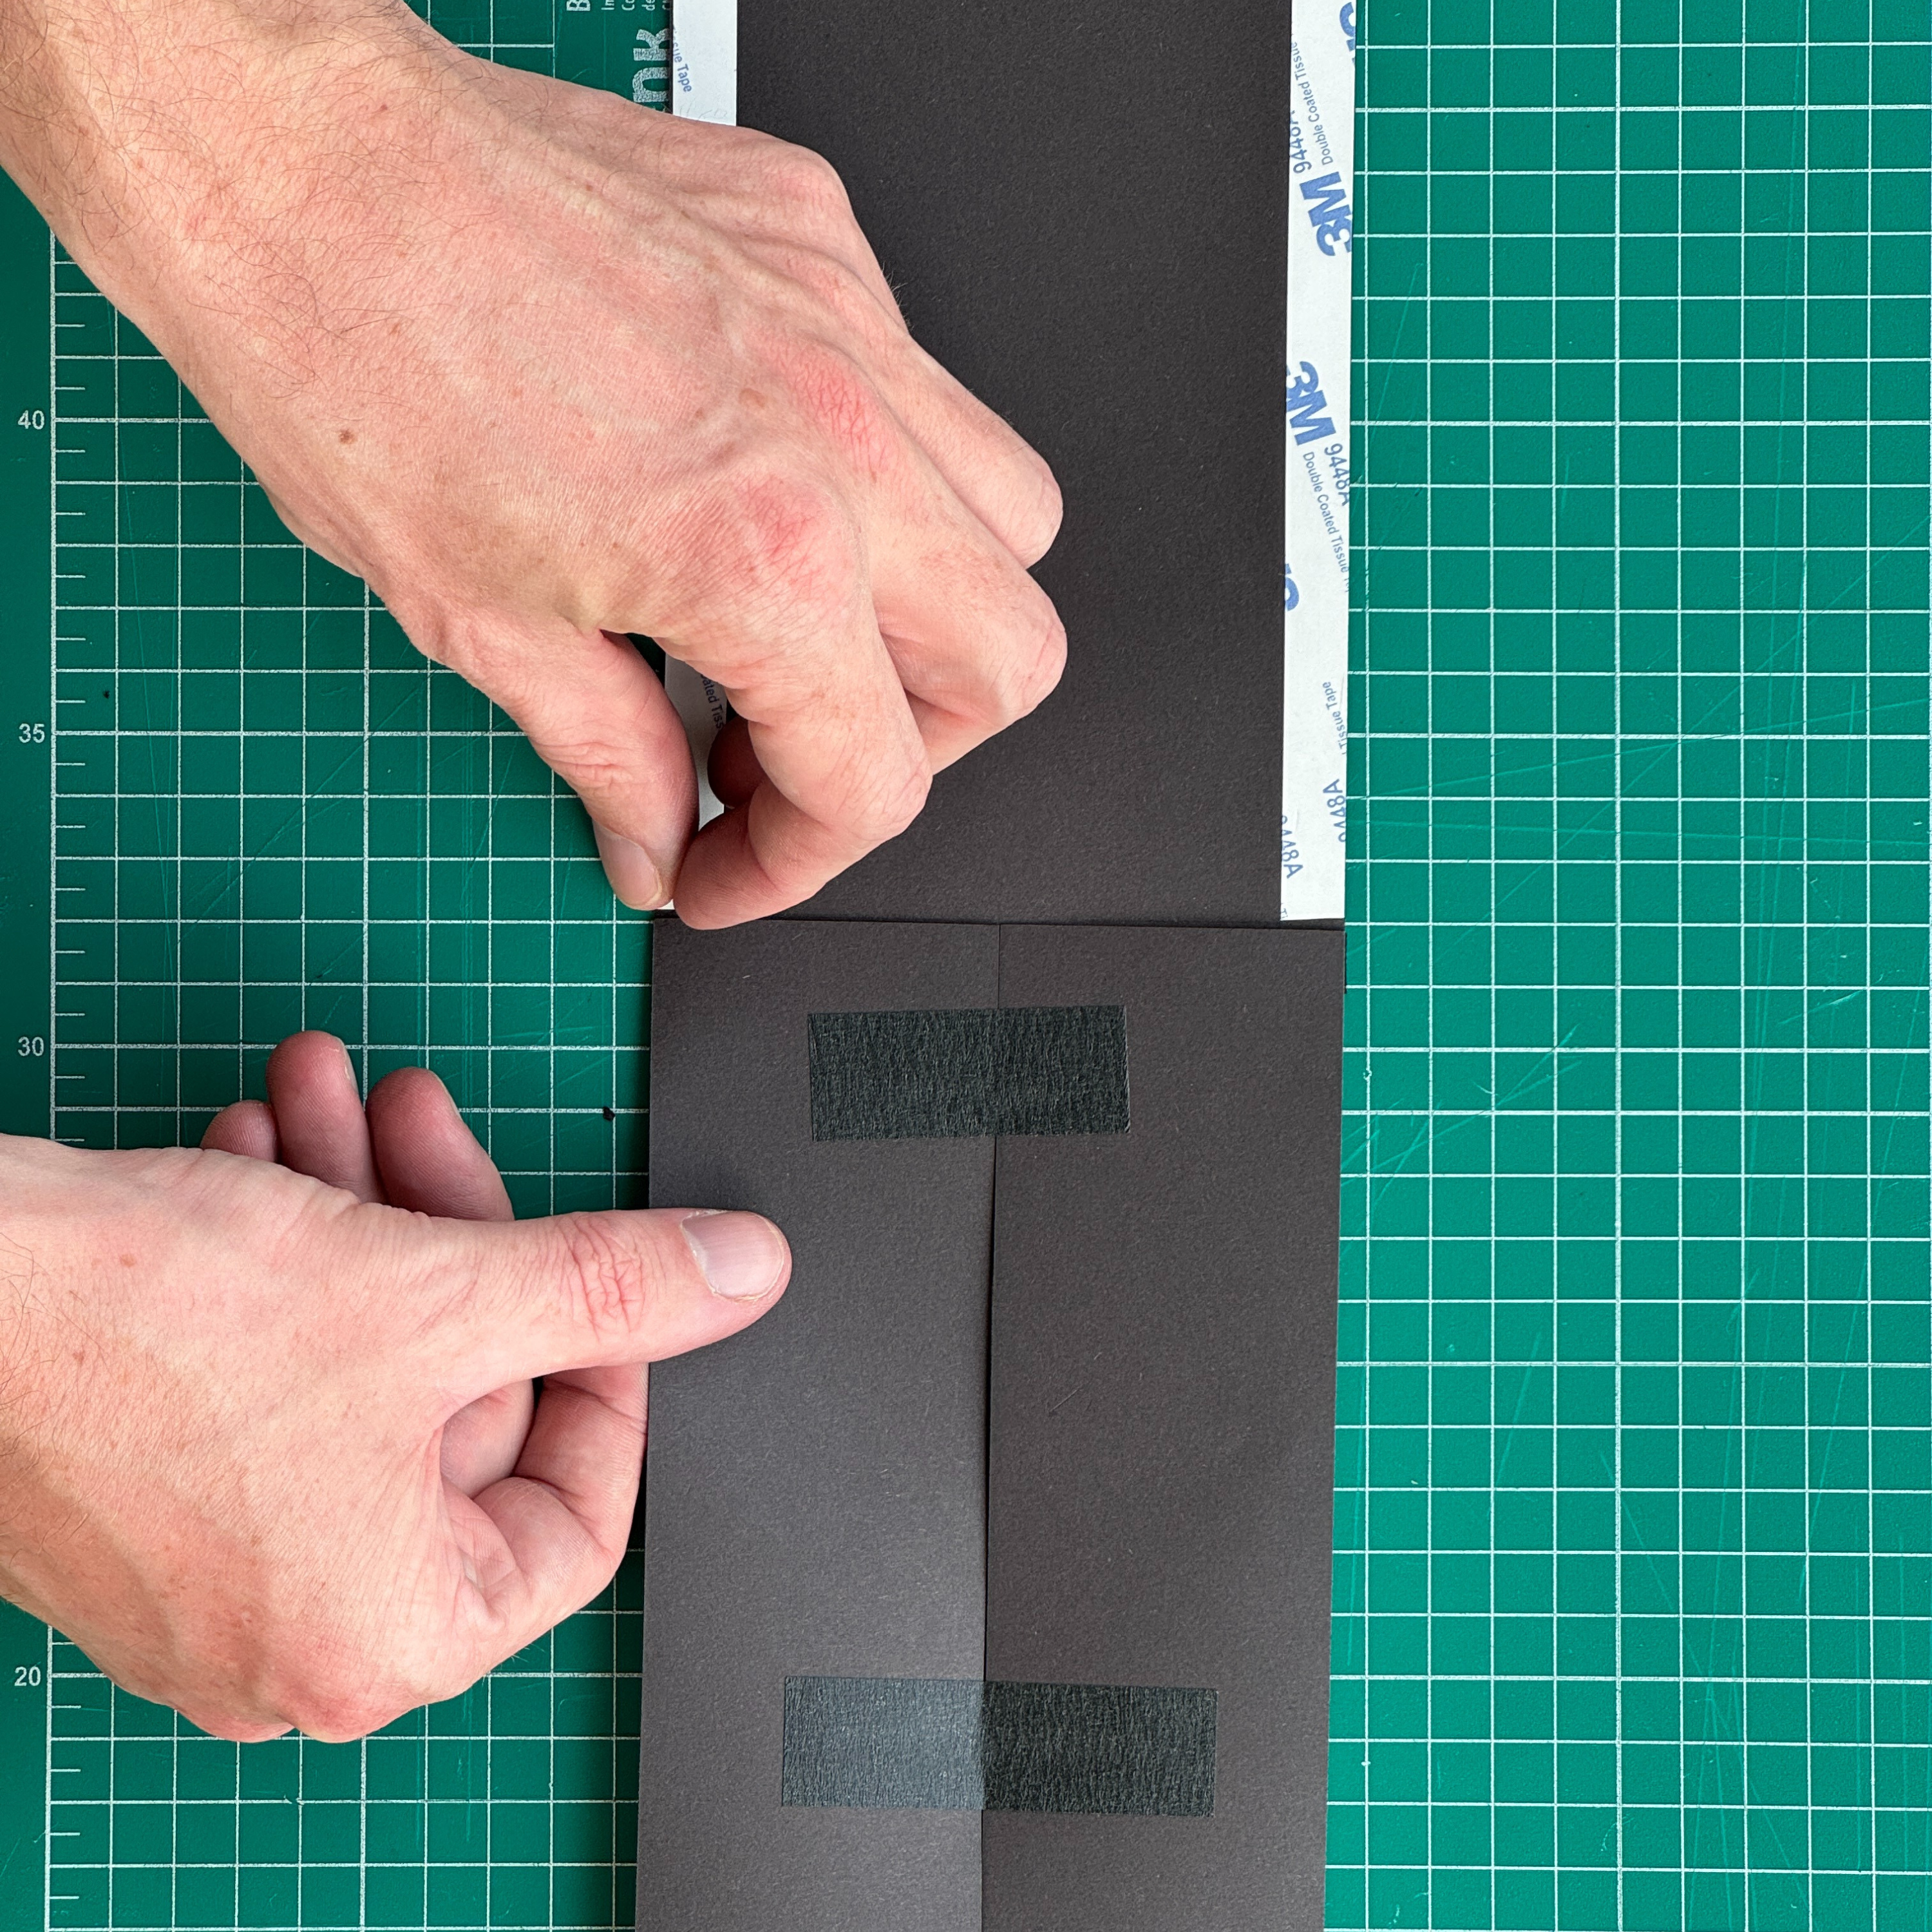
Step 2
Apply a 50 mm length of masking tape to cover the smaller rectangle, and then apply a 70 mm length to cover the larger one. Make sure that the tape only just enters the area in which the film will sit.
03.
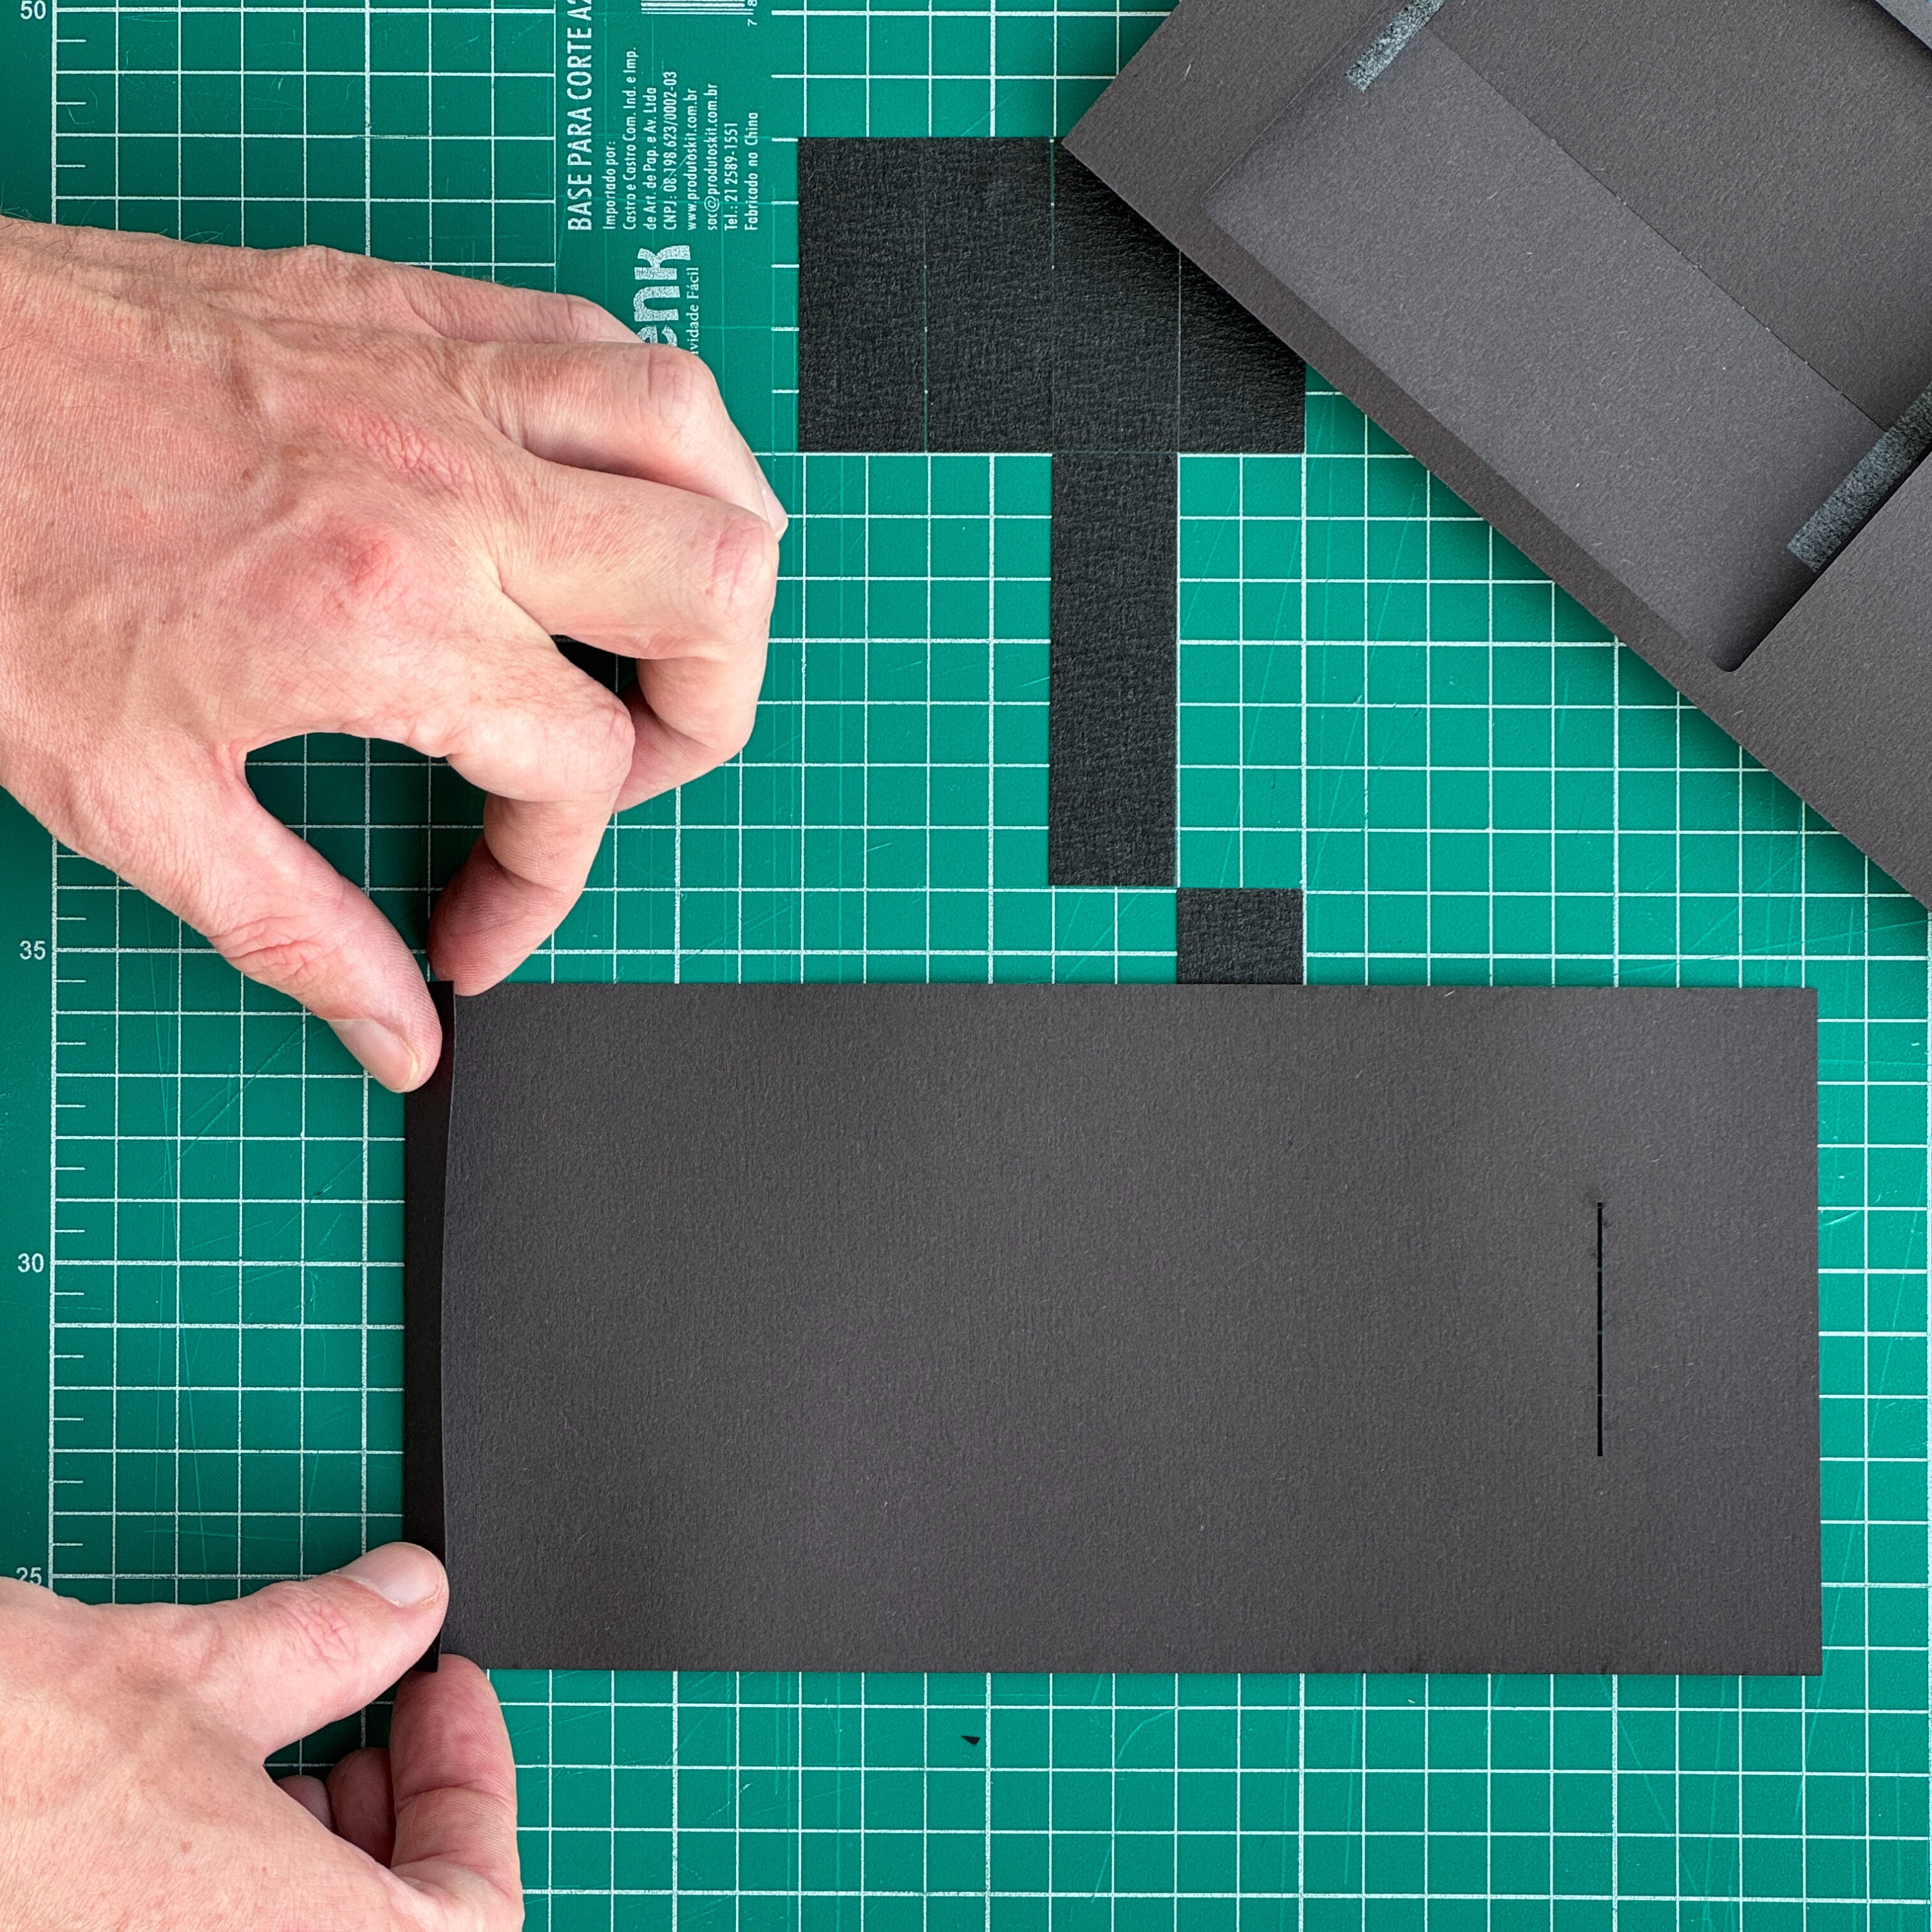
Step 3
Fold the edge of the backing sheet down along the engraved line. Next, cut lengths of 10 mm double-sided tape and lay them out as shown in the next step.
04.
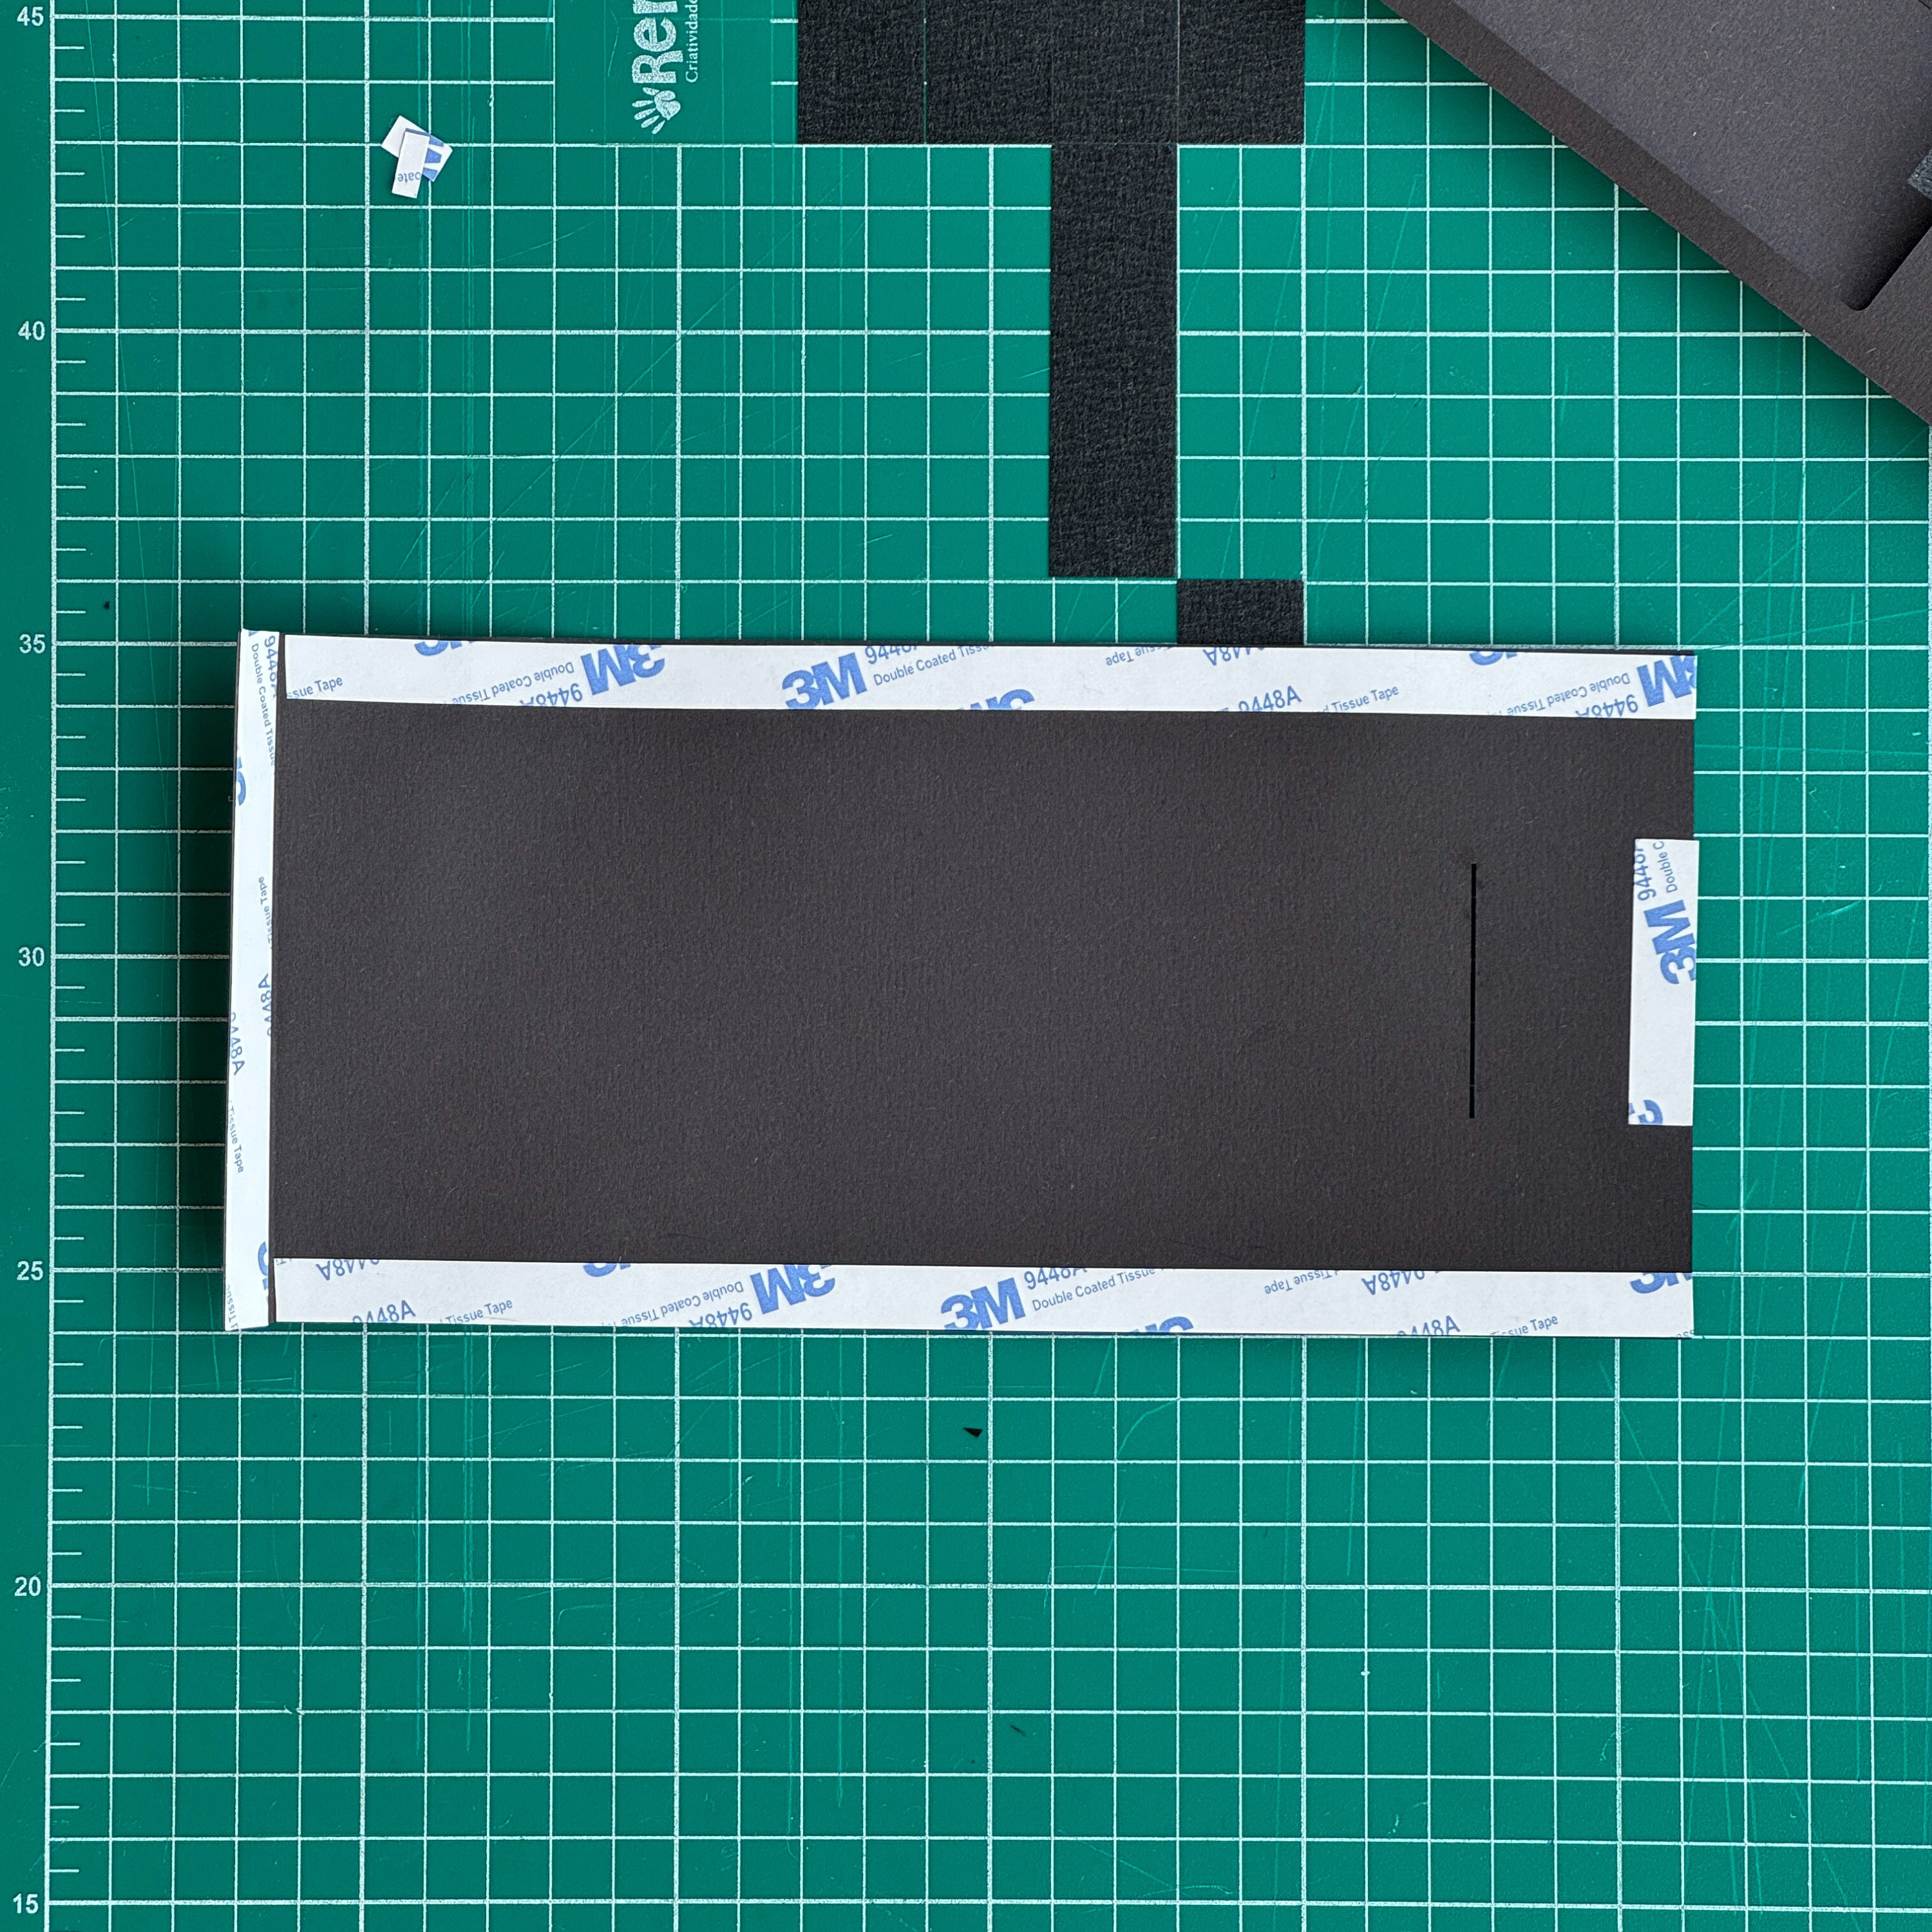
Step 4
As demonstrated in the picture, cut the double-sided tape and attach it to the backing sheet, taking extra care to ensure it doesn't go over any edges.
05.
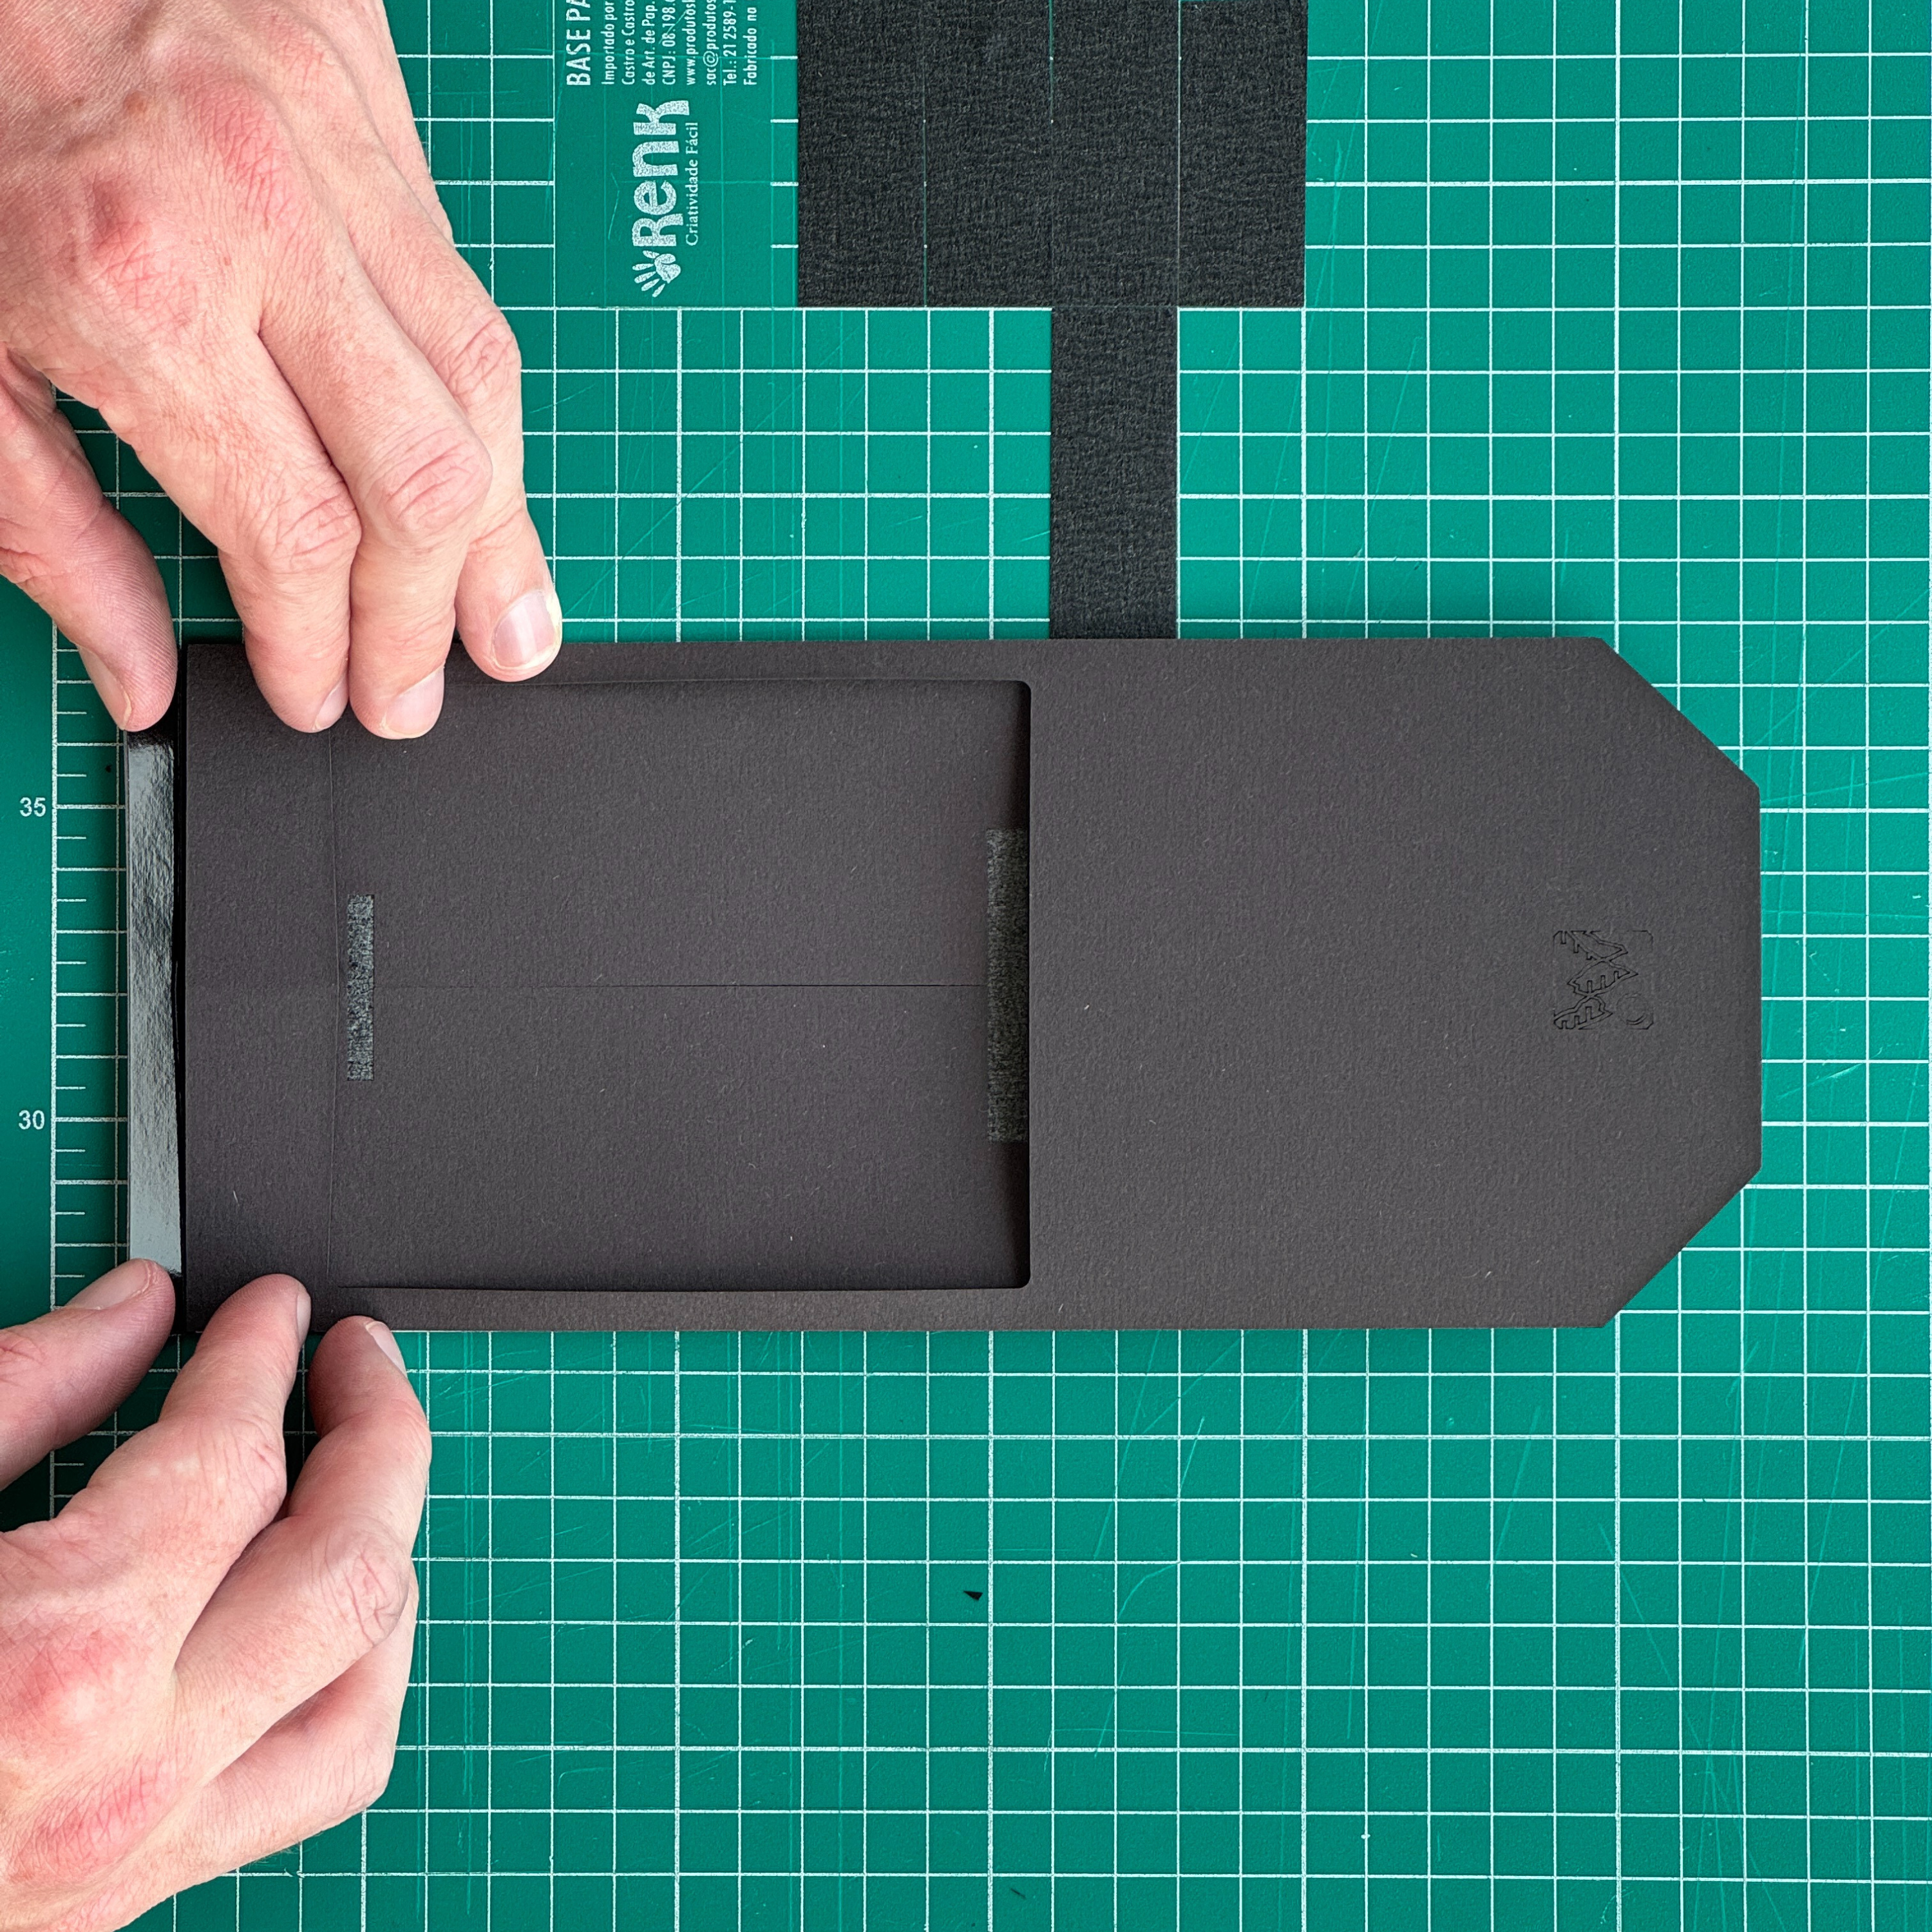
Step 5
Peel off the backing from the double-sided tape on the bottom flap. Lay the first folded section you made on top of it, ensuring it is evenly positioned, and fold the flap around it, pressing it firmly into place.
06.
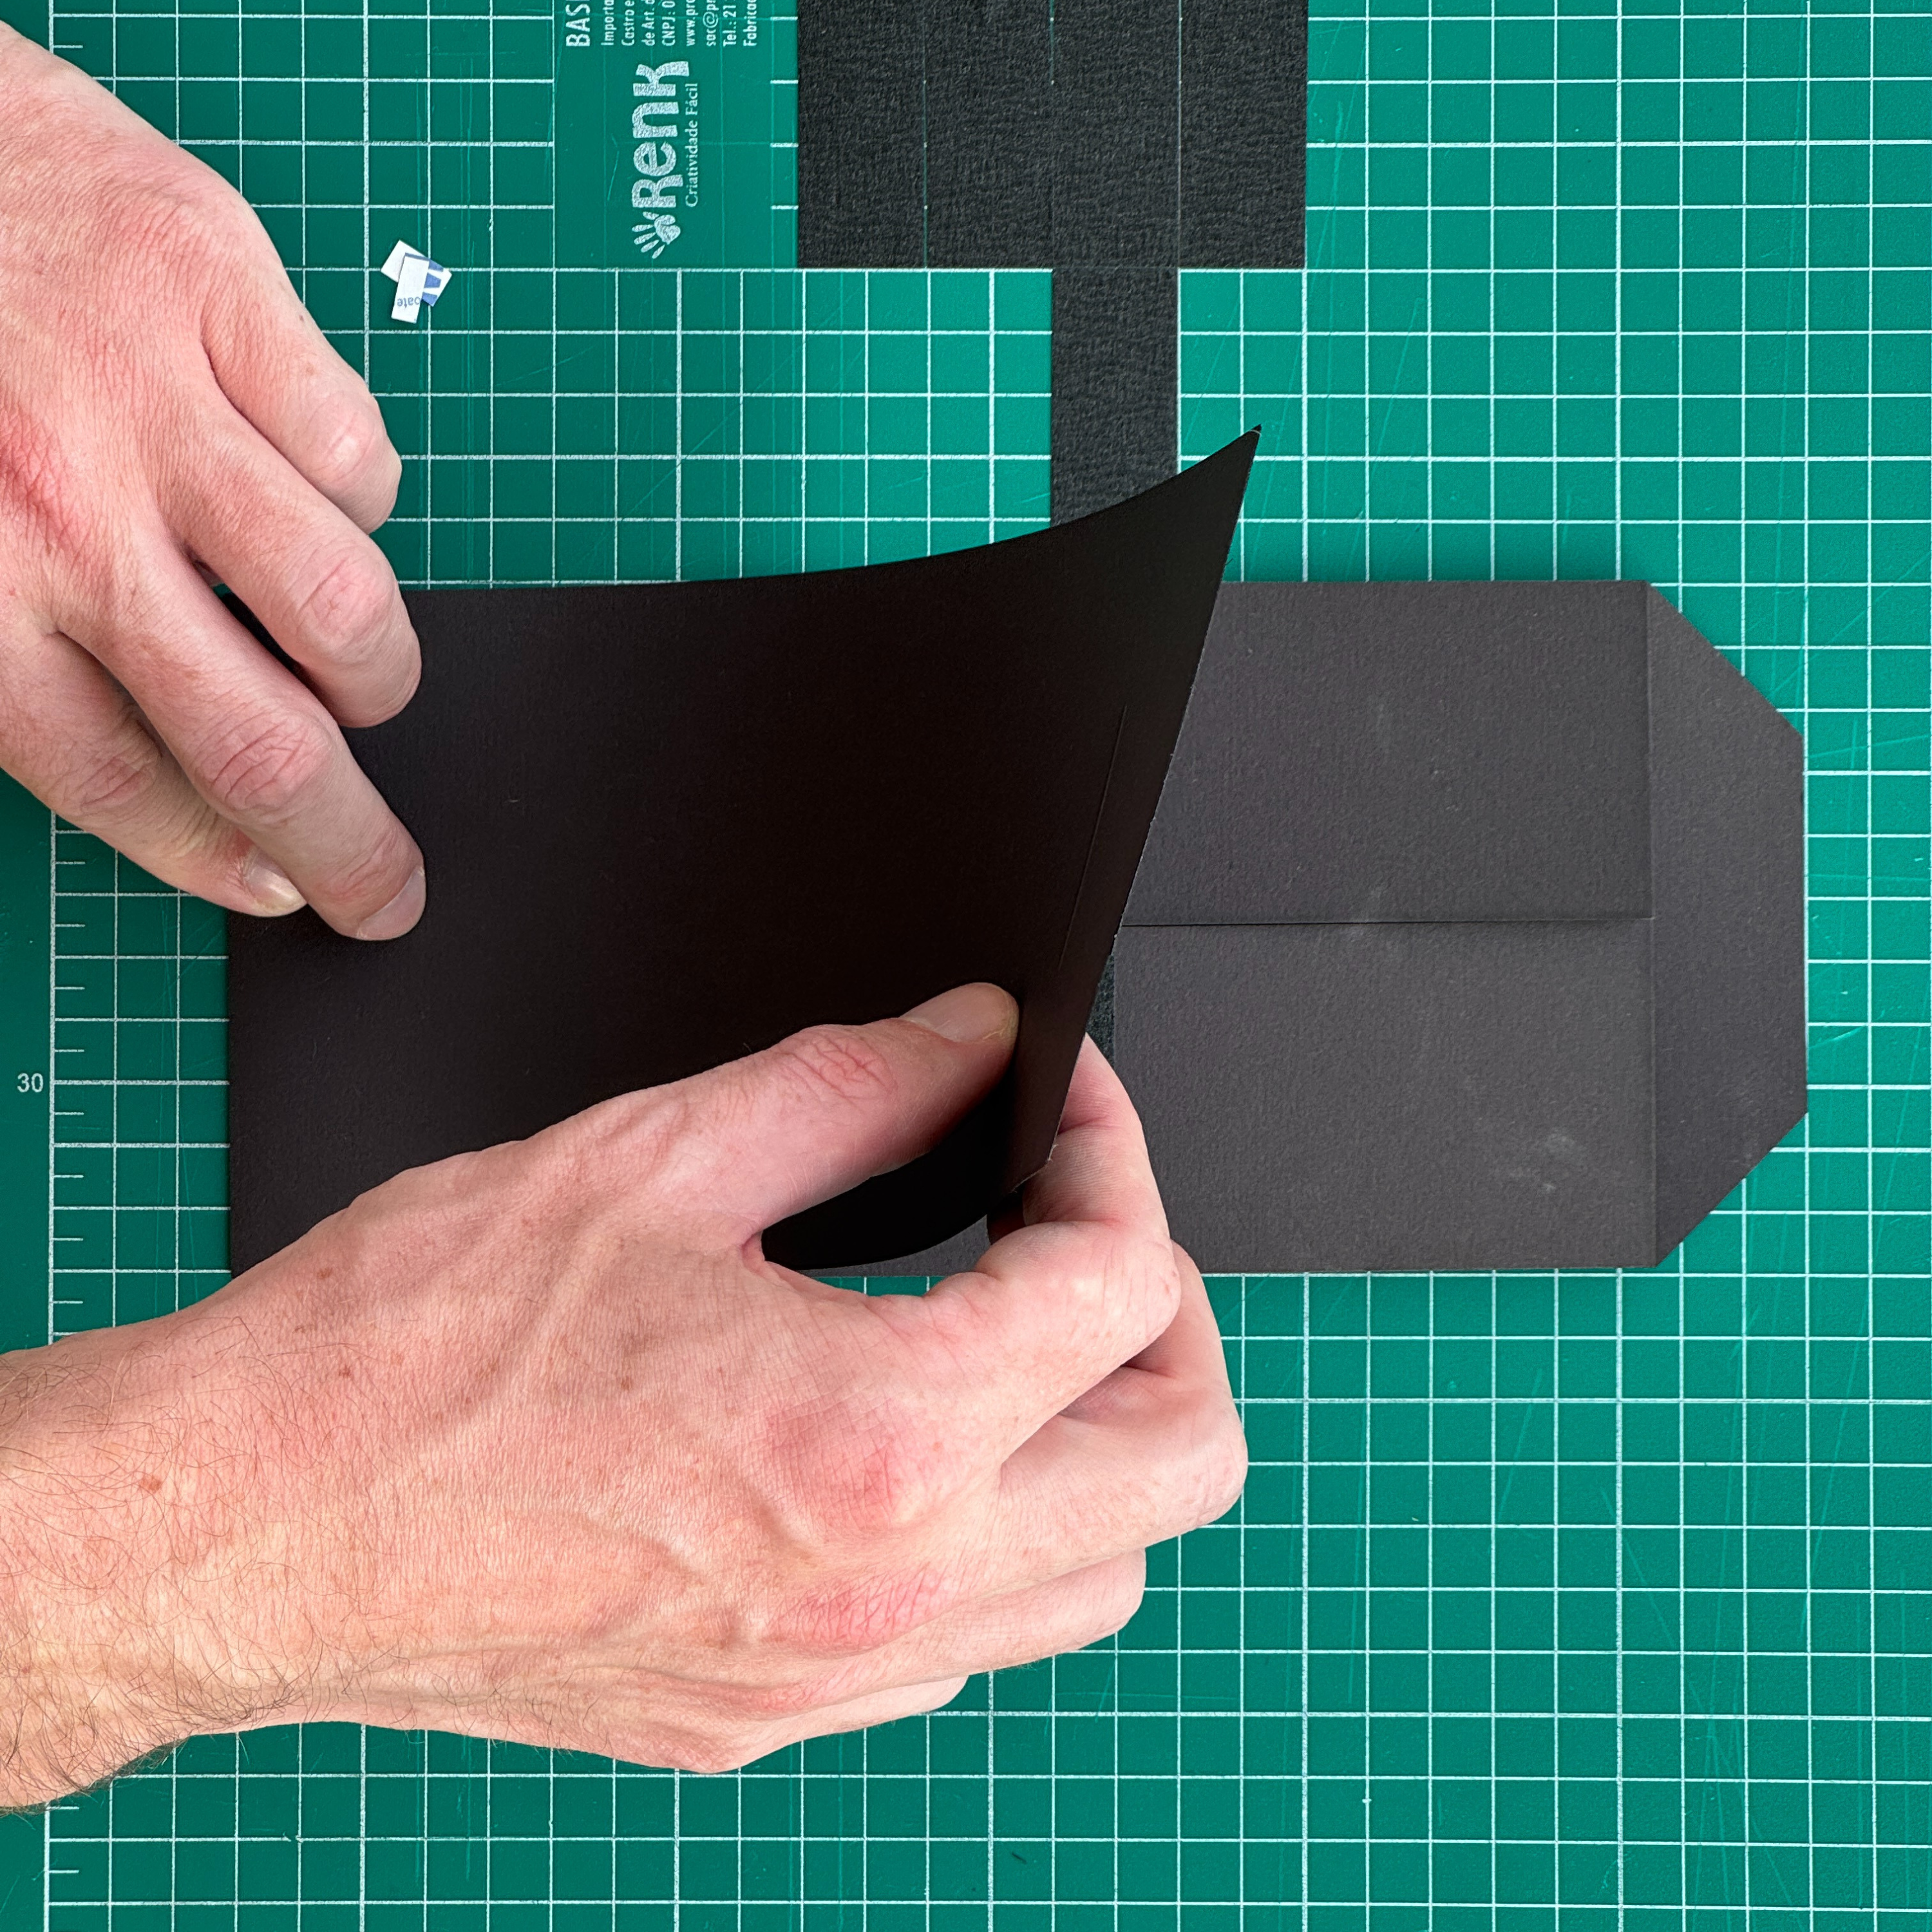
Step 6
Peel off the rest of the backing from the double-sided tape and fold the sheet over the first part you made to create one piece.
07.
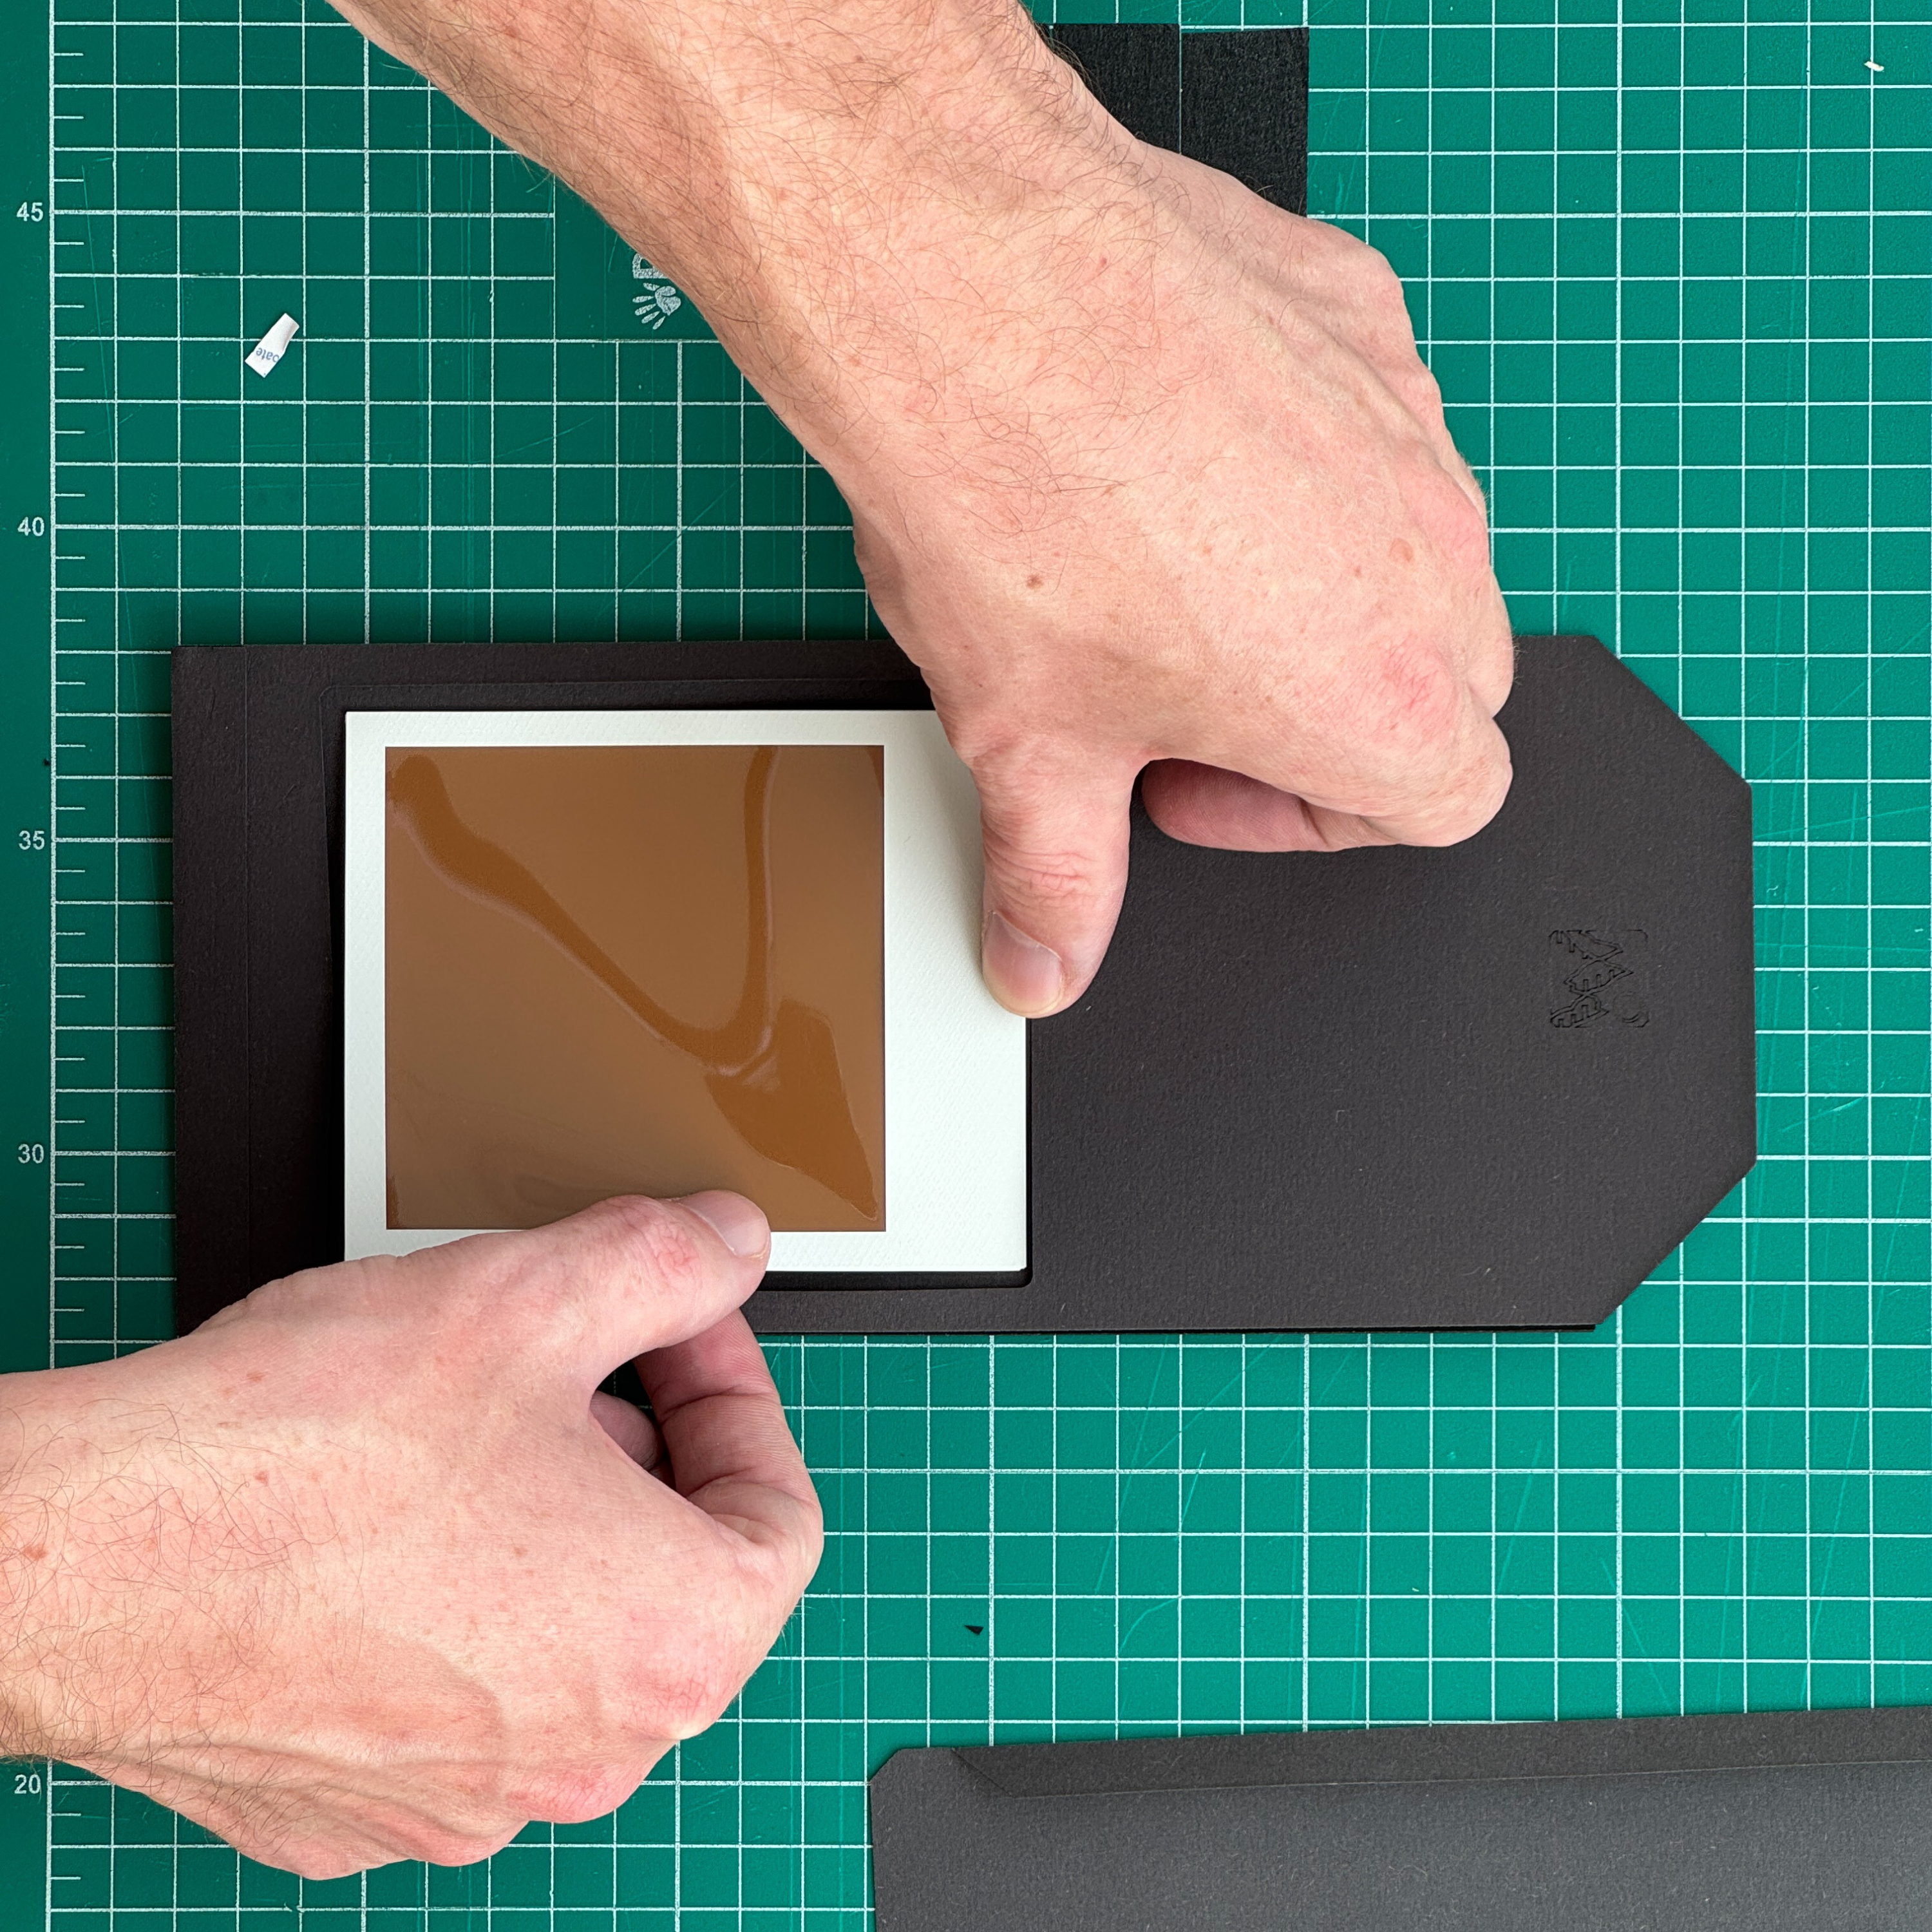
Step 7
Press the backing sheet down firmly and ensure that it is square. It should now cover the masking tape.
08.

Step 8
Now, take the dark slide and fold its edges inwards along the engraved lines. All of the folds should face the same way.
09.

Step 9
Do this in complete darkness. Carefully remove a sheet of Polaroid film from its cassette and place it in this orientation. Use the sticky side of the masking tape to hold it in place. Make sure it is aligned correctly and not tucked under any part of the envelope.
10.

Step 10
Do this in complete darkness. Slide the dark slide all the way down to cover the Polaroid film completely. You can use a piece of masking tape to secure the dark slide in place.
By Intrepid Camera | May, 2025