
By Intrepid Camera | Oct, 2022
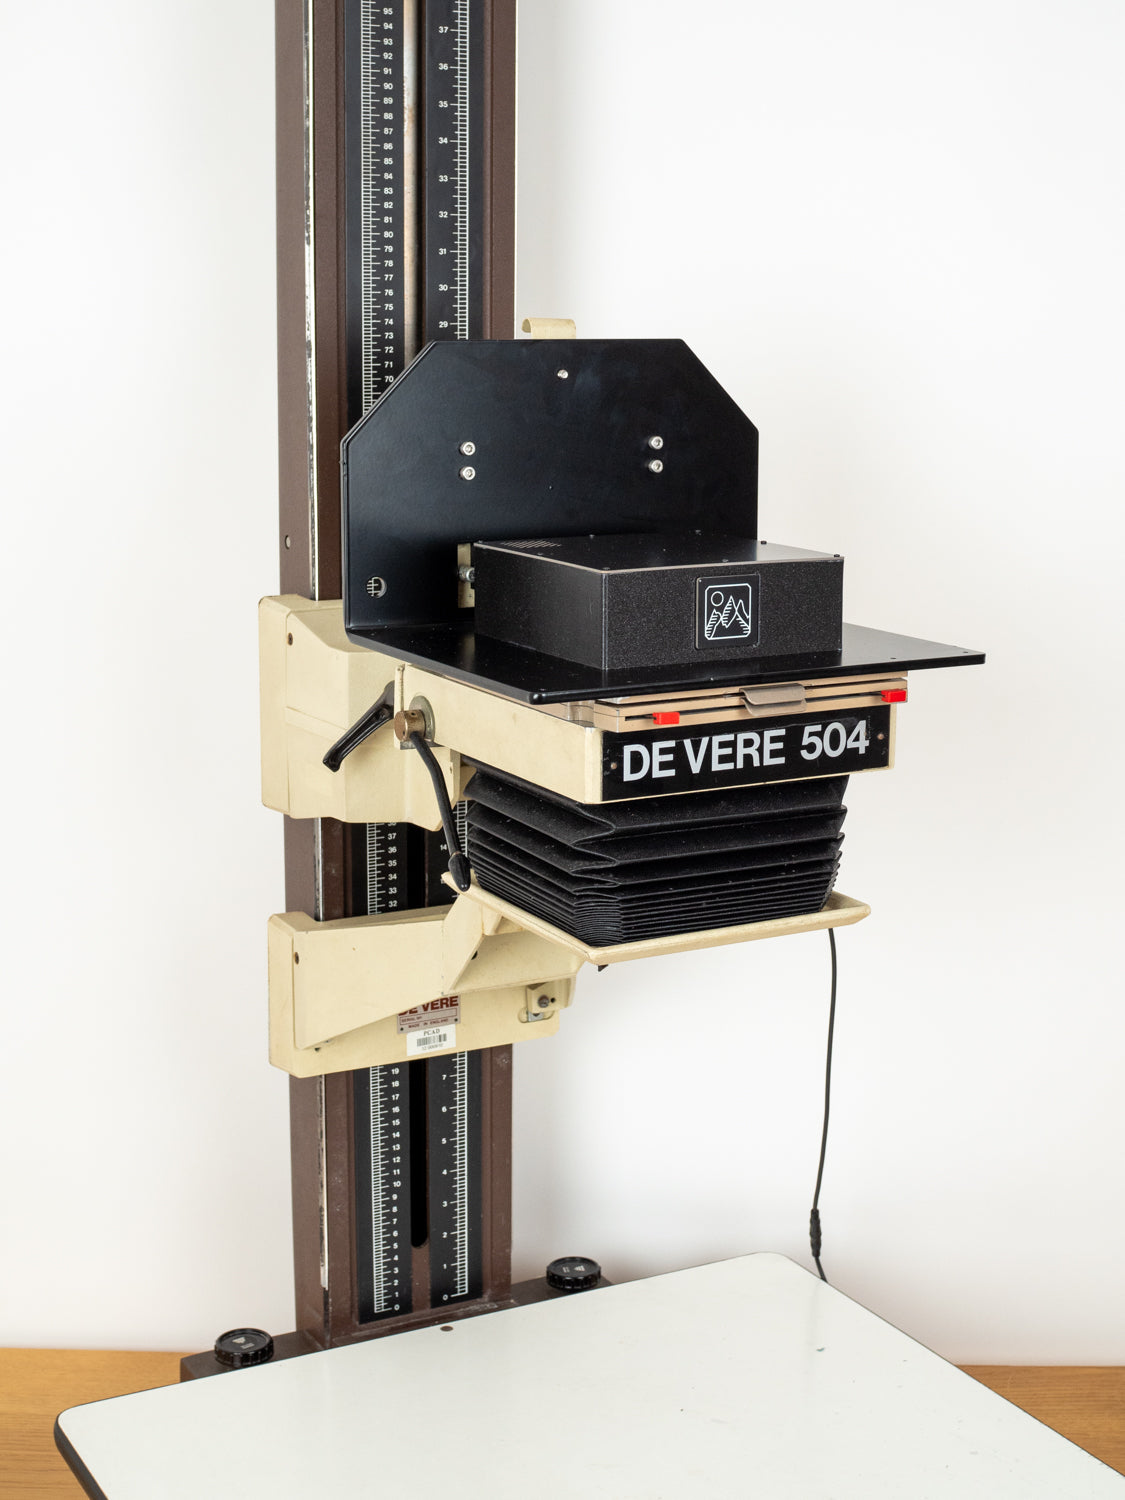
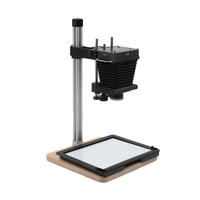
Getting to know your new Enlarger
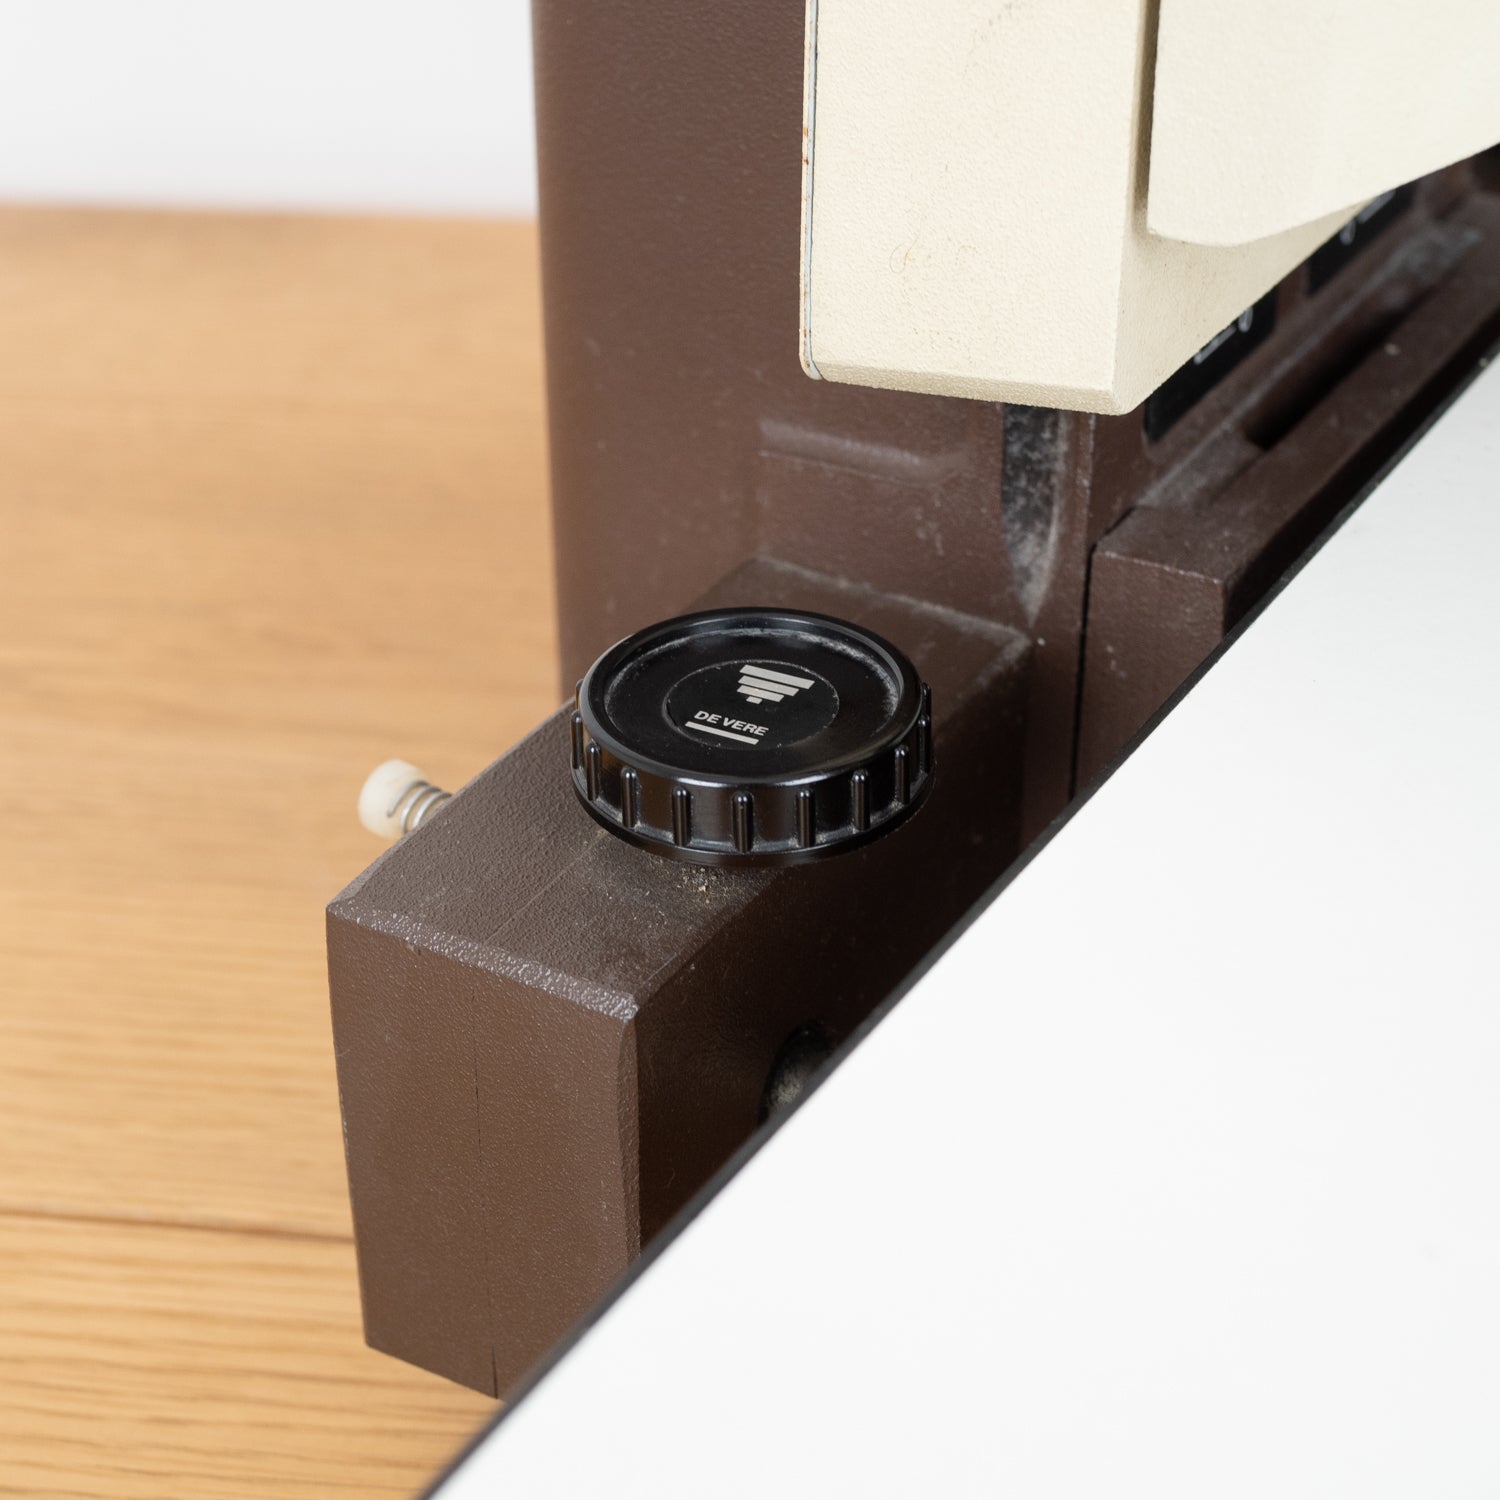
1. Rear Guide Bolts
M4 Bolts that secure the rear guides. When removing or installing the enlarger head make sure you loosen these bolts by about 15mm (require a 4mm Allen Key)
2. Bracket Cable Hole
Cutout in the bracket for the cable that connects th elight source to the controller/timer.
3. Light Source Enlcosure
Within this box is the LED Panel and the counter weight. If you ever need to reomve this box be very careful as it is a lot heavier than it looks!
4. Rear Guide
The enlarger bracket has two rear guides, these are used to stabalise the bracket against the De Vere enlarger frame. you can loosen or tighten them depending on your specific enlarger.
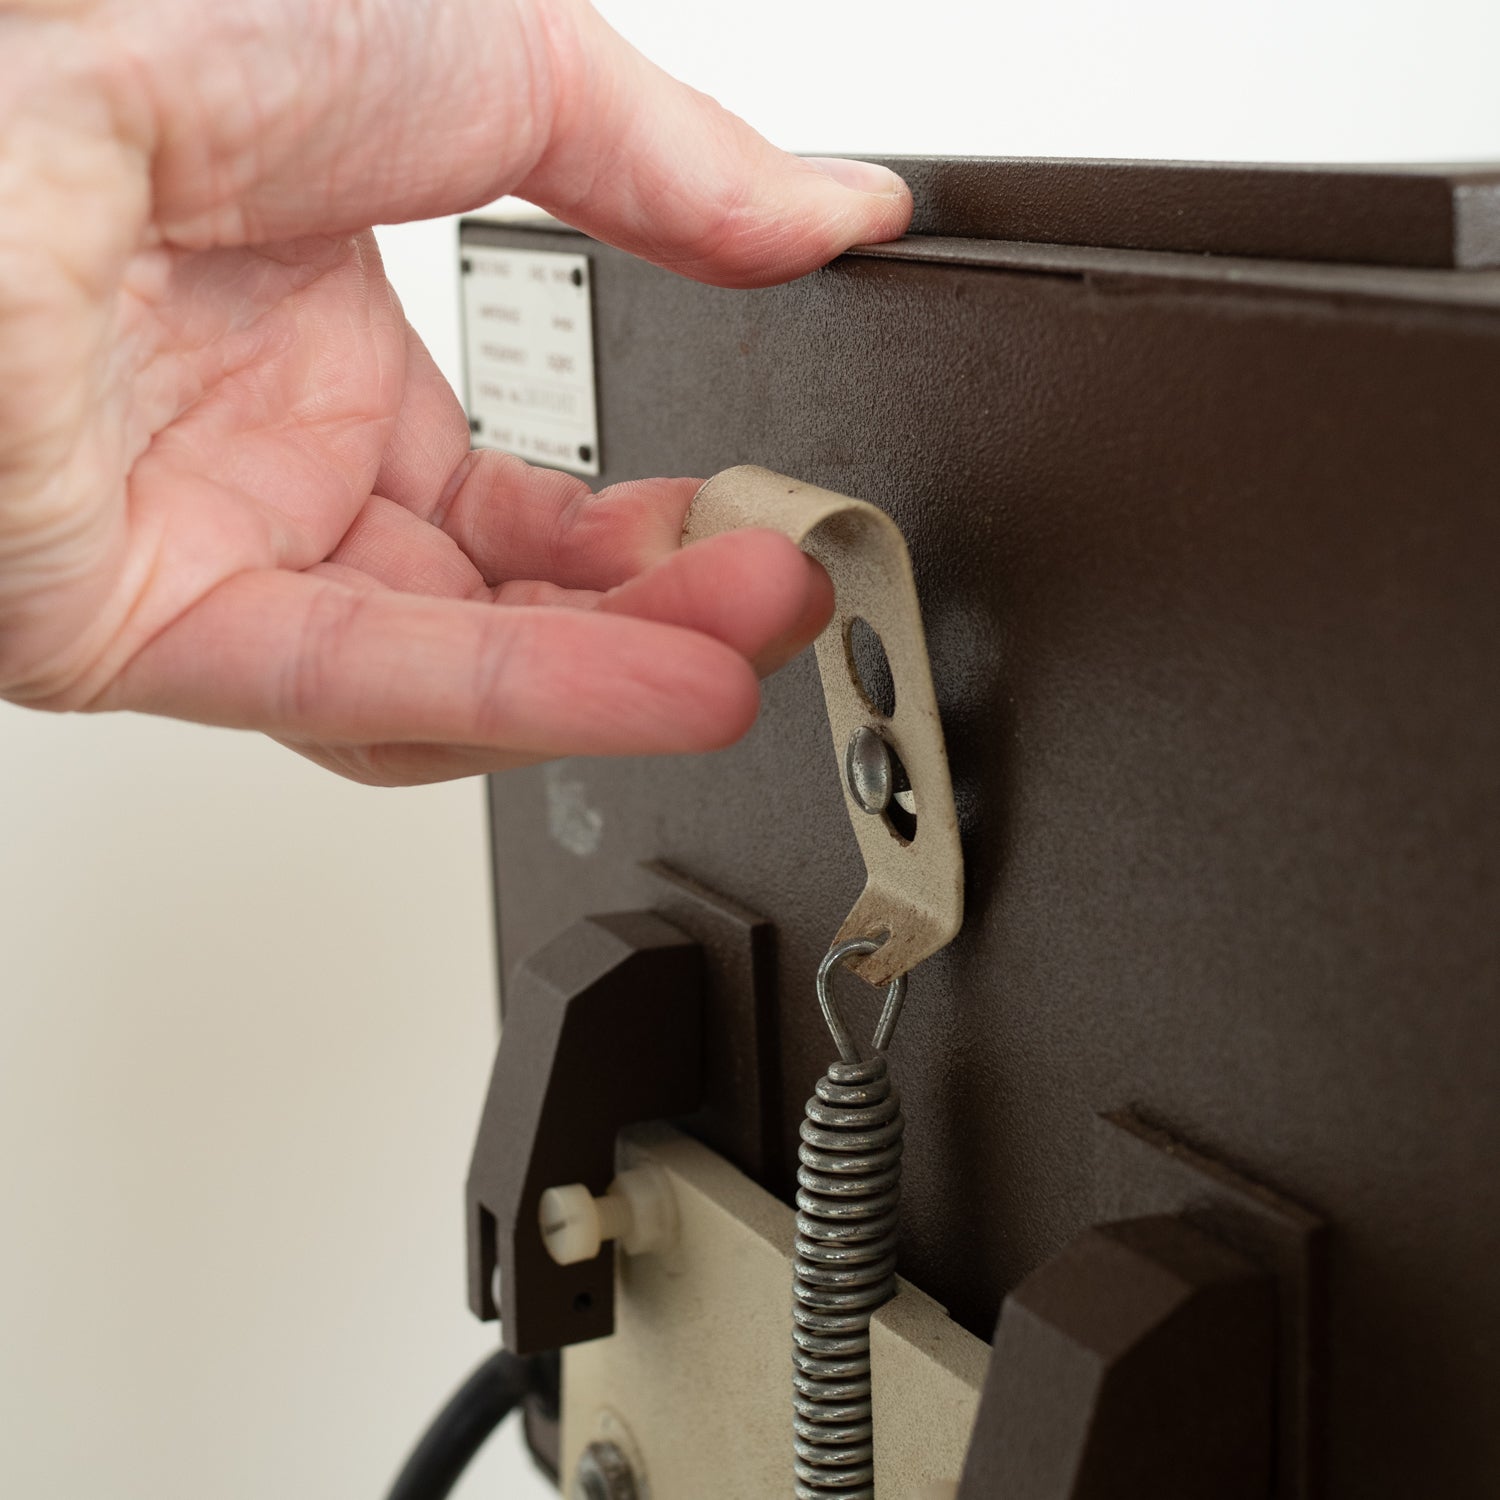
5. Spring Mount Bolt
This bolt is used to attach the tension spring. The tension spring is very immortant as it provides the clamping down force onto the negatve carrier.
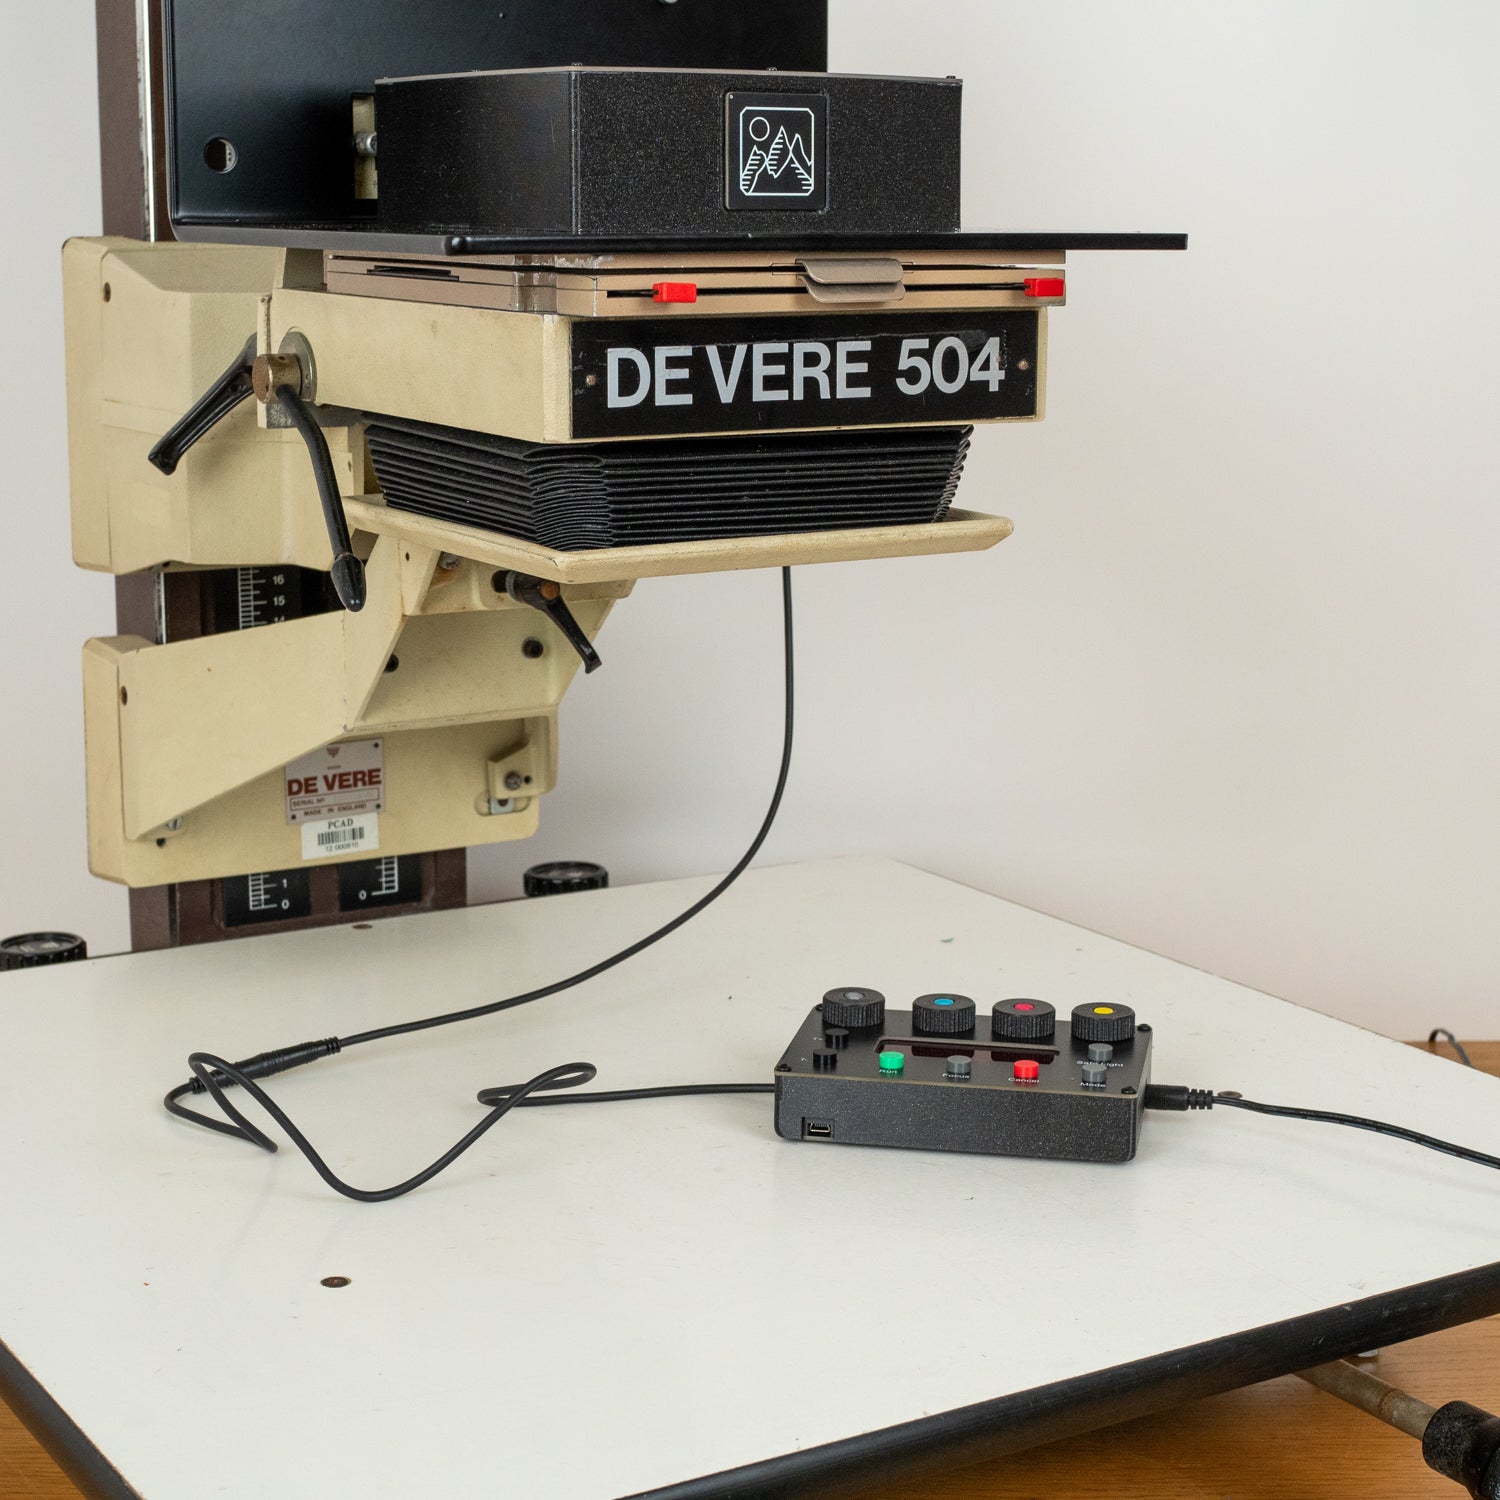
6. Light Source Cable
This is the cable that connects the LED light source and the controller/timer it has three very delicate pins in it so be careful when connecting
01.
Lock Down
Lock off the focus controls on the De Vere enlarger with the rear locks. It is very impmortnat to do this before you remove any enlarger head.
03.
Loosen Guides & Lift
Loosen the two guides on the back of your enlarger head, you will need to do this from inside the head. Once loose, you will be able to lift the head up and off. Check again that the focus controls are locked.
04.
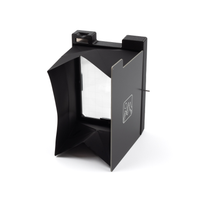
Prepare Intrepid Head
Remove the Intrepid Head rear guides from their packet and loosely attach them to the Intrepid Enlarger Head using a 4mm Allen Key. Leave about 15mm of the threads loose like in the image above.
05.
Mount Head & Spring
Holding the Intrepid Enlarger Head at an angle, gently place it on the Enlarger. Make sure the metal bearings go through the cut outs in the metal bracket. Reattach the rear tension spring to the M6 bolt on the back of the bracket.
06.
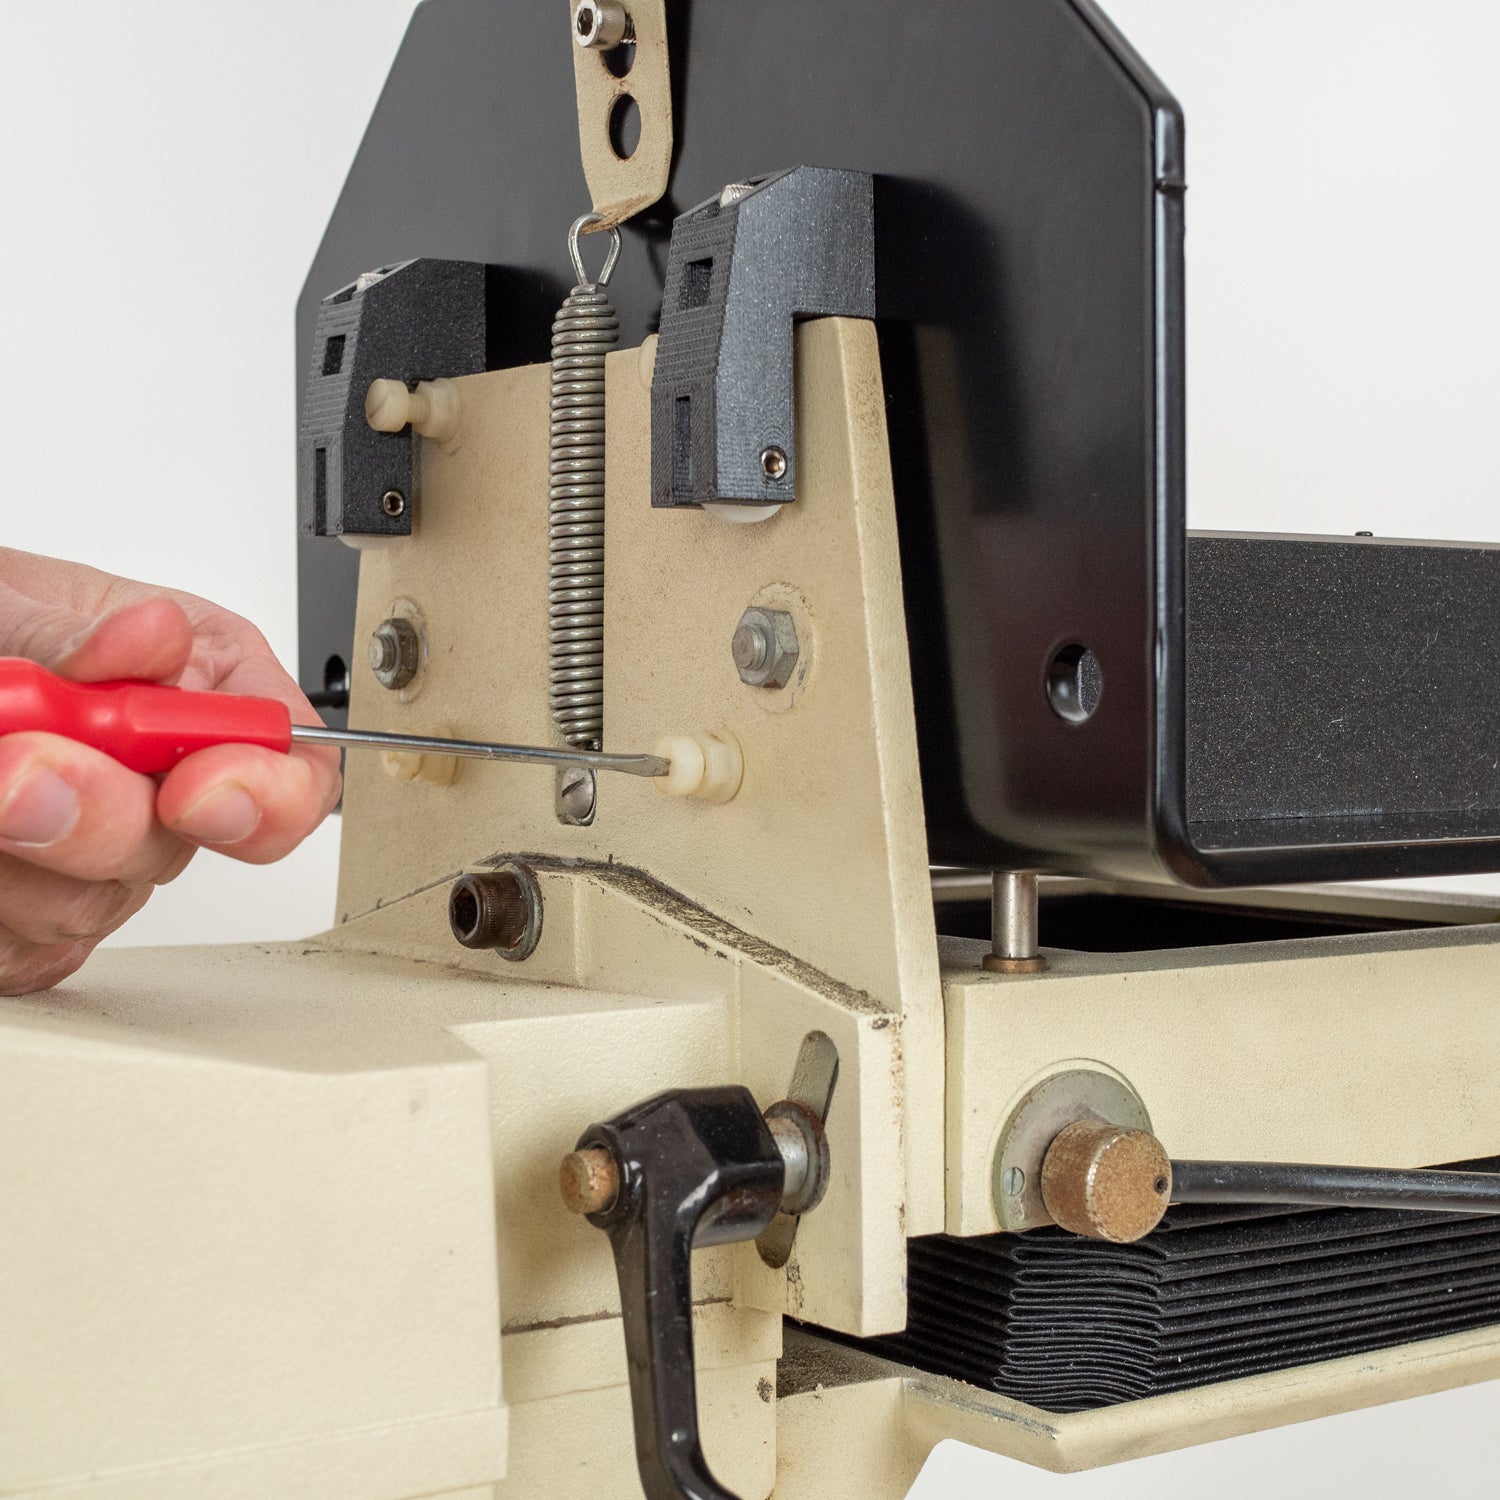
Adjust Nylon Bolts
There are 2/4 Nylon Bolts on the back of the enlarger head mount. With the new Intrepid Enlarger Head mounted adjust these bolts so that the enlarger head sits correctly and moves without wobbling.
07.
Check Alignment
Check that the Intrepid Enlarger Head moves up and down freely and that it sits correctly on the negative carrier. If it does not you will need to adjust either the nylon screws or the rear guide bolts.
08.
Attach Timer
Once you are happy with the placement of your new enlarger head, you can attach the timer. Line up the arrows on the male and female ends of the cable and carefully push together. For instructions on how to use the timer please check the included manual.
By Intrepid Camera | Oct, 2022