
Setting up the Intrepid 8x10 Camera
By Intrepid Camera | Oct, 2022
01.

Unfold
Mount the camera on a tripod, loosen the rear standard controls and carefully raise the rear standard to 90°.

04.
Zeroing guides
Check the base zeroing notches and ruled guide to ensure the front standard is zeroed.
05.
Front standard
Lock the dual front controls ensuring the zeroing notches on each side are lined up.
06.
Mount your lens
Slot your lens into place on the front standard securing it with the sliding clip.
07.

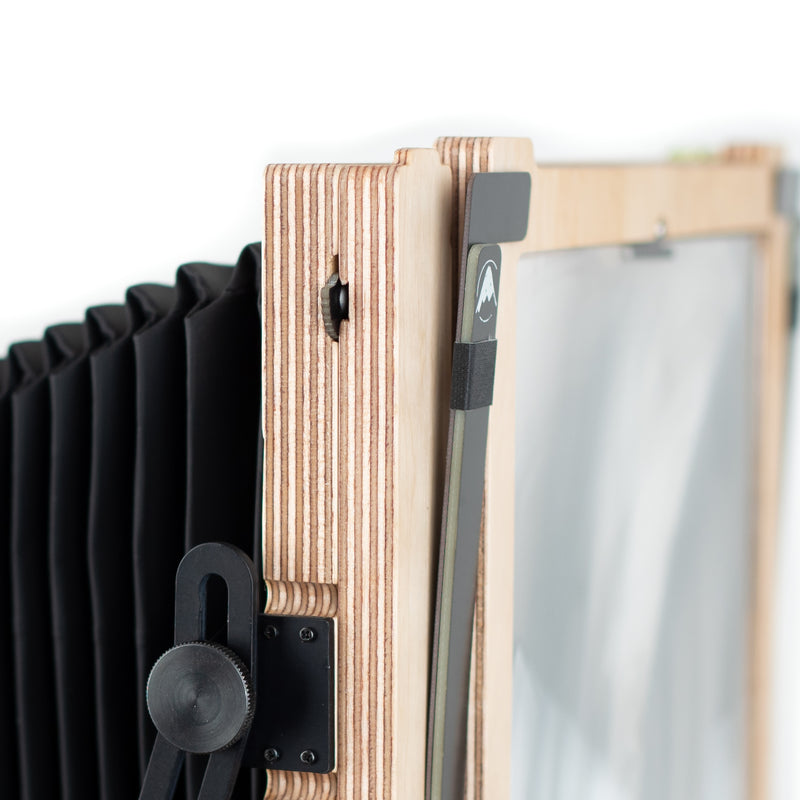
Removing the back
To remove the back you first need to unlock both of the small rear clips. When in the down position the back it locked and when up it is unlocked.
08.

Inserting a film holder
Once the back is unlocked switching between portrait and landscape is easy. You just need to remove it, turn it and click it back into place.
By Intrepid Camera | Oct, 2022
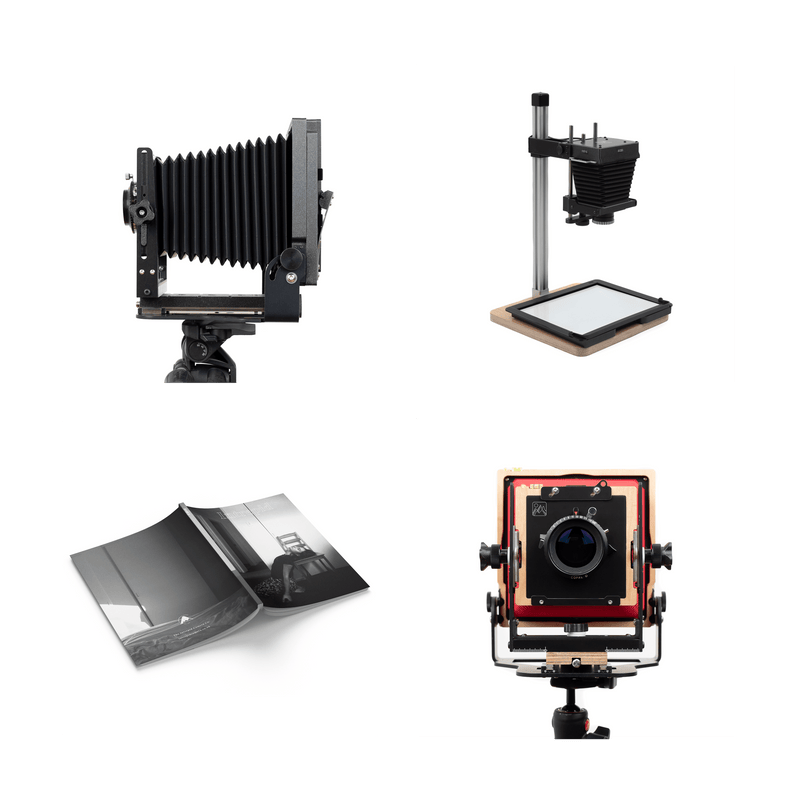
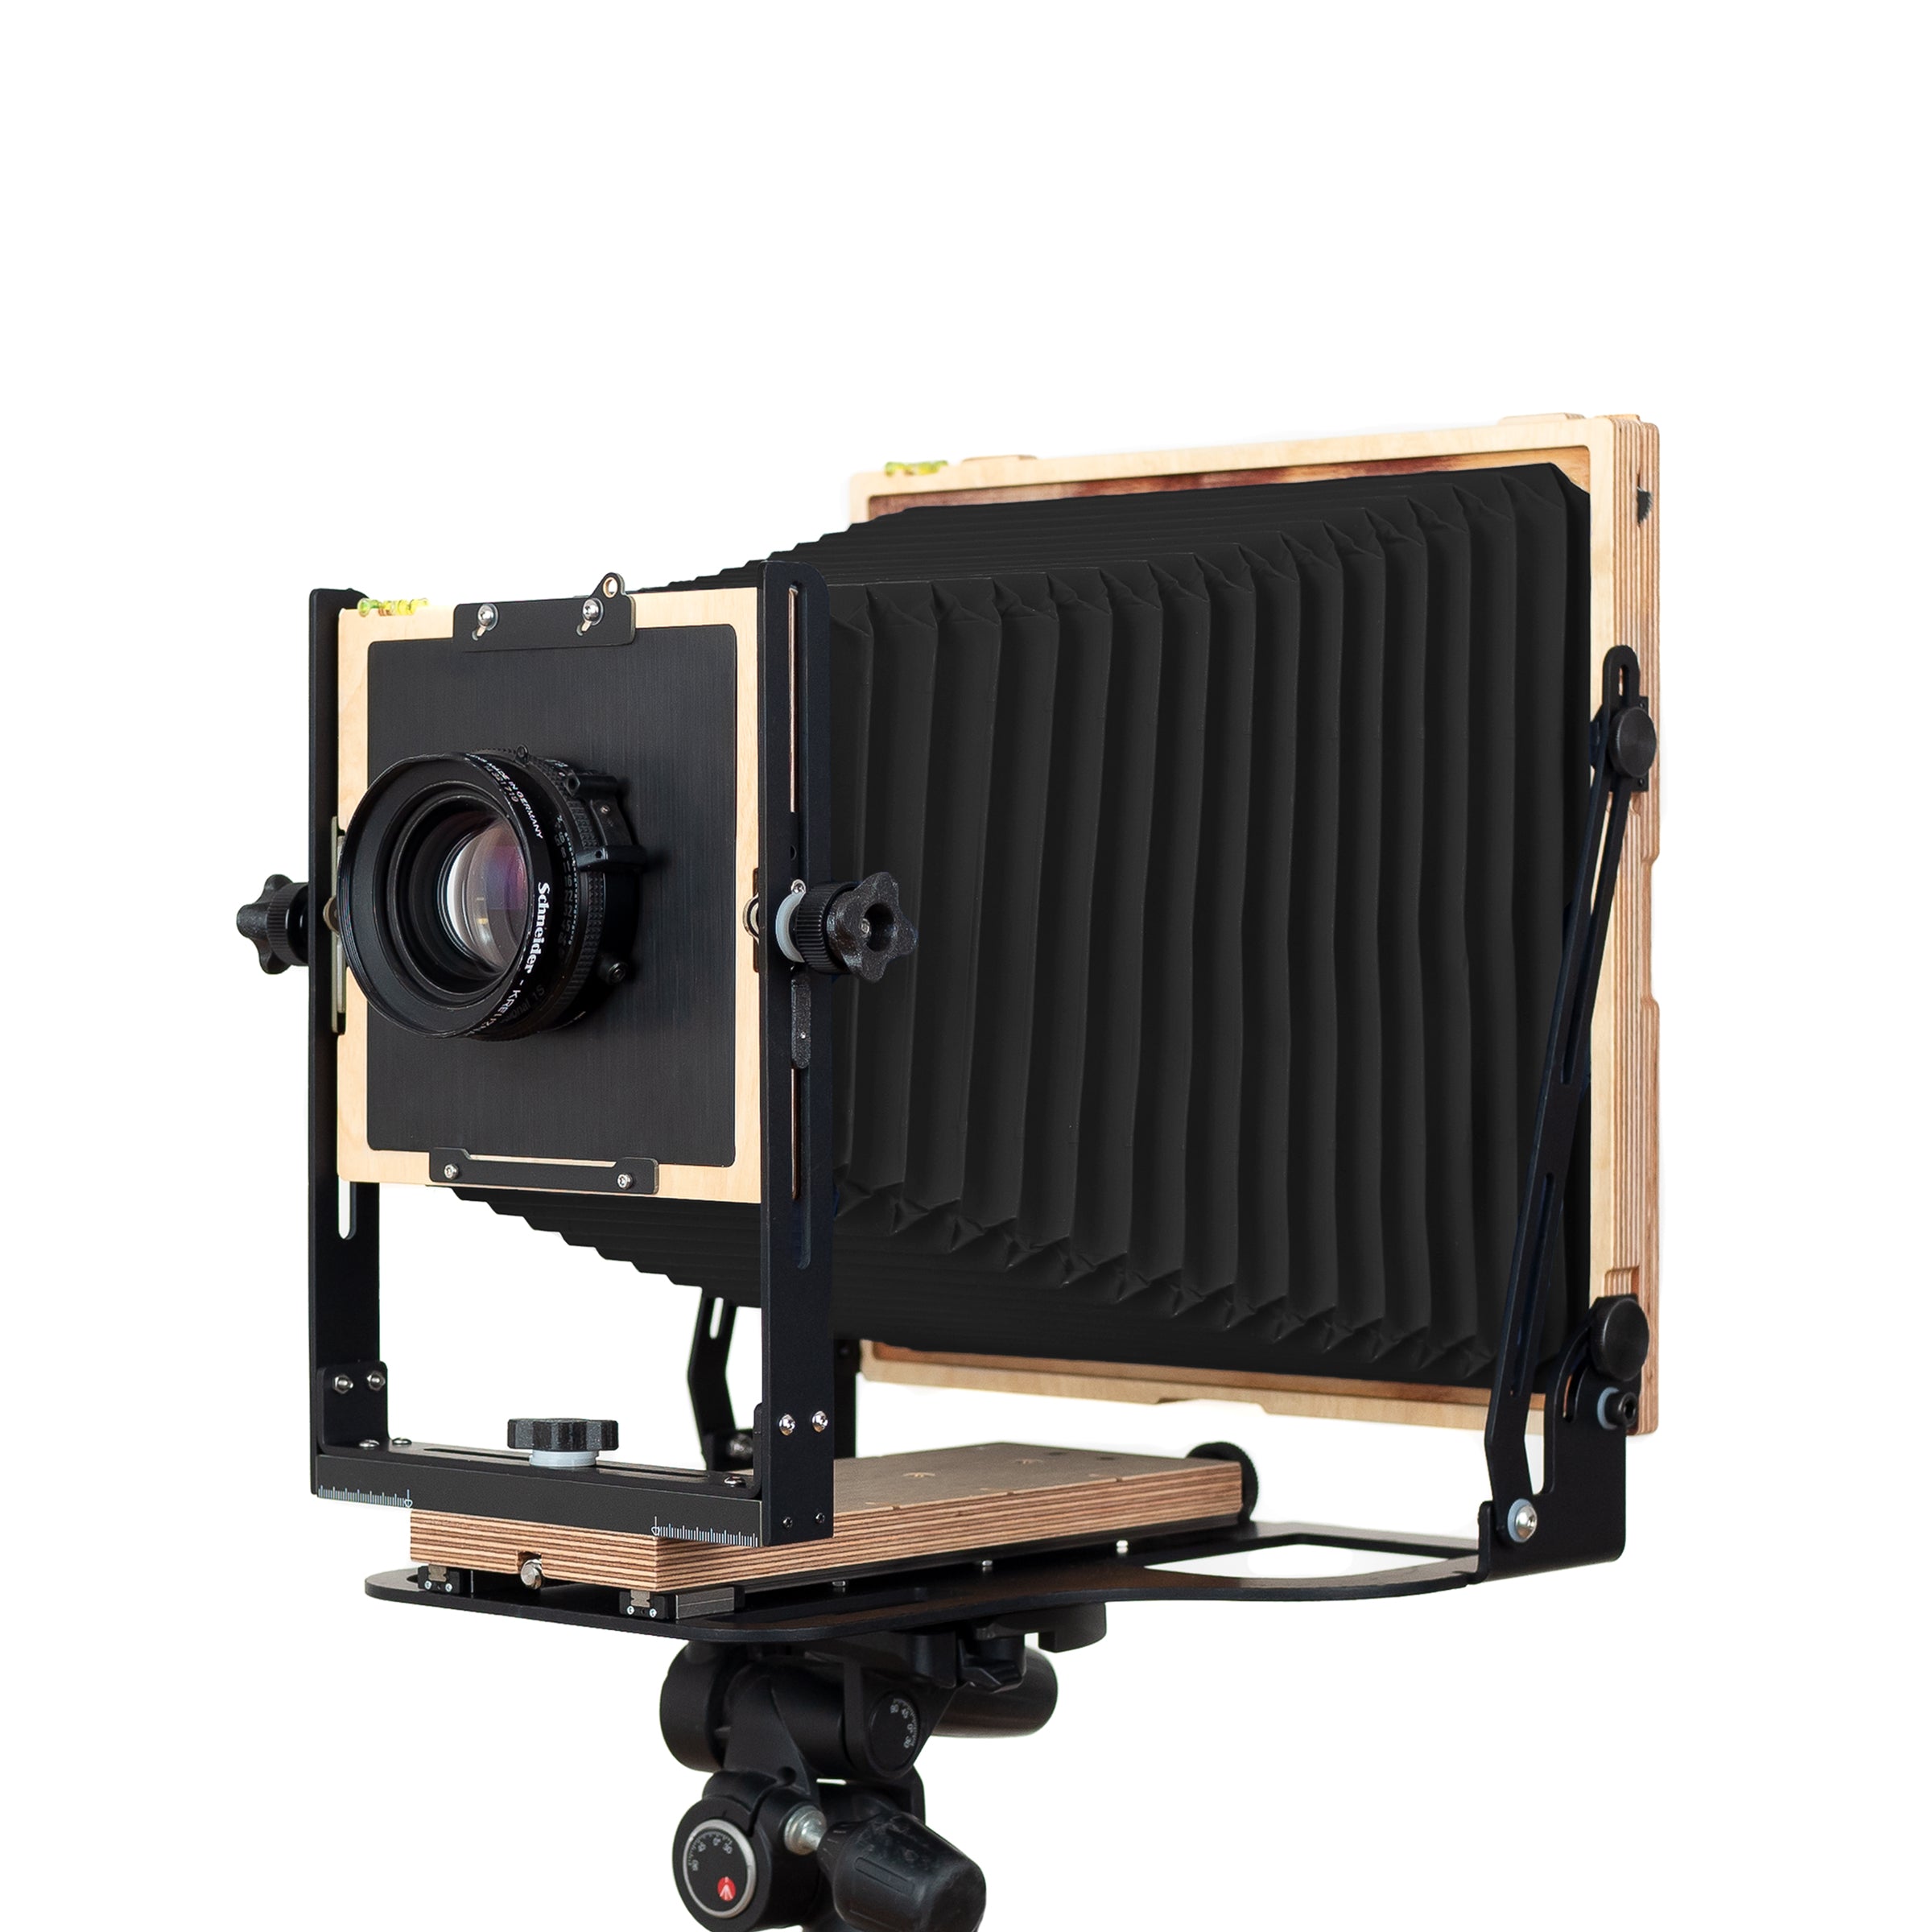
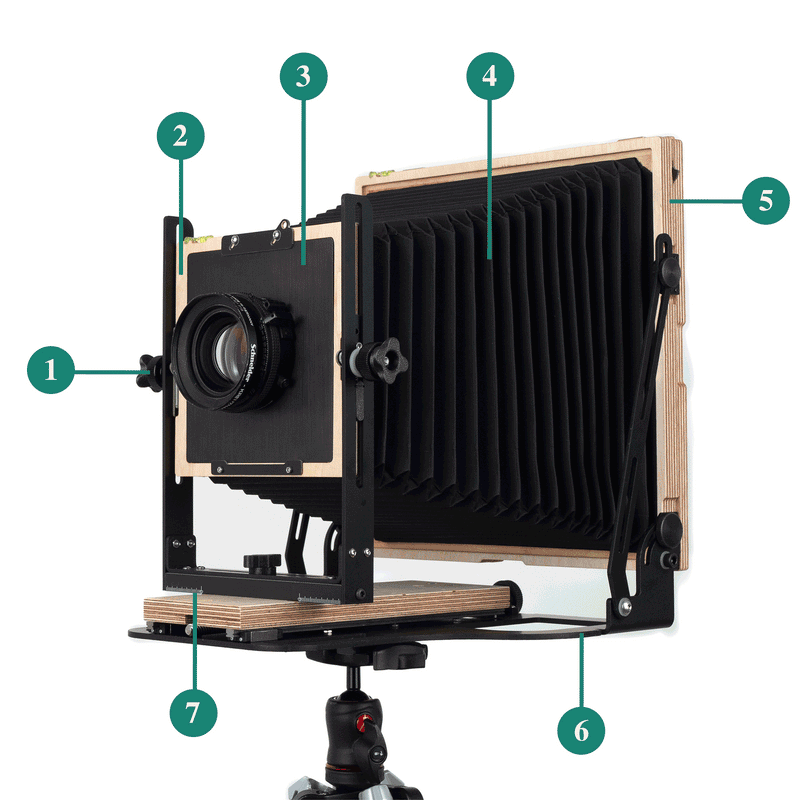
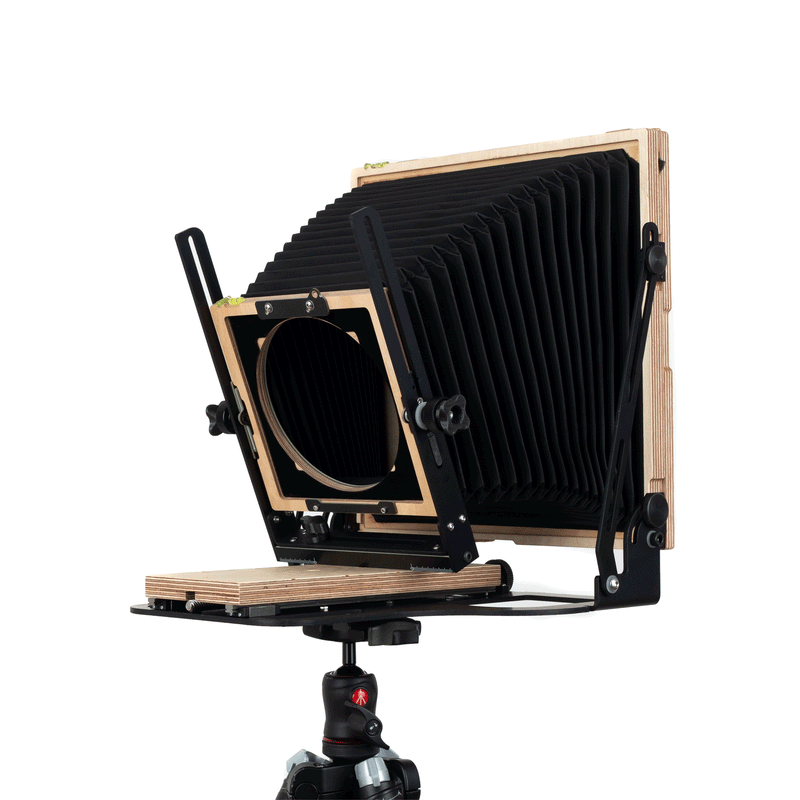
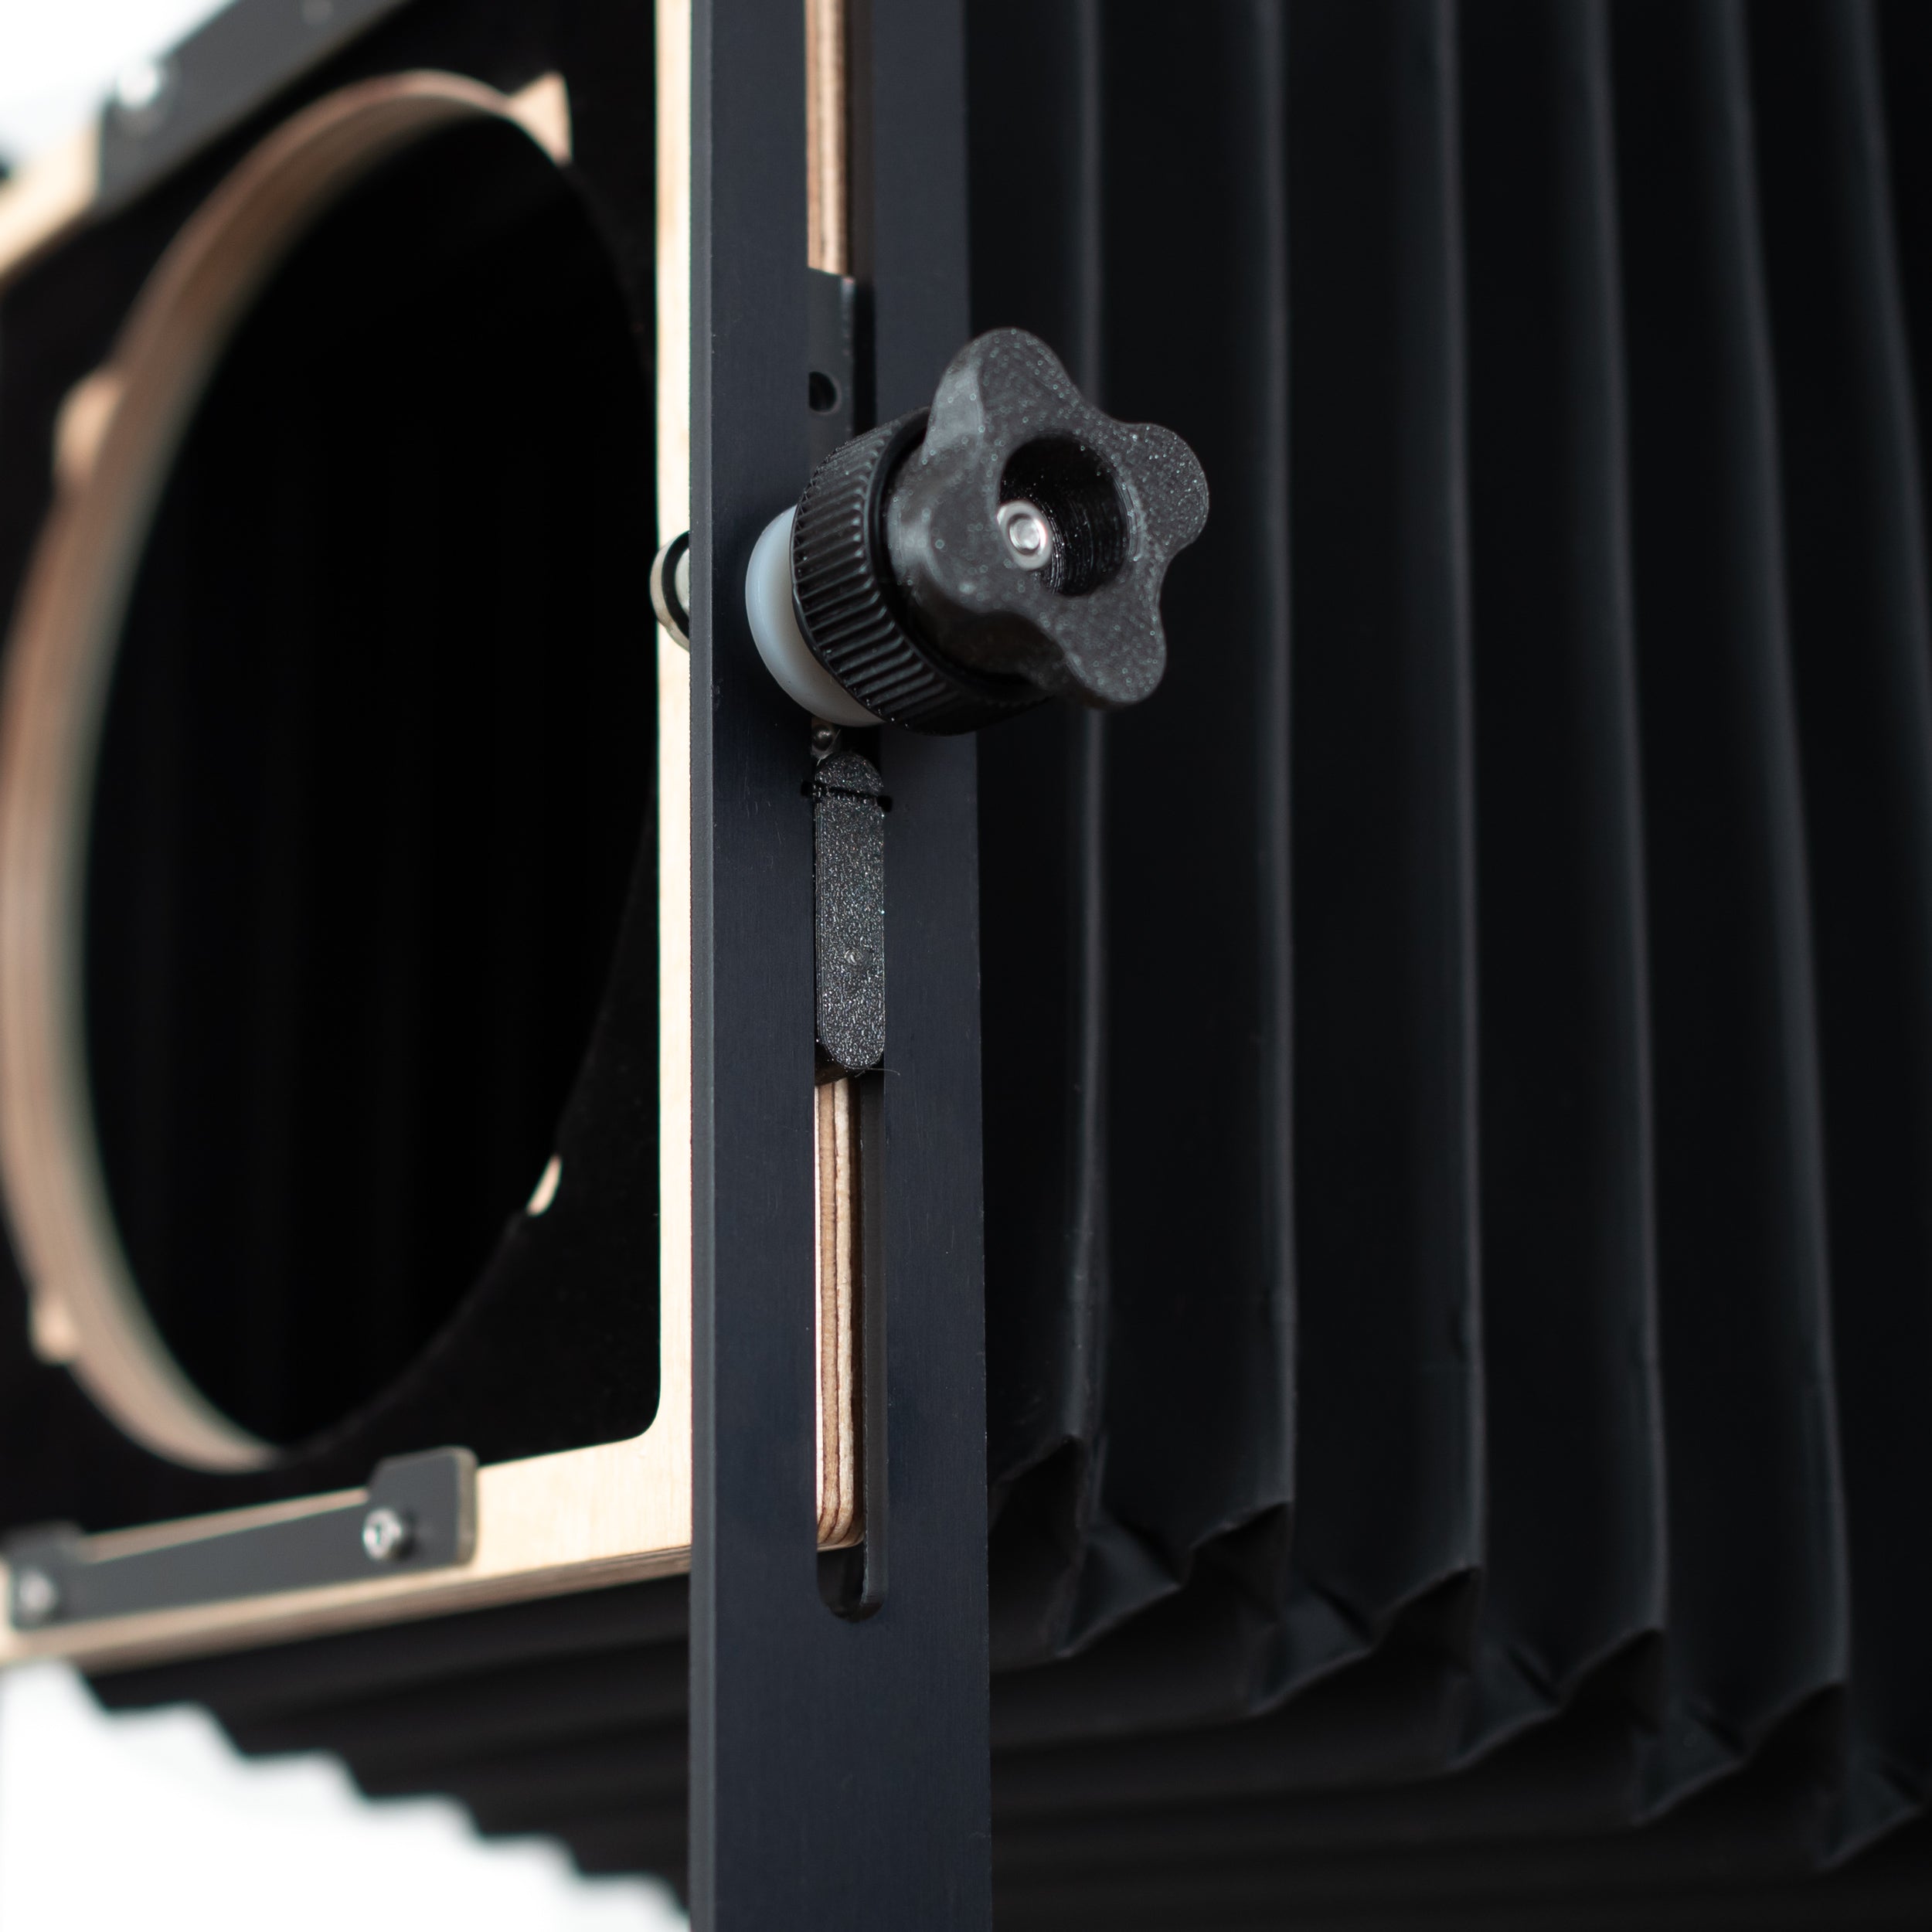
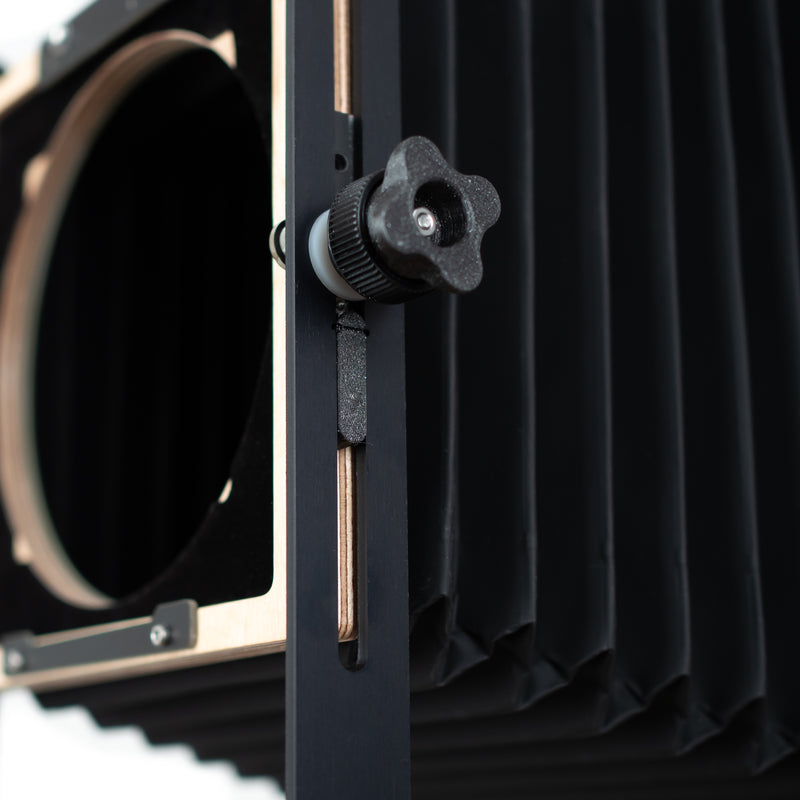
1. Front Standard Controls
Intrepid Cameras have dual front standard controls for fast zeroing and using movements. The inner controls are for rise/fall and the outer controls are for tilt/swing, allowing you to independently utilise the movements.
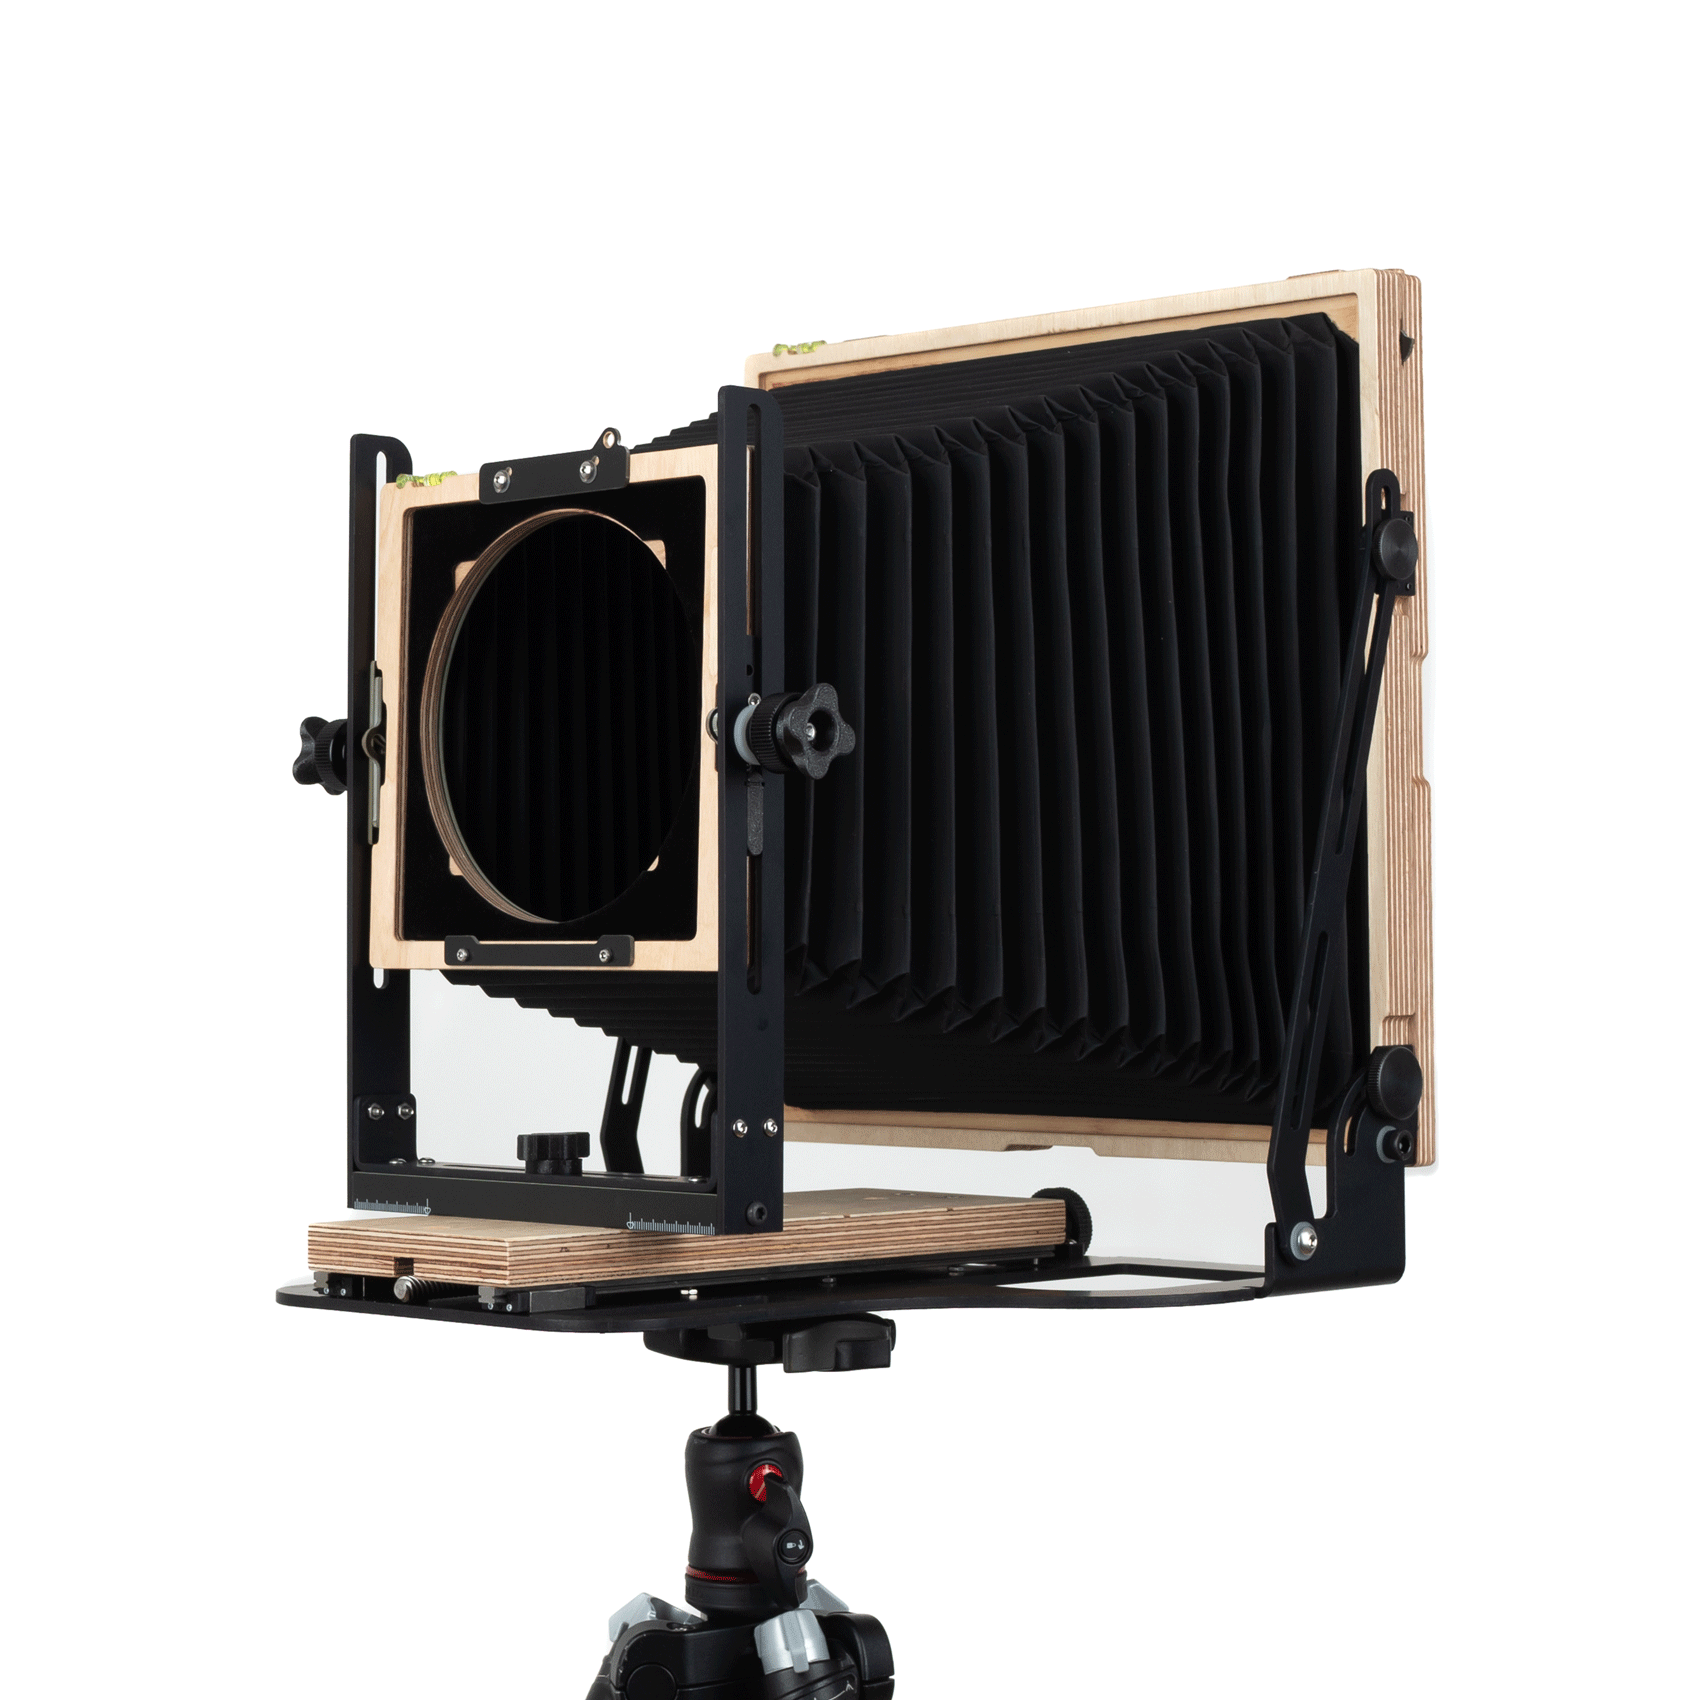
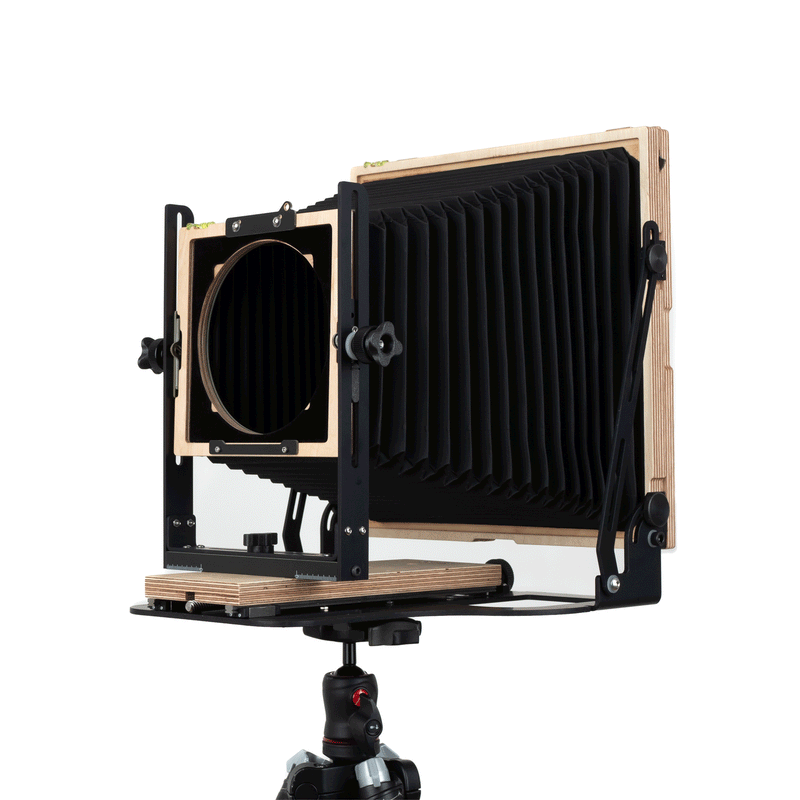
2. Front Standard
The front standard is where the lens/lens board is mounted. It can also be moved independently to utilise the front standard movements (rise/fall and tilt/swing.)
3. Lens Board
Large format lenses must be fixed to a lens board before being mounted onto the camera. Unlike other film formats, this means you can use pretty much any brand of lens on any large format camera. The Intrepid 8x10 uses 140mm x 140mm sized lens boards making it compatible with most Sinar boards.
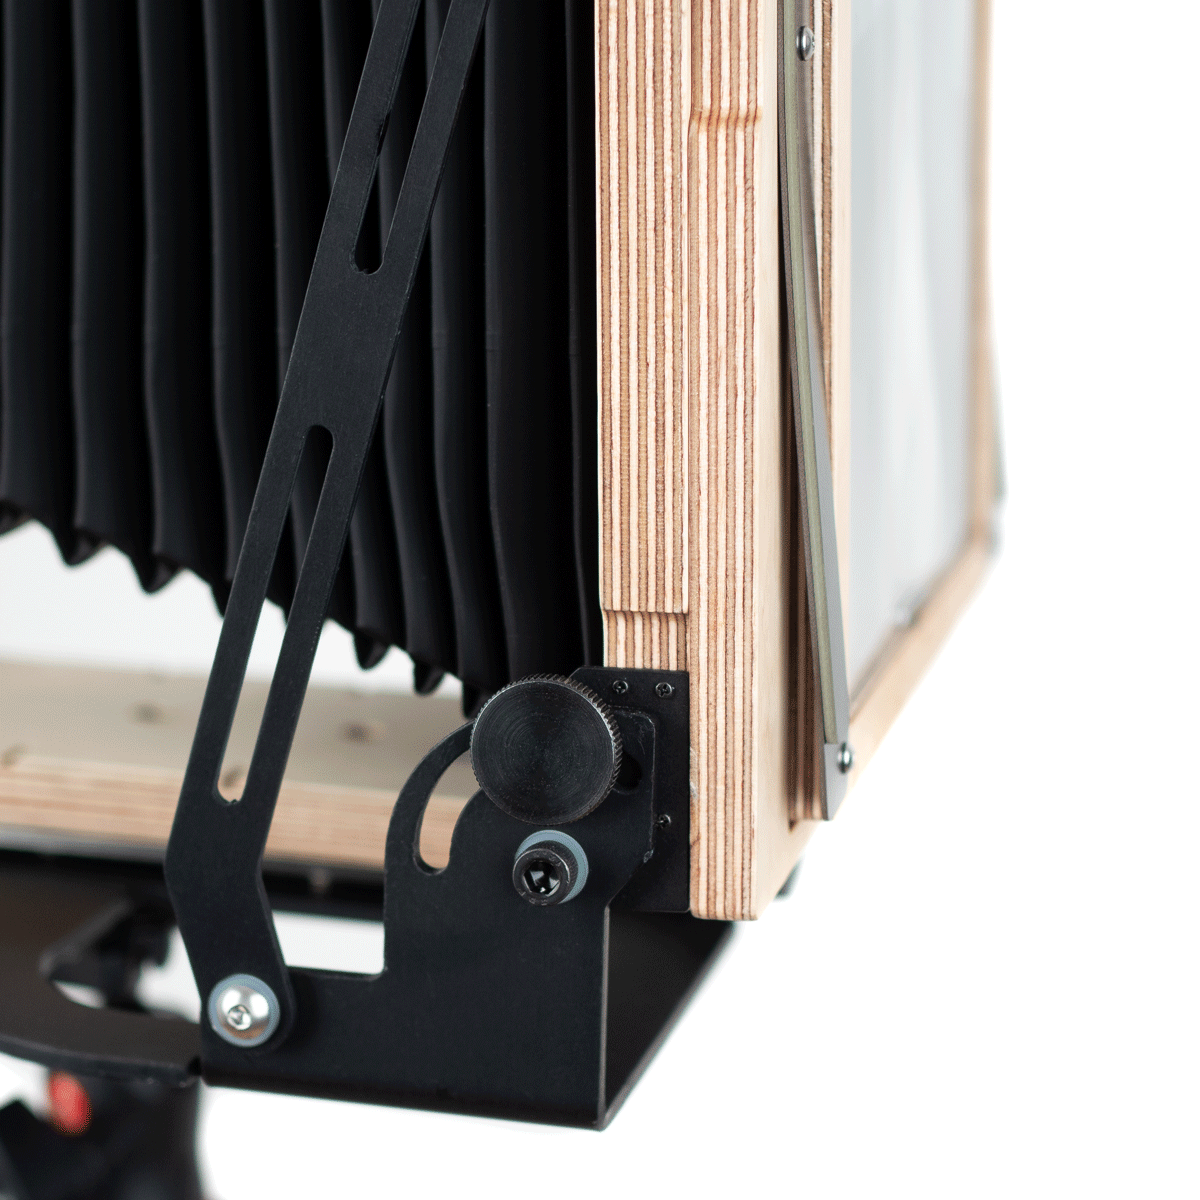
4. Bellows
The bellows are the extendable part of the camera. Turning the focus control will either retract or extend the bellows, moving the lens position in relation to the focal plane for focusing. They also allow the lens position to be altered when using front/rear movements.
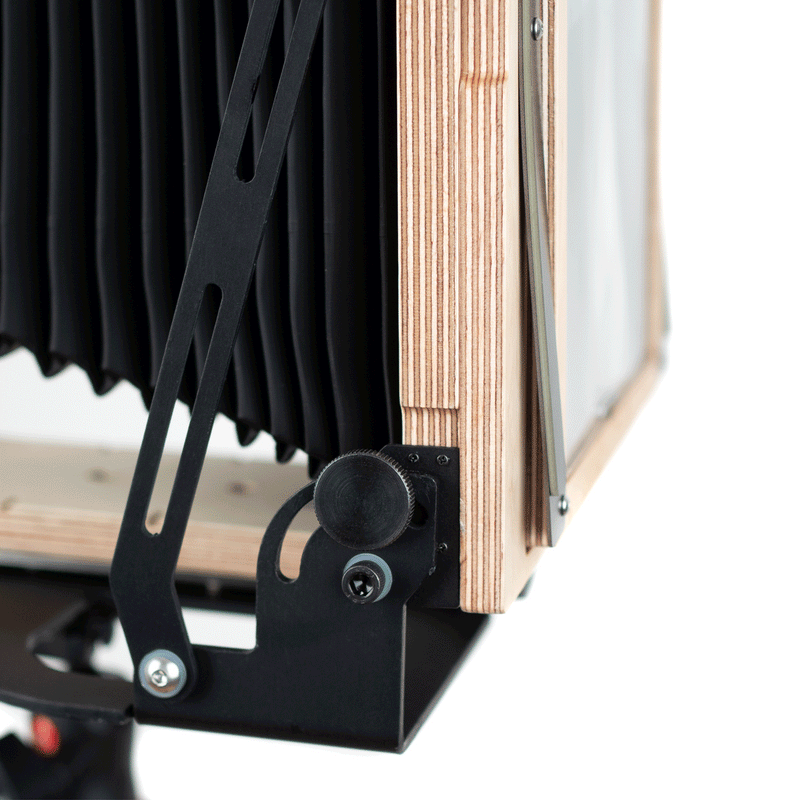
5. Rear standard
The rear standard is where the ground glass (focusing screen) is located and can be rotated for switching between portrait and landscape. It can also be moved independently to the front for utilising rear tilt/swing movements.
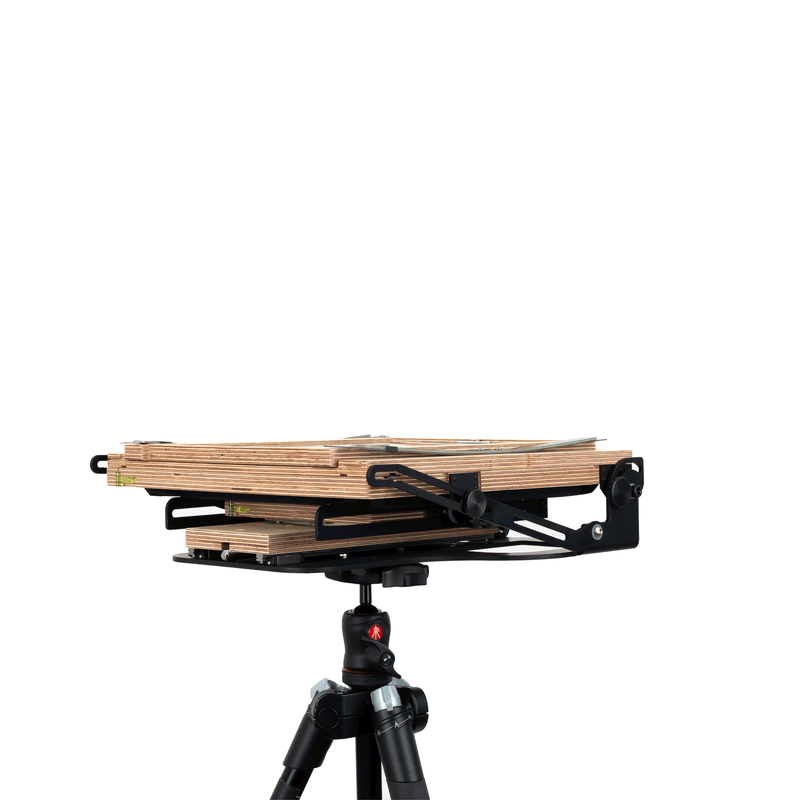
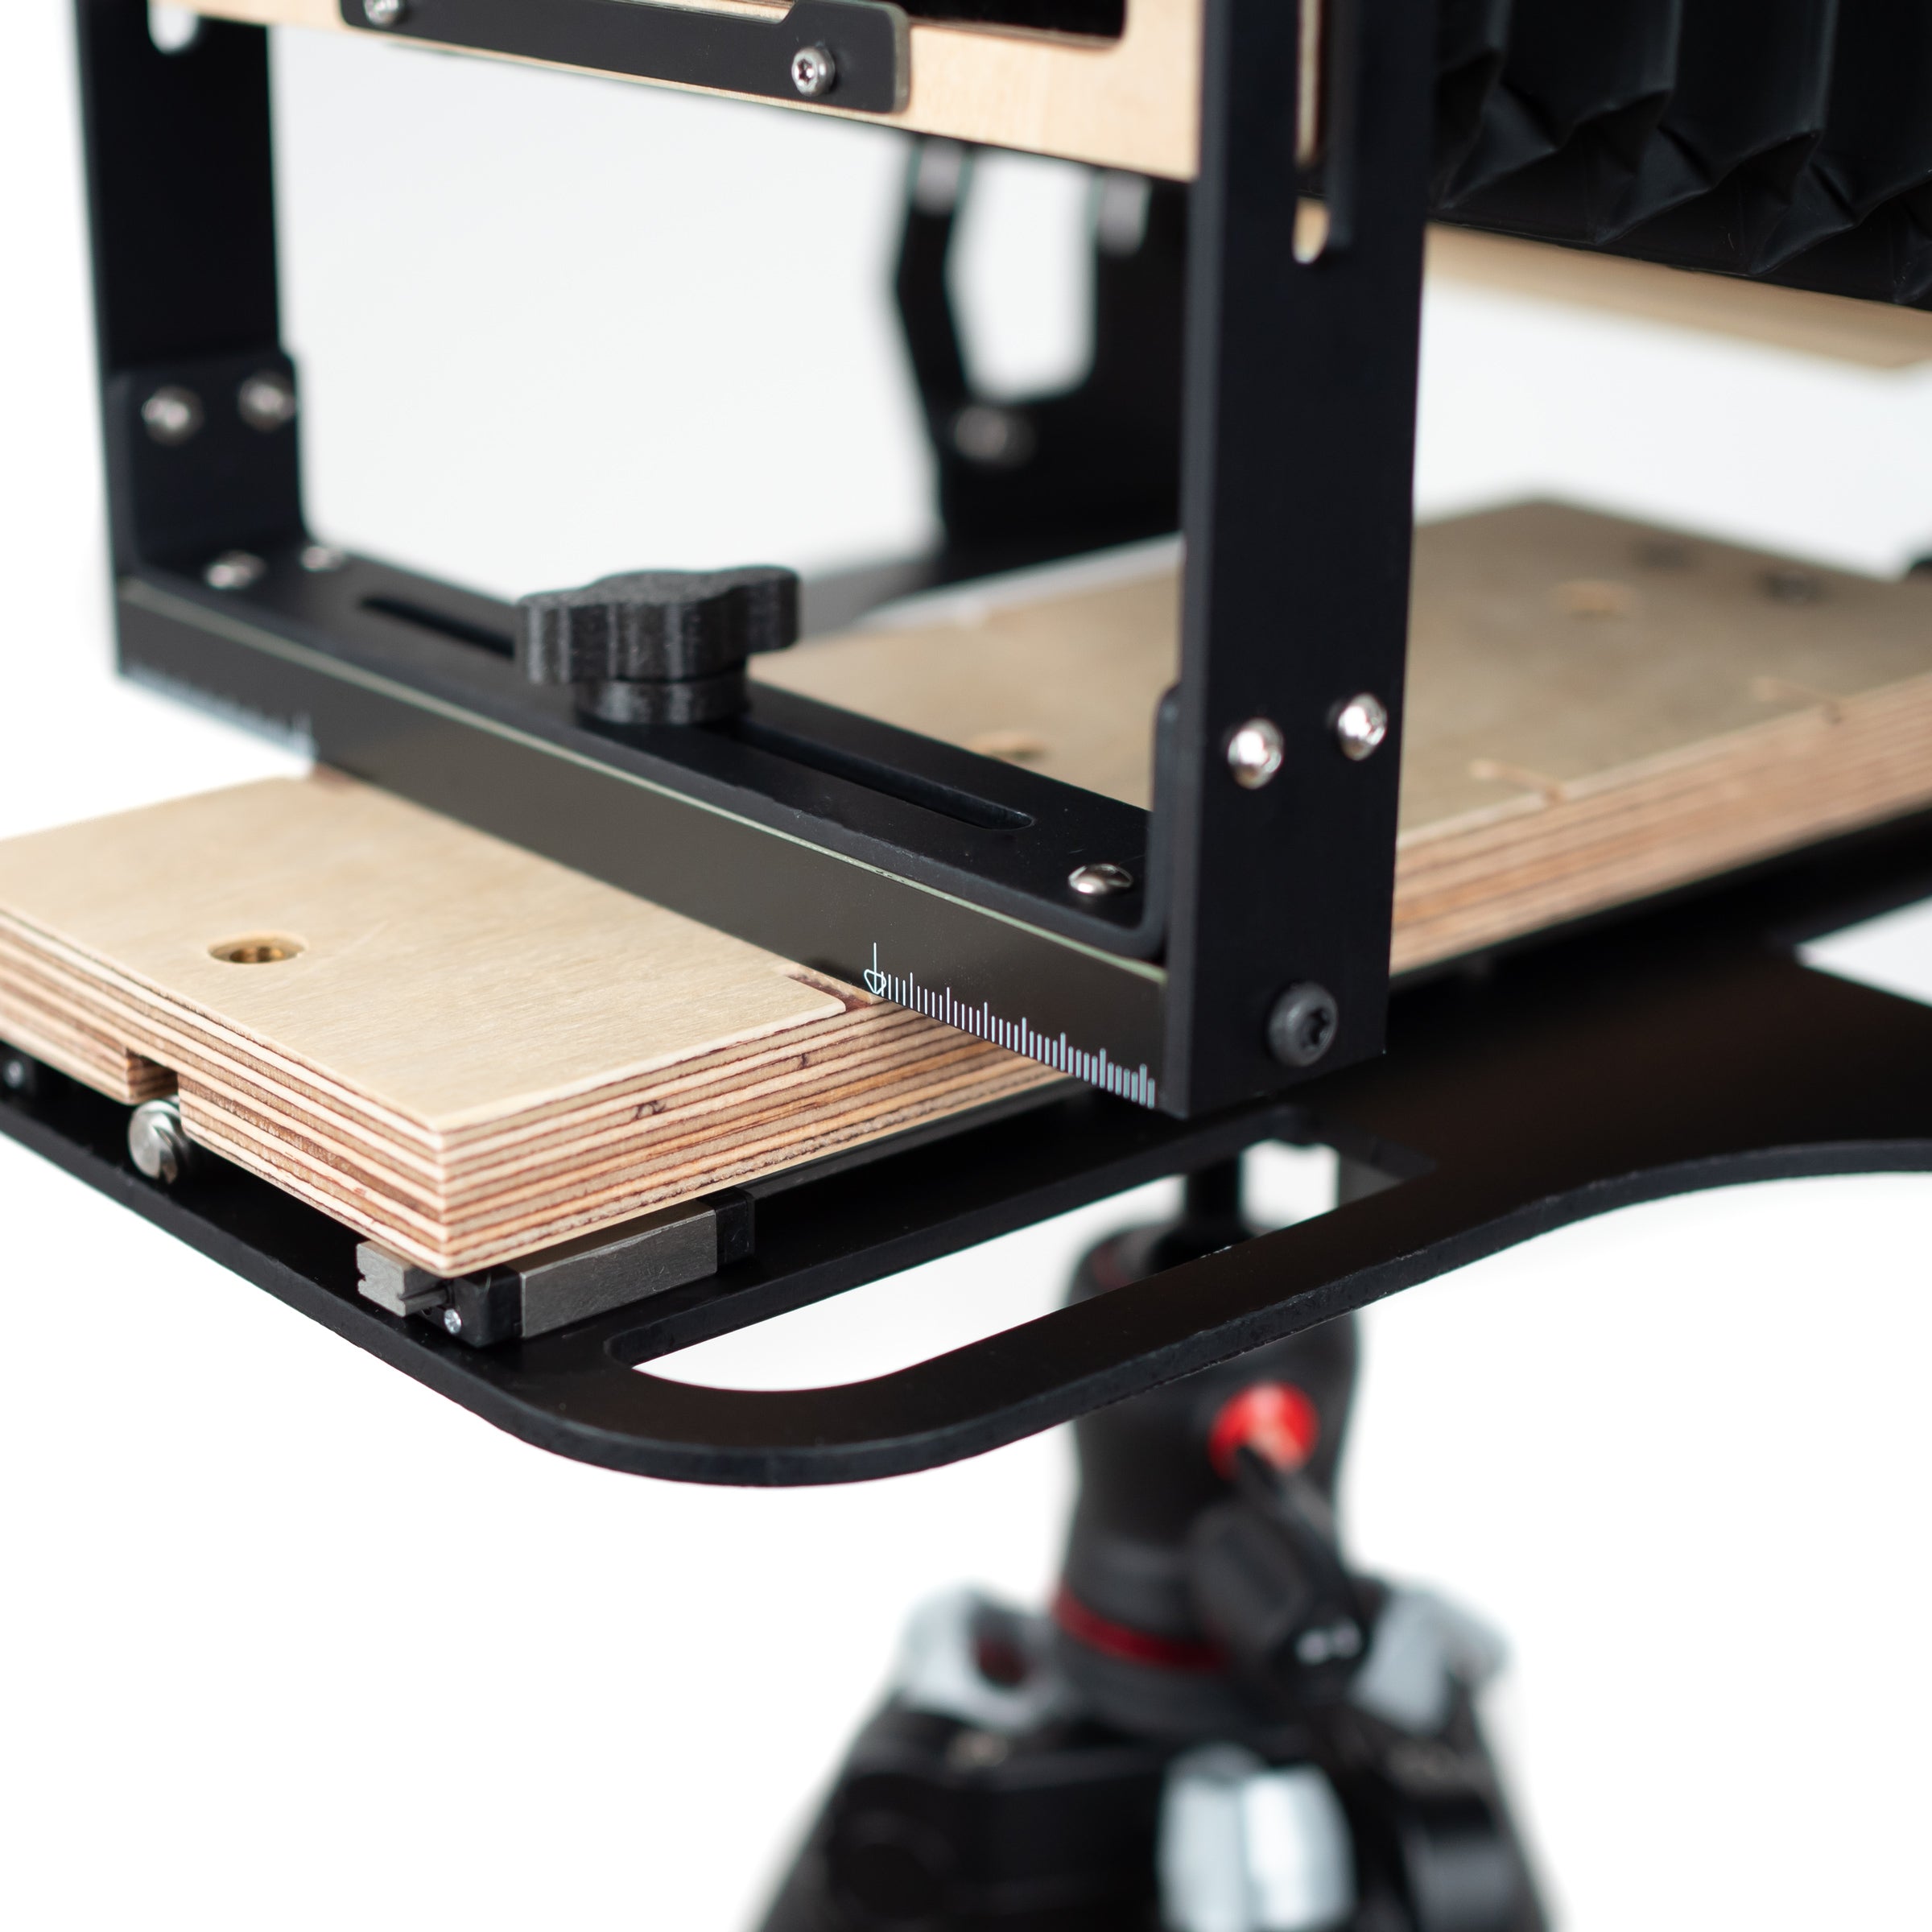
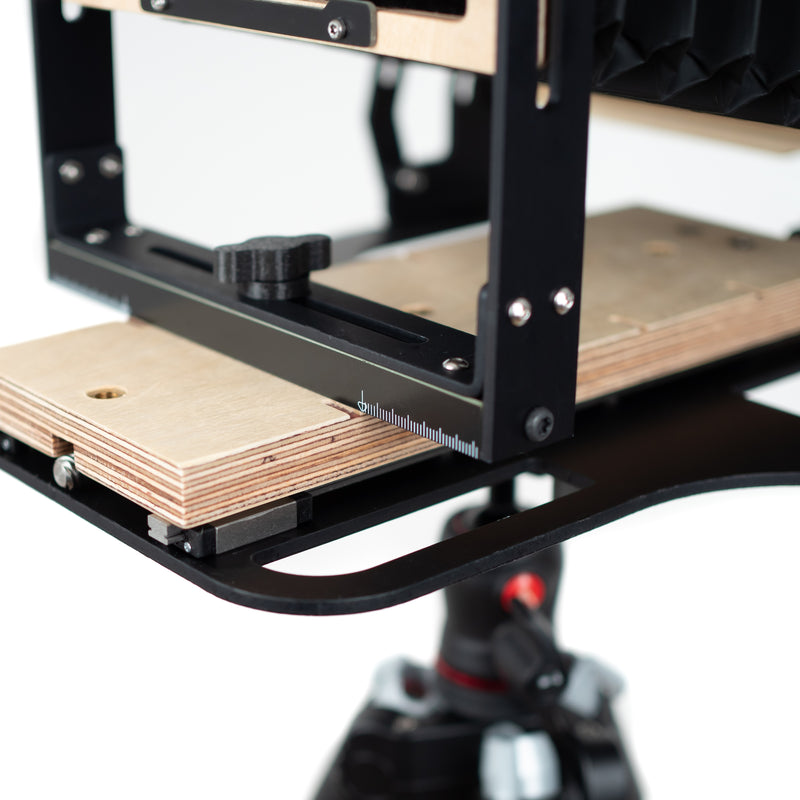
6. Base
The aluminium base provides super stable support for the camera. The base also contains the linear focus guides, the focus wheel and mounts for the front standard (relating to what focal length of lens you are using.
7. Zeroing Guides
The ruled guide on the front standard is there to help you zero as well as accurately apply lateral shift and swing movements to the front. There are also notches by each base mount to help with zeroing.
8. Rear clips
The back of the rear standard is removable to change between portrait and landscape. The back is held in place with magnets and secured with these small clips. When in the down position the back is locked and when up it is unlocked.
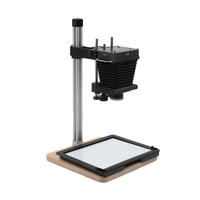
9. Ground Glass & Fresnel
The ground glass is the focusing screen on a large format camera. The Intrepid 8x10 comes as standard with Intrepid ground glass with a 1/2" grid. The fresnel screen is available as an extra, which we strongly recommend as it brightens the projected image, particuarly useful with wide angle lenses.
10. Focus wheel
Focusing is rear-controlled on all current models of Intrepid Cameras. This design allows for super fine focus and once you stop turning the focus wheel it will lock in place.
11. Linear Focus Guides
The linear guides are a feature usually only seen on high-end cameras. They are incredibly durable and mean the focus won't move or skip even if the camera is knocked.
12. Rear Standard Controls
The Intrepid 8x10 has dual rear standard controls for added support. They allow you to use rear tilt movements independently of the front movements. The upper control also has a notch for zeroing, making it quick to set up.